
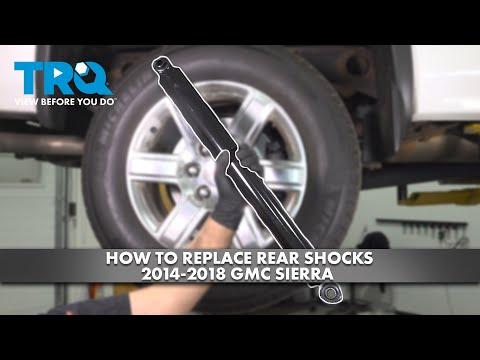







How to Replace the Shock Absorbers on a 2018 GMC Sierra 1500
Step-by-step instructions with tools, parts, safety tips, and torque specs for 2014, 2015, 2016, 2017, 2018
How to Replace the Shock Absorbers on a 2018 GMC Sierra 1500
Step-by-step instructions with tools, parts, safety tips, and torque specs for 2014, 2015, 2016, 2017, 2018


Assumption: This guide covers replacing all four shock absorbers on your Sierra.
🔧 Shock Absorbers - Replacement
Your shocks control bounce and keep the tires planted on rough roads. On your Sierra, worn shocks can cause extra body roll, longer stopping distances, and a rough ride. Replacing them in pairs keeps the truck balanced and stable.
Difficulty Level: Intermediate | Estimated Time: 2-4 hours
⚠️ Safety & Precautions
- Support the truck with jack stands; never work under a truck held up by a jack alone.
- Keep hands clear of the suspension when lowering or raising the axle.
- If a shock is rusty, use penetrating oil and let it soak before removal.
- Do not overtighten shock bolts with the suspension hanging if the fastener is designed to be torqued at ride height.
- No battery disconnect is required for this repair.
🔧 Required Tools
You'll need the following tools for this repair:
- Floor jack (rated 3-ton minimum)
- Jack stands (rated for truck weight)
- Wheel chocks
- Safety glasses
- Mechanic gloves
- Breaker bar
- Ratchet
- 15mm socket
- 18mm socket
- 21mm socket
- Torque wrench
- Penetrating oil
- Trim clip tool
🔩 Required Parts
HowToo sells all the parts you need for this repair:
- Front shock absorber - Replace in pairs - Qty: 2
- Rear shock absorber - Replace in pairs - Qty: 2
- Upper shock mounting hardware kit - Qty: 1
- Lower shock mounting hardware kit - Qty: 1
📋 Before You Begin
- Park on level ground.
- Set the parking brake.
- Chock the wheels that stay on the ground.
- Loosen the wheel lug nuts slightly before lifting if you plan to remove the wheels for access.
- Spray the shock bolts with penetrating oil and let them soak.
🔨 Step-by-Step Instructions
Follow these steps in order:
Step 1: Lift and secure the truck
- Use the floor jack to raise the truck at the proper lift point.
- Place jack stands under the frame and lower the truck onto them.
- Remove the wheel if needed for access using the 21mm socket.
Step 2: Remove the rear shock absorber
- Use the 18mm socket and ratchet to remove the lower shock bolt.
- Use the 18mm socket and breaker bar to remove the upper shock fastener.
- Pull the shock out of the truck.
- Support the axle if it shifts.
Step 3: Install the rear shock absorber
- Position the new shock in place by hand.
- Install the upper fastener first using the 18mm socket.
- Install the lower bolt using the 18mm socket.
- Torque both rear shock fasteners to factory service specification.
- Tighten with the truck at ride height if possible.
Step 4: Remove the front shock absorber
- Use the 15mm socket to remove the front shock upper and lower fasteners.
- Hold the shock steady as the last bolt comes out.
- Remove the shock from the wheel well.
Step 5: Install the front shock absorber
- Position the new front shock and start both fasteners by hand.
- Use the 15mm socket to snug the bolts.
- Torque the front shock fasteners to factory service specification.
- Do not pinch the brake hose or ABS wire.
Step 6: Reassemble and repeat on the other side
- Reinstall the wheel if removed using the 21mm socket.
- Lower the truck with the floor jack.
- Repeat the process on the opposite side.
✅ After Repair
- Start the truck and check for clunks or loose hardware.
- Drive slowly over a rough road to confirm the ride is stable.
- Recheck all shock fasteners after a short test drive.
- If the truck pulls or feels unstable, inspect for worn suspension bushings or uneven tire wear.
💰 DIY vs Shop Cost
Shop Cost: $600-$1,200 (parts + labor)
DIY Cost: $180-$450 (parts only)
You Save: $250-$800 by doing it yourself!
Shop labor rates vary but typically run $100-$150/hour. This repair takes a shop approximately 2-4 hours.
🎯 Ready to get started?
HowToo makes it easy: same-day/2-day shipping on every part, plus all the tools and specialty tools you need! Check out the parts and tools sections below to add everything to your cart.