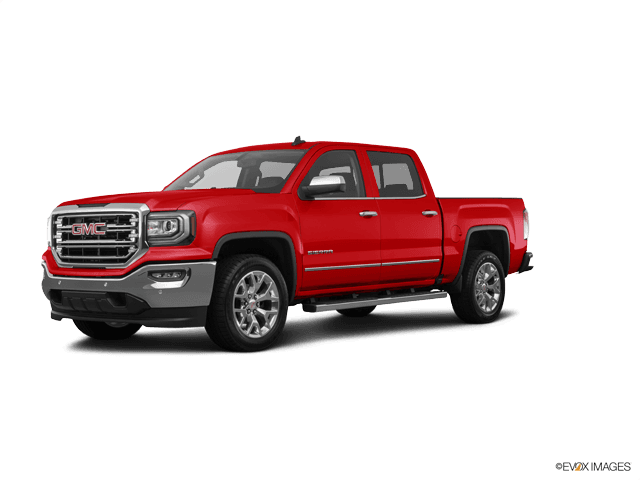







How to Replace the Serpentine Belt on a 2017 GMC Sierra 1500
Step-by-step DIY instructions with required tools, belt routing tips, safety checks, and torque specs for 2014, 2015, 2016, 2017, 2018
How to Replace the Serpentine Belt on a 2017 GMC Sierra 1500
Step-by-step DIY instructions with required tools, belt routing tips, safety checks, and torque specs for 2014, 2015, 2016, 2017, 2018


🔧 Sierra 1500 - Serpentine Belt Replacement
Your Sierra 1500 uses a single serpentine belt to drive accessories like the alternator, A/C compressor, and power steering. Replacing it restores proper accessory operation and helps prevent a sudden breakdown if the belt is cracked or glazed.
Difficulty Level: Intermediate | Estimated Time: 0.5-1.0 hours
⚠️ Safety & Precautions
- ⚠️ Keep hands/tools away from the fan and pulleys; they can start moving suddenly.
- ⚠️ Let the engine cool; pulleys and the radiator area can be hot.
- ⚠️ Disconnect the 12V battery negative cable to prevent any auto start/stop behavior while your hands are near the belt drive.
- ⚠️ Do not put fingers between the belt and any pulley while releasing the tensioner.
🔧 Required Tools
You'll need the following tools for this repair:
- 10mm socket
- 3/8" drive ratchet
- 3/8" drive breaker bar (18" minimum)
- 15mm combination wrench
- 8mm socket
- Flat trim/panel tool
- Torque wrench (10-50 Nm range)
- Flashlight
- Mechanic gloves
- Safety glasses
🔩 Required Parts
HowToo sells all the parts you need for this repair:
- Serpentine belt (accessory drive belt) - Qty: 1
📋 Before You Begin
- Park on level ground, shift to Park, and set the parking brake.
- Open the hood and confirm you can see the belt routing diagram (usually on the fan shroud/upper radiator support). If it’s missing, take a clear photo of the belt path before removal.
- Use the 10mm socket to disconnect the negative (–) battery cable, then tuck it aside so it can’t spring back.
🔨 Step-by-Step Instructions
Follow these steps in order:
Step 1: Remove the engine cover (if equipped)
- Grip the cover firmly and pull upward to release it from the ball studs (it “pops” off).
- Set it aside where it won’t get stepped on.
Step 2: Create working room at the front of the engine
- If the air intake duct blocks access, loosen the clamps with the 8mm socket.
- Use the flat trim/panel tool to gently release any plastic clips, then lift the duct out of the way.
Step 3: Locate the belt tensioner
- Find the spring-loaded tensioner pulley at the front of the engine.
- A “tensioner” is the spring-loaded arm that keeps the belt tight automatically.
Step 4: Relieve belt tension
- Put the 15mm combination wrench on the tensioner’s hex boss, or insert the 3/8" drive breaker bar into the square drive opening (if your tensioner has it).
- Rotate the tensioner to relieve tension (it will feel strong and springy). Hold it steadily.
- Use the breaker bar for more leverage.
Step 5: Remove the old belt
- While holding the tensioner released, slide the belt off one easy-to-reach pulley (often the alternator pulley).
- Slowly let the tensioner return to its resting position (don’t let it snap).
- Remove the belt from the remaining pulleys and pull it out.
Step 6: Compare the new belt to the old belt
- Lay them side-by-side and confirm the length and rib count match.
- If the old belt is shredded or missing ribs, inspect all pulleys closely before installing the new belt.
Step 7: Route the new belt correctly
- Use the under-hood routing diagram and route the new belt around all pulleys, leaving one upper pulley for last (the easiest place to slip it on).
- Make sure every rib sits fully in the pulley grooves; no ribs should hang off an edge.
- Misrouting is the #1 beginner mistake.
Step 8: Apply tension and seat the belt
- Rotate the tensioner again using the 15mm combination wrench or 3/8" drive breaker bar.
- Slip the belt onto the last pulley, then slowly release the tensioner.
- Do a final visual check: belt centered on every pulley, ribs aligned.
Step 9: Reinstall removed components
- Reinstall the intake duct and tighten clamps with the 8mm socket (snug, not over-tight).
- Reinstall the engine cover by lining it up and pushing down until it snaps on.
Step 10: Reconnect the battery
- Reconnect the negative battery cable using the 10mm socket.
- Torque to 15 Nm (11 ft-lbs).
✅ After Repair
- Start the engine and watch the belt for 20-30 seconds; it should run smooth with no wandering.
- Listen for squeal or chirping. If you hear it, shut off and re-check belt routing and rib seating.
- Turn on A/C and headlights to load the system and confirm normal operation.
💰 DIY vs Shop Cost
Shop Cost: ₹4,500-₹9,000 (parts + labor)
DIY Cost: ₹1,500-₹3,500 (parts only)
You Save: ₹3,000-₹5,500 by doing it yourself!
Shop labor rates vary but typically run ₹1,000-₹2,500/hour. This repair takes a shop approximately 0.5-1.0 hours.
🎯 Ready to get started?
HowToo makes it easy: same-day/2-day shipping on every part, plus all the tools and specialty tools you need! Check out the parts and tools sections below to add everything to your cart.