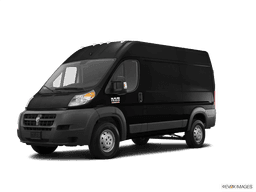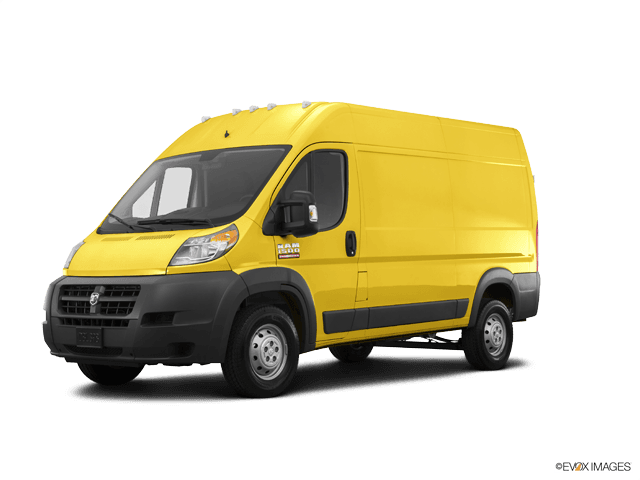

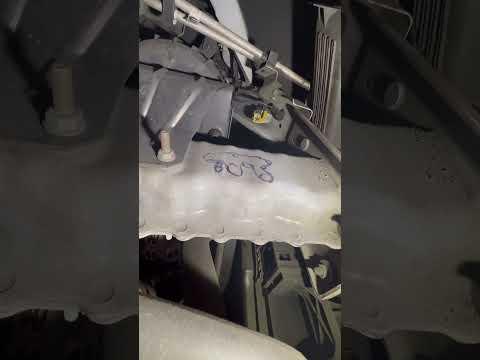







How to Replace the Serpentine Belt on a 2016 Ram ProMaster 1500
Step-by-step wheel-well access guide with tools/parts list, belt routing tips, safety checks, and lug nut torque specs for 2014, 2015, 2016, 2017, 2018, 2019, 2020, 2021
How to Replace the Serpentine Belt on a 2016 Ram ProMaster 1500
Step-by-step wheel-well access guide with tools/parts list, belt routing tips, safety checks, and lug nut torque specs for 2014, 2015, 2016, 2017, 2018, 2019, 2020, 2021


🔧 ProMaster - Serpentine Belt Replacement
The serpentine belt drives accessories like the alternator and A/C. If it’s cracked, squealing, or slipping, replacing it prevents a no-charge condition or overheating.
Difficulty Level: Intermediate | Estimated Time: 1-2 hours
⚠️ Safety & Precautions
- ⚠️ Work on a cool engine; hot pulleys can burn you.
- ⚠️ Support your A4—use jack stands; never rely on a jack alone.
- ⚠️ Keep fingers clear of the belt path when releasing the tensioner.
- ⚠️ Do not start the engine until all tools are removed and shields are reinstalled.
🔧 Required Tools
You'll need the following tools for this repair:
- Floor jack (rated 3-ton minimum)
- Jack stands (rated 3-ton minimum)
- Wheel chocks
- 21mm socket
- 1/2" drive breaker bar
- 15mm socket
- 3/8" drive ratchet
- 3/8" drive extension set (3" and 6")
- 10mm socket
- Trim clip removal tool
- Torque wrench (20-200 ft-lb)
- Work light
- Mechanic gloves
- Safety glasses
🔩 Required Parts
HowToo sells all the parts you need for this repair:
- Serpentine belt - Qty: 1
- Serpentine belt tensioner - Qty: 1 Only if weak/noisy
- Idler pulley - Qty: 1 Only if noisy
- Splash shield clips/fasteners kit - Qty: 1 If any break
📋 Before You Begin
- Park on level ground, shift to neutral, and set the parking brake.
- Chock the rear wheels with wheel chocks.
- Open the hood and locate the belt routing sticker/diagram (usually on the radiator support/underhood area). Take a photo with your phone.
- Tensioner = spring-loaded arm that keeps belt tight.
🔨 Step-by-Step Instructions
Follow these steps in order:
Step 1: Raise the front-right corner for access
- Use a 21mm socket and 1/2" breaker bar to loosen the right-front wheel lug nuts 1 turn (do not remove yet).
- Lift the right-front with the floor jack, then support it with jack stands at a solid frame/support point.
- Remove the wheel using the 21mm socket.
Step 2: Remove the right-front splash shield (inner fender)
- Use a trim clip removal tool to pop out plastic push-clips.
- Use a 10mm socket and 3/8" ratchet to remove any small bolts.
- Pull the splash shield aside to expose the belt and pulleys.
- Go slow—clips break easily.
Step 3: Relieve belt tension
- Place a 15mm socket on the belt tensioner bolt (the tensioner is a spring-loaded pulley/arm).
- Use the 3/8" ratchet (and 3/8" extension if needed) to rotate the tensioner to relieve belt tension.
- With tension held off, slip the belt off one easy-to-reach pulley (often the alternator).
- Slowly return the tensioner to its resting position. Don’t let it snap back.
Step 4: Remove the old belt and inspect pulleys
- Pull the belt out of the engine bay through the wheel well opening.
- Spin each pulley by hand and listen/feel for roughness or wobble.
- Rough or noisy pulley = replace that part.
Step 5: Route the new belt
- Compare the new belt to the old one for length and rib count.
- Route the new belt following the underhood routing diagram you photographed.
- Make sure the belt ribs sit fully in the grooves on ribbed pulleys and sit centered on smooth pulleys.
Step 6: Apply tension and seat the belt
- Use the 15mm socket and 3/8" ratchet to rotate the tensioner again.
- Slip the belt onto the last pulley, then slowly release the tensioner.
- Double-check alignment on every pulley. A belt one rib off will shred quickly.
Step 7: Reinstall splash shield and wheel
- Reinstall the inner fender using the 10mm socket and trim clip removal tool (to seat clips straight).
- Reinstall the wheel and snug lug nuts using the 21mm socket.
- Lower the van off the jack stands with the floor jack.
- Tighten lug nuts in a star pattern: Torque to 176 Nm (130 ft-lbs) using a torque wrench.
✅ After Repair
- Start the engine and watch the belt for 30-60 seconds. It should run smooth with no wandering.
- Listen for squeal, chirping, or grinding (signs of misrouting or a failing pulley).
- Turn A/C on and headlights on; confirm no noise and normal charging.
- Recheck belt alignment once more after a short test drive.
💰 DIY vs Shop Cost
Shop Cost: $180-$350 (parts + labor)
DIY Cost: $35-$90 (parts only)
You Save: $145-$260 by doing it yourself!
Shop labor rates vary but typically run $100-$150/hour. This repair takes a shop approximately 1.0-1.5 hours.
🎯 Ready to get started?
HowToo makes it easy: same-day/2-day shipping on every part, plus all the tools and specialty tools you need! Check out the parts and tools sections below to add everything to your cart.
Assumption: Tensioner uses a standard 15mm hex; some builds may vary slightly.