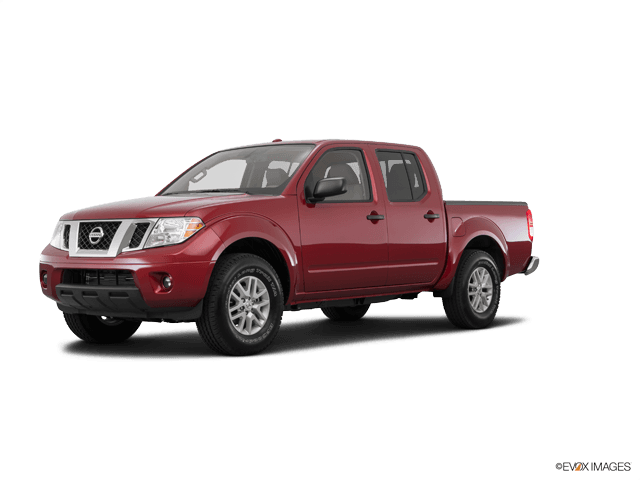

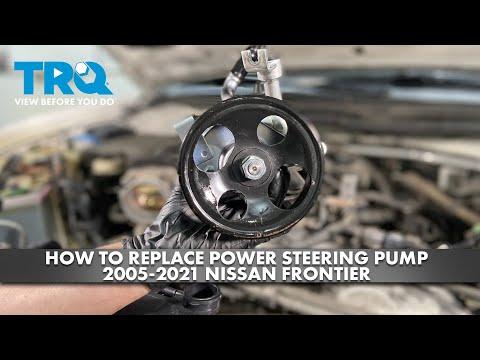





How to Replace the Power Steering Pump on a 2009-2018 Nissan Frontier (Trim: PRO-4X | Engine: V6 4.0L)
Step-by-step DIY guide with tools, parts, torque specs, bleeding tips, and safety checks for 2009, 2010
How to Replace the Power Steering Pump on a 2009-2018 Nissan Frontier (Trim: PRO-4X | Engine: V6 4.0L)
Step-by-step DIY guide with tools, parts, torque specs, bleeding tips, and safety checks for 2009, 2010


🔧 Frontier - Power Steering Pump Replacement
This repair replaces the power steering pump, which creates hydraulic pressure to help turn the steering wheel. A failing pump may whine, leak fluid, cause heavy steering, or leave metal debris in the fluid.
Difficulty Level: Intermediate | Estimated Time: 2-4 hours
⚠️ Safety & Precautions
- ⚠️ Power steering fluid is slippery and flammable, so wipe spills right away.
- ⚠️ Work only on a cool engine. The pump sits near hot engine components.
- ⚠️ Keep fingers, clothing, and tools away from the belt and pulleys.
- ⚠️ Disconnect the negative battery cable before working near the belt area.
- ⚠️ Do not start the engine until the pump has fluid in it, or the new pump can be damaged quickly.
🔧 Required Tools
You'll need the following tools for this repair:
- 10mm socket
- 12mm socket
- 14mm socket
- 3/8-inch drive ratchet
- 3/8-inch drive extension set
- 10mm wrench
- 12mm wrench
- 14mm wrench
- 19mm wrench
- Flat-blade screwdriver
- Pliers
- Serpentine belt tool (specialty)
- Power steering pulley puller and installer kit (specialty)
- Drain pan
- Fluid transfer pump
- Shop towels
- Fender cover
- Torque wrench rated 10-100 ft-lbs
- Safety glasses
- Nitrile gloves
🔩 Required Parts
HowToo sells all the parts you need for this repair:
- Power steering pump - Qty: 1
- Power steering pressure hose copper sealing washers - Qty: 2
- Power steering fluid - Qty: 2 quarts
- Serpentine belt - Qty: 1
- Power steering return hose clamp - Qty: 1
📋 Before You Begin
- 🅿️ Park your Frontier on level ground and set the parking brake.
- 🧊 Let the engine cool completely before starting.
- 🔋 Use a 10mm wrench to disconnect the negative battery cable.
- 🧼 Place a fender cover over the driver-side fender to protect the paint.
- 💧 Use a fluid transfer pump to remove as much old power steering fluid as possible from the reservoir.
- 📌 A pulley puller is a tool that removes the pump pulley without bending it. Do not pry the pulley off.
🔨 Step-by-Step Instructions
Follow these steps in order:
Step 1: Remove the Engine Cover and Intake Duct
- Use a 10mm socket to remove the engine cover fasteners if equipped.
- Use a flat-blade screwdriver to loosen the intake duct clamps.
- Lift the intake duct out of the way to create working room near the front of the engine.
- Take a photo first.
Step 2: Remove the Serpentine Belt
- Locate the belt tensioner at the front of the engine.
- Use a serpentine belt tool to rotate the tensioner and release belt tension.
- Slide the belt off the power steering pump pulley.
- Slowly release the tensioner with the serpentine belt tool.
- If replacing the belt, remove it fully from the remaining pulleys.
- Draw the belt path.
Step 3: Remove the Power Steering Pump Pulley
- Install the power steering pulley puller onto the pump pulley hub.
- Use the power steering pulley puller and a wrench to pull the pulley straight off the shaft.
- Do not hammer or pry on the pulley.
- Set the pulley aside on a clean surface.
Step 4: Disconnect the Return Hose
- Place a drain pan under the power steering pump.
- Use pliers to move the return hose clamp back on the hose.
- Twist the return hose gently by hand to break it loose.
- Pull the hose off the pump fitting and let the fluid drain into the drain pan.
- Plug or raise the hose to reduce dripping.
Step 5: Disconnect the Pressure Hose
- Use a 19mm wrench to loosen the pressure hose banjo bolt at the pump.
- A banjo bolt is a hollow bolt that lets fluid pass through the hose fitting.
- Remove the banjo bolt and discard the two old copper sealing washers.
- Keep the hose end clean. Dirt can damage the steering system.
Step 6: Remove the Power Steering Pump Mounting Bolts
- Use a 12mm socket and 14mm socket to remove the power steering pump mounting bolts.
- Support the pump with one hand while removing the final bolt.
- Lift the pump out of the engine bay.
- Compare the old and new pumps before installation.
Step 7: Transfer Any Brackets or Fittings
- Use a 12mm socket or 14mm socket to remove any brackets that must transfer to the new pump.
- Install the brackets on the new pump in the same position.
- Use a torque wrench to tighten small bracket bolts to Torque to 20 Nm (15 ft-lbs).
- Make sure the new pump fittings match the old pump.
Step 8: Install the New Power Steering Pump
- Set the new pump into the mounting bracket.
- Start all mounting bolts by hand first to avoid cross-threading.
- Use a 12mm socket and 14mm socket to snug the bolts.
- Use a torque wrench to tighten the pump mounting bolts to Torque to 39 Nm (29 ft-lbs).
Step 9: Reconnect the Pressure Hose
- Place one new copper sealing washer on each side of the pressure hose fitting.
- Install the banjo bolt by hand first.
- Use a 19mm wrench to snug the banjo bolt.
- Use a torque wrench to tighten the banjo bolt to Torque to 39 Nm (29 ft-lbs).
Step 10: Reconnect the Return Hose
- Push the return hose fully onto the pump fitting.
- Use pliers to move the hose clamp back into its original position.
- Replace the clamp if it feels weak or rusty.
- Wipe the area clean with shop towels so leaks are easy to spot later.
Step 11: Install the Power Steering Pump Pulley
- Install the power steering pulley installer onto the pump shaft.
- Use the power steering pulley installer and a wrench to press the pulley onto the shaft.
- Stop when the pulley face lines up evenly with the other belt pulleys.
- Do not press the pulley too far inward.
Step 12: Reinstall the Serpentine Belt
- Route the belt around the pulleys using your belt path photo or diagram.
- Use the serpentine belt tool to rotate the tensioner.
- Slide the belt over the power steering pump pulley last.
- Release the tensioner slowly with the serpentine belt tool.
- Check that the belt ribs sit correctly in every pulley groove.
Step 13: Reinstall the Intake Duct and Engine Cover
- Reinstall the intake duct into its original position.
- Use a flat-blade screwdriver to tighten the duct clamps.
- Reinstall the engine cover if equipped.
- Use a 10mm socket to tighten the engine cover fasteners until snug.
Step 14: Fill the Power Steering Reservoir
- Use a clean funnel to fill the power steering reservoir to the COLD MAX line.
- Use the correct power steering fluid listed for your Frontier.
- Do not overfill the reservoir.
Step 15: Bleed Air from the System
- Reconnect the negative battery cable with a 10mm wrench.
- With the engine OFF, turn the steering wheel slowly from full left to full right 10-15 times.
- Check the reservoir and add fluid as needed.
- Start the engine and let it idle.
- Turn the steering wheel slowly left and right, but do not hold it against the stops.
- If the fluid foams, shut the engine off and let the air settle for 10 minutes.
- Top off the fluid to the proper level.
✅ After Repair
- ✅ Check the pressure hose, return hose, and pump body for leaks while the engine idles.
- ✅ Listen for whining. A light whine may fade after air finishes bleeding out.
- ✅ Turn the steering wheel lock-to-lock slowly and confirm smooth assist.
- ✅ Recheck the power steering fluid level after a short test drive.
- ✅ Recheck belt alignment and make sure the belt is not walking off the pulley.
- ✅ Dispose of old fluid properly. Do not pour it on the ground or into drains.
💰 DIY vs Shop Cost
Shop Cost: $550-$950 (parts + labor)
DIY Cost: $180-$420 (parts only)
You Save: $370-$530 by doing it yourself!
Shop labor rates vary but typically run $100-$150/hour. This repair takes a shop approximately 2-3 hours.
🎯 Ready to get started?
HowToo makes it easy: same-day/2-day shipping on every part, plus all the tools and specialty tools you need! Check out the parts and tools sections below to add everything to your cart.