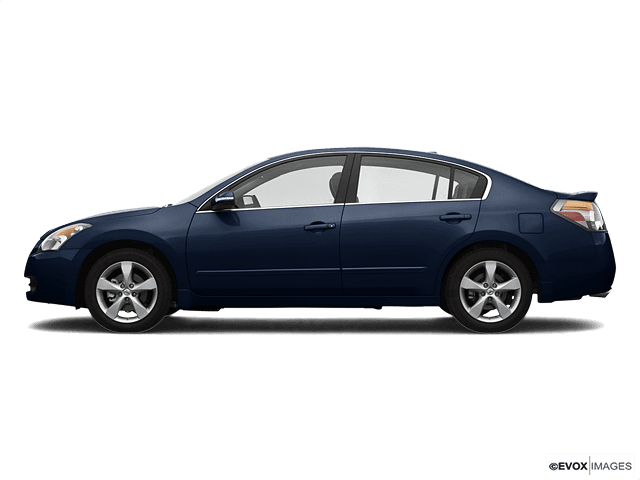

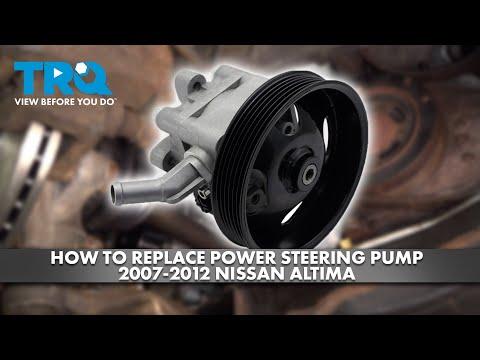







How to Replace the Power Steering Pump on a 2007 Nissan Altima (DIY Guide)
Step-by-step instructions with tools, parts list, torque specs, and bleeding procedure for 2007
How to Replace the Power Steering Pump on a 2007 Nissan Altima (DIY Guide)
Step-by-step instructions with tools, parts list, torque specs, and bleeding procedure for 2007


🔧 Altima - Power Steering Pump Replacement
Replacing the power steering pump fixes whining noises, heavy steering, or fluid leaks from the pump body/shaft. The job involves removing the drive belt, disconnecting the pressure/return lines, swapping the pump (and pulley if required), then bleeding air out of the system.
Difficulty Level: Intermediate | Estimated Time: 2-4 hours
⚠️ Safety & Precautions
- 🧤 Let the engine cool completely before working near the belt and exhaust.
- 👓 Power steering fluid can irritate eyes/skin; wear safety glasses and gloves.
- 🛑 Never place hands near the belt path with the engine running.
- 🧯 Support the car with jack stands on a level surface; never rely on a jack alone.
- 🔌 Battery disconnect is not required, but disconnecting the negative terminal helps prevent accidental shorts while working near the front of the engine.
🔧 Required Tools
You'll need the following tools for this repair:
- Safety glasses
- Nitrile gloves
- Floor jack (rated 2-ton minimum)
- Jack stands (rated 2-ton minimum)
- Wheel chocks
- Drain pan (2-gallon minimum)
- Shop rags
- 10mm socket
- 12mm socket
- 14mm socket
- 3/8" ratchet
- 3/8" torque wrench (10–80 ft-lbs range)
- Extensions (3" and 6")
- 14mm wrench
- Flare nut wrench set (10mm–19mm)
- Hose clamp pliers
- Flathead screwdriver
- Pliers
- Funnel
- Power steering pulley puller/installer set (specialty)
- Wire brush
🔩 Required Parts
HowToo sells all the parts you need for this repair:
- Power steering pump - Qty: 1
- Power steering pump pulley - Qty: 1 (only if your old pulley is damaged or your new pump doesn’t include one)
- Power steering pressure line sealing washers/O-rings (as applicable) - Qty: 1 set
- Power steering return hose clamp - Qty: 1 (recommended)
- Power steering fluid - Qty: 2 quarts (use the fluid type specified on the reservoir cap/owner’s manual)
- Serpentine drive belt - Qty: 1 (recommended if belt is cracked/glazed)
📋 Before You Begin
- 🚗 Park on level ground, set the parking brake, and chock the rear wheels.
- 🔧 Raise the front of the car with a floor jack and support it securely on jack stands.
- 🧼 Clean around the pump and hose connections with a wire brush and shop rags so dirt doesn’t enter the system.
- 🔌 If you choose to disconnect the battery: use a 10mm socket to remove the negative terminal and tuck it aside.
- Take a quick photo of belt routing.
🔨 Step-by-Step Instructions
Follow these steps in order:
Step 1: Remove the splash shield (if equipped)
- Place a drain pan under the front passenger side area of the engine.
- Use a flathead screwdriver and 10mm socket to remove the clips/bolts holding the lower splash shield, then set it aside.
Step 2: Relieve belt tension and remove the drive belt
- Locate the belt tensioner.
- Use a 14mm wrench on the tensioner to rotate it and relieve tension (this is the spring-loaded arm that keeps the belt tight).
- Slide the belt off the power steering pump pulley and remove it from the front of the engine.
Step 3: Drain the reservoir and disconnect the return hose
- Remove the reservoir cap by hand.
- Use hose clamp pliers to move the clamp back on the return hose (the softer rubber hose).
- Twist and pull the hose off the reservoir/pump nipple using pliers if needed, and let fluid drain into the drain pan.
- Plug the hose end with a clean rag to reduce dripping.
Step 4: Disconnect the high-pressure line (steel line fitting)
- Place shop rags under the pressure fitting to catch fluid.
- Use a flare nut wrench (line wrench) on the pressure line fitting and loosen it carefully. (A flare nut wrench grabs more sides of the nut and helps prevent rounding.)
- Finish unthreading by hand and keep track of any sealing washer/O-ring that comes off.
Step 5: Unbolt and remove the power steering pump
- Remove the pump mounting bolts using a 12mm socket and 14mm socket with a 3/8" ratchet and extensions.
- Lift the pump out of the engine bay, keeping it upright to avoid spilling more fluid into the alternator/belt area.
Step 6: Transfer the pulley (only if your new pump doesn’t include a pulley)
- Secure the old pump on the ground with a steady foot and rags (don’t crush it in a vise unless you have soft jaws).
- Use the power steering pulley puller/installer set (specialty) to remove the pulley from the old pump.
- Use the same power steering pulley puller/installer set (specialty) to install the pulley onto the new pump.
- Make sure the pulley sits straight and aligns with the other pulleys. Crooked pulley = belt squeal.
Step 7: Install the new pump
- Set the new pump into position.
- Start all mounting bolts by hand to avoid cross-threading.
- Tighten with a 12mm socket/14mm socket and 3/8" ratchet, then torque with a 3/8" torque wrench.
- Torque to 25–35 Nm (18–26 ft-lbs) for pump mounting bolts.
Step 8: Reconnect the high-pressure line
- Install new sealing washer/O-ring(s) from your pressure line sealing washers/O-rings set, as applicable.
- Thread the fitting in by hand first.
- Tighten using the flare nut wrench.
- Torque to 30–40 Nm (22–30 ft-lbs) for the pressure line fitting.
Step 9: Reconnect the return hose
- Slide the return hose fully onto the nipple.
- Use hose clamp pliers to reinstall the clamp in its original position.
Step 10: Reinstall the drive belt
- Route the belt according to your photo.
- Use a 14mm wrench to rotate the tensioner and slip the belt over the power steering pump pulley last.
- Visually confirm the belt is fully seated in every pulley groove.
Step 11: Fill and bleed the power steering system
- Fill the reservoir using a funnel and the correct power steering fluid to the “MAX” line.
- With the front wheels still off the ground and the engine OFF, slowly turn the steering wheel lock-to-lock about 10–15 times.
- Check fluid level and top off using the funnel.
- Start the engine and let it idle. Do not rev it.
- Slowly turn lock-to-lock 5–10 times, watching for foaming. If it foams, shut off and let it sit 10 minutes, then repeat.
- When the fluid stays clear and steering feels smooth/quiet, set level to “MAX” at operating temp.
Step 12: Reinstall shields and lower the car
- Reinstall the splash shield using a 10mm socket and flathead screwdriver.
- Lower the car using the floor jack, remove jack stands, and remove wheel chocks.
✅ After Repair
- 🔍 With the engine idling, inspect the pressure fitting and return hose for leaks using safety glasses.
- 🛞 Road-test in a parking lot first. Steering should be smooth and quiet.
- 📏 Recheck fluid level after the test drive and top off using a funnel.
- 🧼 Clean any spilled fluid—fluid on the belt can cause squeal.
💰 DIY vs Shop Cost
Shop Cost: $550-$950 (parts + labor)
DIY Cost: $160-$380 (parts only)
You Save: $390-$570 by doing it yourself!
Shop labor rates vary but typically run $100-$150/hour. This repair takes a shop approximately 2-3 hours.
🎯 Ready to get started?
HowToo makes it easy: same-day/2-day shipping on every part, plus all the tools and specialty tools you need! Check out the parts and tools sections below to add everything to your cart.