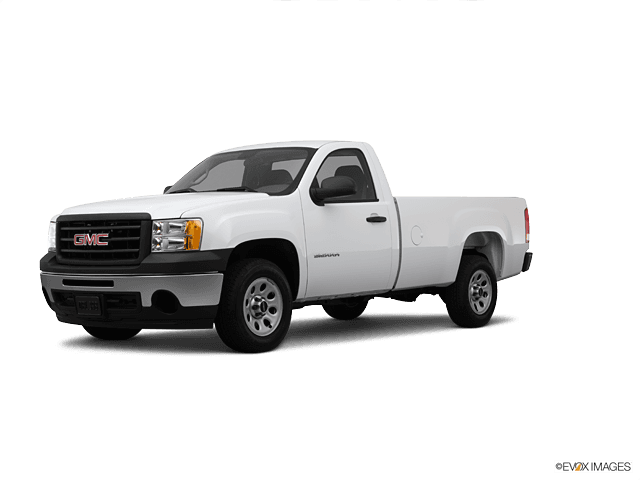

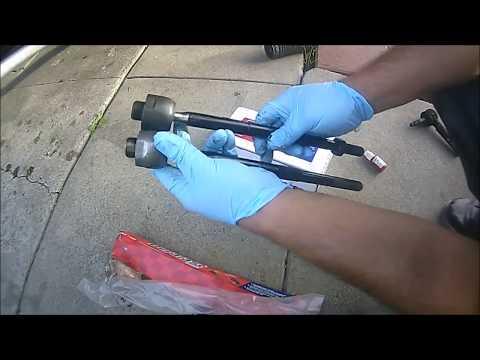







How to Replace the Outer Tie Rod End on a 2012 GMC Sierra 1500
Step-by-step instructions with tools, torque specs, alignment tips, and safety precautions for 2007, 2008, 2009, 2010, 2011, 2012, 2013
How to Replace the Outer Tie Rod End on a 2012 GMC Sierra 1500
Step-by-step instructions with tools, torque specs, alignment tips, and safety precautions for 2007, 2008, 2009, 2010, 2011, 2012, 2013


🔧 Tie Rod End - Replacement
On your Sierra, the tie rod end is part of the steering linkage and connects the steering rack/center link to the front knuckle. Replacing it restores steering feel and helps fix looseness, wandering, or clunks over bumps.
Difficulty Level: Intermediate | Estimated Time: 1.5-3 hours
⚠️ Safety & Precautions
- Park on level ground and set the parking brake.
- Lift the front of the truck and support it securely with jack stands. Never work under a truck held only by a jack.
- Keep hands clear of the steering linkage while separating the tie rod end.
- Get a professional alignment after the repair. Tie rod changes affect toe angle and steering wheel center.
🔧 Required Tools
You'll need the following tools for this repair:
- Floor jack (rated 3-ton minimum)
- Jack stands (rated 3-ton minimum)
- Wheel chocks
- 21mm lug wrench
- 18mm socket
- 19mm socket
- 21mm socket
- 1/2-inch ratchet
- 1/2-inch breaker bar
- Torque wrench
- Tie rod end puller (specialty)
- Needle-nose pliers
- Paint marker
- Penetrating oil
- Safety glasses
- Work gloves
🔩 Required Parts
HowToo sells all the parts you need for this repair:
- Outer tie rod end - Qty: 1
- Outer tie rod end castle nut - Qty: 1
- Outer tie rod end cotter pin - Qty: 1
- Grease - Qty: 1
📋 Before You Begin
- Park the truck on level ground and point the steering wheel straight ahead.
- Loosen the front wheel lug nuts slightly before lifting.
- Raise the front and support it with jack stands.
- Use a paint marker to mark the tie rod end position on the inner tie rod. This helps keep the alignment closer enough to drive to the shop.
🔨 Step-by-Step Instructions
Follow these steps in order:
Step 1: Remove the front wheel
- Use a 21mm lug wrench to loosen the lug nuts.
- Lift the truck with a floor jack and support it with jack stands.
- Remove the wheel and set it aside.
Step 2: Mark the old position
- Use a paint marker to mark the tie rod end location on the inner tie rod threads.
- This gives you a close starting point for toe adjustment.
- Do not skip this step.
Step 3: Remove the cotter pin and nut
- Use needle-nose pliers to straighten and remove the cotter pin.
- Use an 18mm socket or 19mm socket to remove the tie rod end castle nut.
- If the stud spins, apply upward pressure on the stud with the puller while loosening the nut.
Step 4: Separate the tie rod end from the knuckle
- Use a tie rod end puller (specialty) to pop the stud out of the steering knuckle.
- Apply penetrating oil if the stud is rusted in place.
- Never hammer directly on the stud threads.
Step 5: Remove the old tie rod end
- Count the turns as you unscrew the tie rod end from the inner tie rod.
- Use your hands to spin it off, or use a 19mm socket on the jam nut if needed.
- Match the new part to the old one before installation.
Step 6: Install the new tie rod end
- Thread the new tie rod end on the same number of turns you counted during removal.
- Align the stud with the knuckle and insert it fully.
- Install the new castle nut by hand first.
- Use an 18mm socket or 19mm socket to tighten the nut.
- Torque to 61 Nm (45 ft-lbs).
Step 7: Install the cotter pin
- Use needle-nose pliers to insert the new cotter pin through the castellated nut and stud.
- Bend the ends over so it cannot fall out.
- If the hole does not line up, tighten the nut slightly until it does. Do not loosen it to fit.
Step 8: Tighten the jam nut
- Use an 18mm socket or 19mm socket to tighten the jam nut against the tie rod end.
- Torque to 95 Nm (70 ft-lbs).
- Hold the tie rod end steady while tightening.
Step 9: Reinstall the wheel
- Put the wheel back on and hand-tighten the lug nuts.
- Lower the truck to the ground.
- Use a 21mm lug wrench or torque wrench to tighten the lug nuts in a star pattern.
- Torque to 190 Nm (140 ft-lbs).
✅ After Repair
- Start the truck and turn the steering wheel lock to lock to check for binding.
- Drive slowly first and confirm the steering wheel feels centered.
- Schedule a professional wheel alignment as soon as possible.
- Recheck the tie rod jam nut and castle nut after the first short drive.
💰 DIY vs Shop Cost
Shop Cost: $180-$350 (parts + labor)
DIY Cost: $35-$90 (parts only)
You Save: $145-$260 by doing it yourself!
Shop labor rates vary but typically run $100-$150/hour. This repair takes a shop approximately 1.5-3 hours.
🎯 Ready to get started?
HowToo makes it easy: same-day/2-day shipping on every part, plus all the tools and specialty tools you need! Check out the parts and tools sections below to add everything to your cart.