

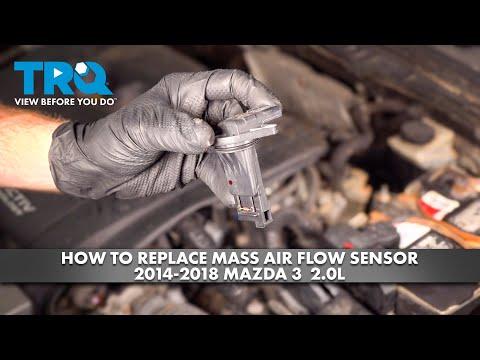






How to Replace the Mass Air Flow (MAF) Sensor on a 2018 Mazda 3
Step-by-step MAF replacement with required tools, parts list, torque specs, and post-install checks for 2012, 2013, 2014, 2015, 2016, 2017, 2018
How to Replace the Mass Air Flow (MAF) Sensor on a 2018 Mazda 3
Step-by-step MAF replacement with required tools, parts list, torque specs, and post-install checks for 2012, 2013, 2014, 2015, 2016, 2017, 2018


🔧 Mazda3 - Mass Air Flow (MAF) Sensor Replacement
The MAF sensor measures how much air is entering your Mazda3 so the engine computer can add the right amount of fuel. A failing or contaminated MAF can cause rough idle, hesitation, poor mileage, or a check-engine light.
Difficulty Level: Beginner | Estimated Time: 0.3-0.7 hours
⚠️ Safety & Precautions
- ⚠️ Work with the engine off and cool to avoid burns.
- ⚠️ Keep dirt out of the intake tube—don’t drop screws into the air duct.
- ⚠️ If you disconnect the battery, you may lose radio presets and the idle may need a short relearn.
- ⚠️ Never touch the MAF sensing element (tiny wire/film inside)—it’s very fragile.
🔧 Required Tools
You'll need the following tools for this repair:
- 8mm socket
- 1/4" drive ratchet
- 3" extension (1/4")
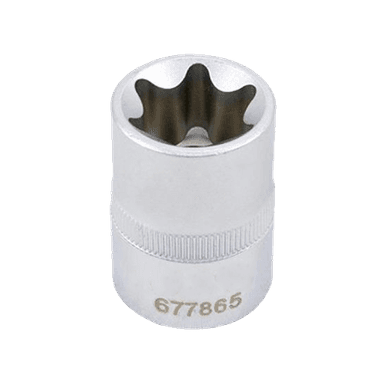
- Torx T20 bit
- Torx T20 security bit (specialty)
- Flathead screwdriver (small)
- Torque wrench (in-lb, 20–200 in-lb range)
- Nitrile gloves
- Safety glasses
🔩 Required Parts
HowToo sells all the parts you need for this repair:
- Mass air flow (MAF) sensor - Qty: 1
- MAF sensor O-ring/seal (if not included with sensor) - Qty: 1
- Dielectric grease (optional) - Qty: 1
- Engine air filter (optional, if due) - Qty: 1
📋 Before You Begin
- Park on level ground, shift to Park, and set the parking brake.
- Open the hood and locate the air box and intake tube. The MAF is mounted on the intake tube near the air box outlet.
- If you want maximum safety against accidental shorts, disconnect the negative battery cable using an 8mm socket and ratchet. Torque to 5 N·m (44 in-lb) when reinstalling.
🔨 Step-by-Step Instructions
Follow these steps in order:
Step 1: Confirm the MAF location
- Find the sensor with an electrical connector plugged into it on the intake tube right after the air box.
Step 2: Unplug the MAF electrical connector
- Press the connector lock tab and pull the connector straight off.
- If it’s stuck, use a flathead screwdriver (small) gently on the tab—do not pry on the wires.
- Tip: Push in first, then press tab.
Step 3: Remove the MAF mounting screws
- Use a Torx T20 bit to remove the two screws holding the MAF to the intake tube.
- If the screws have a pin in the center (tamper-resistant), use a Torx T20 security bit (specialty) instead.
- Set the screws aside where they can’t fall into the engine bay.
Step 4: Remove the MAF sensor from the intake tube
- Pull the sensor straight out.
- If it feels stuck, wiggle gently—don’t twist hard.
- Remove the old O-ring/seal if it stayed in the intake tube.
Step 5: Install the new MAF sensor
- Make sure the new sensor’s O-ring is installed and lightly seated (no pinches).
- Slide the sensor straight into the opening, fully seated and aligned.
- Install the screws by hand first (to avoid cross-threading), then tighten with a Torx T20 bit.
- Torque to 2 N·m (18 in-lb).
Step 6: Reconnect the electrical connector
- Push the connector on until it clicks.
- If using, apply a tiny amount of dielectric grease to the connector seal (not on metal pins).
Step 7: Reconnect the battery (if disconnected)
- Install the negative battery cable using an 8mm socket and ratchet.
- Torque to 5 N·m (44 in-lb).
✅ After Repair
- Start the engine and let it idle for 2–3 minutes. The idle may hunt briefly while it relearns.
- If you had a check-engine light, clear codes with a scan tool, then recheck for returning codes after a short drive.
- Take a 10–15 minute test drive with a mix of light throttle and steady cruising. Confirm no hesitation or stalling.
- Recheck the connector is fully latched and that no screws/tools were left near the air box.
💰 DIY vs Shop Cost
Shop Cost: $180-$350 (parts + labor)
DIY Cost: $70-$220 (parts only)
You Save: $110-$130 by doing it yourself!
Shop labor rates vary but typically run $100-$150/hour. This repair takes a shop approximately 0.3-0.7 hours.
🎯 Ready to get started?
HowToo makes it easy: same-day/2-day shipping on every part, plus all the tools and specialty tools you need! Check out the parts and tools sections below to add everything to your cart.