

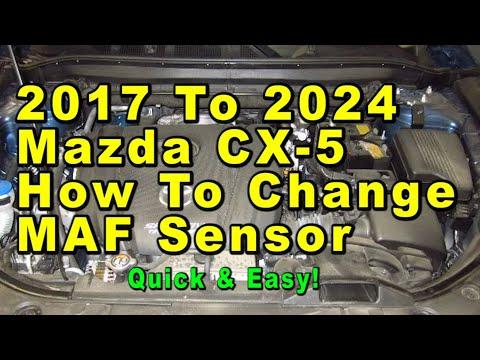






How to Replace the Mass Air Flow (MAF) Sensor on a 2017-2024 Mazda CX-5 (Engine: Inline 4 2.5L)
Beginner-friendly steps covering tools, parts, safety precautions, code clearing, and testing for 2017, 2018, 2019, 2020, 2021, 2022, 2023, 2024
How to Replace the Mass Air Flow (MAF) Sensor on a 2017-2024 Mazda CX-5 (Engine: Inline 4 2.5L)
Beginner-friendly steps covering tools, parts, safety precautions, code clearing, and testing for 2017, 2018, 2019, 2020, 2021, 2022, 2023, 2024


🔧 CX-5 - Mass Air Flow Sensor Replacement
This is a quick, beginner-friendly repair. The MAF sensor sits on the air-intake tube near the air-filter housing and is held by two small screws.
The correct replacement sensors are now shown in the parts sidebar. Handle the sensing element carefully. One fingerprint can ruin a brand-new sensor.
Difficulty Level: Beginner | Estimated Time: 20-30 minutes
⚠️ Safety & Precautions
- 🧊 Let the engine cool completely before working under the hood.
- 🔋 Disconnect the negative battery cable before unplugging the sensor.
- 🧤 Never touch, wipe, or probe the sensing element inside the MAF sensor.
- ⚠️ Don’t use brake cleaner, carburetor cleaner, or compressed air on the sensor.
- 🔩 Don’t overtighten the screws. The sensor and intake housing are plastic.
🔧 Required Tools
You'll need the following tools for this repair:
- 10mm socket
- 1/4-inch drive ratchet
- Phillips #2 screwdriver
- Inch-pound torque screwdriver (specialty)
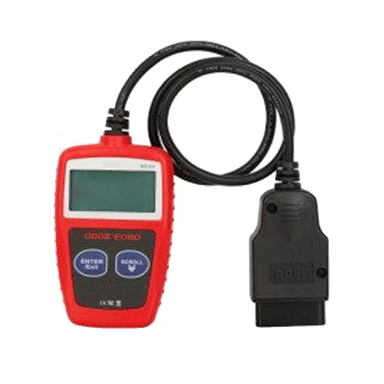
- OBD-II scan tool (specialty)
- Nitrile gloves
- Safety glasses
🔩 Required Parts
HowToo sells all the parts you need for this repair:
- Direct-fit mass air flow sensor with seal - Qty: 1
Use the new seal supplied with the sensor. Don’t reuse a damaged, flattened, or swollen seal.
📋 Before You Begin
- 🅿️ Park your CX-5 on level ground, select Park, and apply the parking brake.
- 🔑 Switch the ignition completely off and keep the key away from the vehicle.
- ⏱️ Wait at least one minute before disconnecting the battery.
- 📻 Battery disconnection may reset the clock and some learned settings.
- 🔍 Check the intake tube for cracks or loose clamps. An air leak can imitate a bad MAF sensor.
🔨 Step-by-Step Instructions
Follow these steps in order:
Step 1: Disconnect the Battery
- Open the hood and locate the battery.
- Use the 10mm socket and 1/4-inch drive ratchet to loosen the negative terminal clamp.
- Lift the negative cable off the terminal and position it where it cannot spring back.
- You only need to loosen the clamp enough to remove it. Don’t remove the clamp nut completely.
Step 2: Locate the MAF Sensor
- Find the air-filter housing on the driver side of the engine compartment.
- Follow the large plastic intake tube toward the engine.
- The MAF sensor is the small electrical sensor fitted into the intake tube near the air-filter housing.
- Take a photo before unplugging anything.
Step 3: Disconnect the Electrical Connector
- Press the locking tab on the MAF sensor connector with your finger.
- Pull the connector straight away from the sensor body.
- Hold the connector housing, not the wires.
- If it sticks, press the lock farther inward while gently rocking the connector. Don’t pry it with a screwdriver.
Step 4: Remove the Old Sensor
- Use the Phillips #2 screwdriver to remove the two retaining screws.
- Keep downward pressure on the screwdriver so the screw heads don’t strip.
- Lift the MAF sensor straight out of the intake opening.
- Don’t twist aggressively. The sealing ring may make the sensor feel slightly stuck.
Step 5: Inspect the Mounting Opening
- Use your gloved fingers to check that the old sealing ring didn’t remain in the opening.
- Look for dirt around the mounting surface without pushing debris into the intake tube.
- Don’t place a rag or tool inside the intake opening.
Step 6: Install the New MAF Sensor
- Hold the new sensor by its plastic body. Don’t touch the sensing element.
- Confirm that its sealing ring is correctly seated and isn’t twisted.
- Align the sensor in the same direction as the old one and lower it straight into the opening.
- Start both screws by hand before tightening either one.
Step 7: Tighten the Sensor Screws
- Use the Phillips #2 screwdriver or inch-pound torque screwdriver to tighten the screws evenly.
- Mazda’s accessible replacement procedure doesn’t provide a numerical torque value for these screws.
- Tighten only until both screw heads are seated and the sensor is secure.
- Don’t continue turning after the screws become snug. Cracked plastic turns a five-minute job into an expensive afternoon.
Step 8: Reconnect the Sensor
- Push the electrical connector straight onto the new sensor.
- Continue until the locking tab clicks into place.
- Pull back gently on the connector housing to confirm it is locked.
Step 9: Reconnect the Battery
- Place the negative battery clamp fully over the battery terminal.
- Use the 10mm socket and 1/4-inch drive ratchet to tighten the clamp until it cannot rotate by hand.
- Don’t overtighten or force the battery clamp downward.
Step 10: Clear Codes and Test
- Connect the OBD-II scan tool to the diagnostic port below the driver-side dashboard.
- Switch the ignition on without starting the engine.
- Read and record the stored trouble codes, then clear them.
- Start the engine and let it idle without pressing the accelerator for several minutes.
✅ After Repair
- 👂 Listen for hissing, surging, or an unusually rough idle.
- 🔍 Verify that the sensor connector is locked and the intake tube remains secure.
- 🚗 Take a gentle 10-15 minute drive after the idle stabilizes.
- 💻 Scan again if the Check Engine light returns. Codes such as P0101 can also result from intake leaks, wiring faults, or airflow restrictions.
- ⚠️ If the engine runs worse immediately after replacement, shut it off and recheck the sensor seal and connector.
💰 DIY vs Shop Cost
Shop Cost: $180-$350 (parts + labor)
DIY Cost: $82-$210 (parts only)
You Save: $98-$140 by doing it yourself!
Shop labor rates vary but typically run $100-$150/hour. This repair takes a shop approximately 0.3-0.5 hour.
🎯 Ready to get started?
HowToo makes it easy: same-day/2-day shipping on every part, plus all the tools and specialty tools you need! Check out the parts and tools sections below to add everything to your cart.