

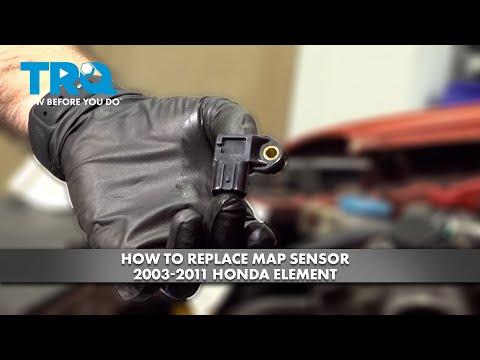







How to Replace the MAP/IAT Sensor (No MAF) on a 2007 Honda CR-V
Step-by-step troubleshooting, sensor locations, required tools/parts, and safety tips for 2007, 2008, 2009, 2010, 2011, 2012, 2013, 2014, 2015, 2016
How to Replace the MAP/IAT Sensor (No MAF) on a 2007 Honda CR-V
Step-by-step troubleshooting, sensor locations, required tools/parts, and safety tips for 2007, 2008, 2009, 2010, 2011, 2012, 2013, 2014, 2015, 2016


🔧 CR-V - MAF Sensor Replacement
Your CR-V doesn’t use a traditional Mass Air Flow (MAF) sensor like many cars do. It typically uses a MAP sensor (Manifold Absolute Pressure) and an IAT sensor (Intake Air Temperature) instead.
Once we identify which sensor you’re actually replacing, I’ll give you the exact step-by-step replacement procedure.
Difficulty Level: Beginner | Estimated Time: 0.2-0.5 hours
⚠️ Safety & Precautions
- ⚠️ Let the engine cool so you don’t burn your hands on hot parts.
- ⚠️ Keep the key out of the ignition while unplugging sensors.
- ⚠️ If you disconnect the battery, you may need radio presets reset.
- ⚠️ Don’t pull on wires; always pull on the connector body.
🔧 Required Tools
You'll need the following tools for this repair:
- 10mm socket
- 1/4" ratchet
- 6" extension (1/4")
- Phillips screwdriver #2
- Flat trim tool
- Flashlight
- Nitrile gloves
- Safety glasses
🔩 Required Parts
HowToo sells all the parts you need for this repair:
- MAP sensor - Qty: 1
- IAT sensor - Qty: 1
- Dielectric grease - Qty: 1
📋 Before You Begin
- 🅿️ Park on level ground and set the parking brake.
- Open the hood and remove any engine cover if equipped (use a 10mm socket if it has bolts).
- If your hands are near the radiator fan area, disconnect the negative battery cable using a 10mm socket (optional but safest).
🔨 Step-by-Step Instructions
Follow these steps in order:
Step 1: Confirm which “air sensor” you have
- Use a flashlight to look at the air intake tube (the black tube from the air box to the engine).
- If you see a sensor installed in the intake tube or air box with an electrical connector, that’s usually the IAT sensor (not a MAF).
- Then look at the intake manifold (the part the intake tube connects to). A small sensor with a connector bolted into the manifold is usually the MAP sensor.
- MAF sensors usually sit in the air tube.
Step 2: Tell me what you see (two quick questions)
- Do you have a sensor mounted in the air intake tube/air box, or only on the intake manifold?
- Are you replacing it due to a check-engine light? If yes, what code (example: P0102, P0113, P0108)?
✅ After Repair
- Once you confirm which sensor, I’ll include the correct install steps and what to double-check before starting the engine.
- If there’s a check-engine light, clearing the code after the repair is recommended (I can guide you based on the code).
💰 DIY vs Shop Cost
Shop Cost: $180-$400 (parts + labor)
DIY Cost: $35-$180 (parts only)
You Save: $145-$220 by doing it yourself!
Shop labor rates vary but typically run $100-$150/hour. This repair takes a shop approximately 0.5-1.0 hours.
🎯 Ready to get started?
HowToo makes it easy: same-day/2-day shipping on every part, plus all the tools and specialty tools you need! Check out the parts and tools sections below to add everything to your cart.