

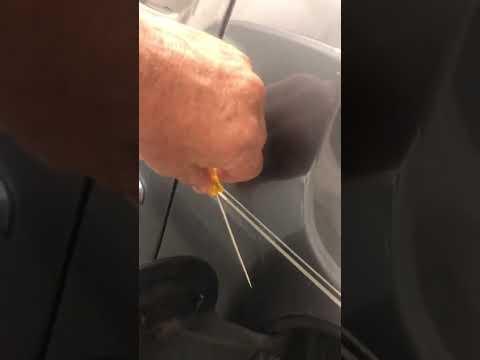




How to Replace the Fuel Cap on a 2018 Honda Pilot
Step-by-step DIY guide with required parts, safety tips, and check engine light notes
How to Replace the Fuel Cap on a 2018 Honda Pilot
Step-by-step DIY guide with required parts, safety tips, and check engine light notes


🔧 Pilot - Fuel Cap Replacement
Replacing the fuel cap on your Pilot is a very simple repair. A worn, cracked, loose, or missing fuel cap can allow fuel vapors to escape and may trigger an emissions warning or check engine light.
Difficulty Level: Beginner | Estimated Time: 5-10 minutes
⚠️ Safety & Precautions
- 🚭 Do not smoke or use open flames near the fuel filler area.
- 🧯 Work in a well-ventilated area because fuel vapors can be present.
- ⛽ Avoid touching the fuel filler opening with dirty hands or tools.
- 🔋 Battery disconnect is not required for this repair.
🔧 Required Tools
You'll need the following tools for this repair:
- Safety glasses
- Nitrile gloves
🔩 Required Parts
HowToo sells all the parts you need for this repair:
- Fuel filler cap - Qty: 1
📋 Before You Begin
- 🅿️ Park your Pilot on level ground and shift to Park.
- 🔥 Turn the engine off and let the fuel filler area sit for a minute before opening the door.
- 🧤 Put on nitrile gloves; nitrile gloves are fuel-resistant disposable gloves that help protect your skin.
- 👓 Wear safety glasses to protect your eyes from dust or fuel vapor irritation.
🔨 Step-by-Step Instructions
Follow these steps in order:
Step 1: Open the Fuel Door
- Use your hand to press the rear edge of the fuel door, then let it pop open.
- No tool is needed for this step.
- Tip: Do not pry the painted door.
Step 2: Remove the Old Fuel Cap
- Use your gloved hand to turn the fuel cap counterclockwise until it comes loose.
- If the cap is attached by a small plastic tether, lift the tether loop off its mounting point by hand.
- A tether is the small strap that keeps the cap from being lost.
Step 3: Inspect the Fuel Filler Area
- Use your gloved hand to check that the fuel filler neck is clean and not damaged.
- Look at the sealing surface where the cap gasket touches.
- If dirt is present, wipe gently with a clean dry cloth before installing the new cap.
- Do not push debris into the filler neck.
Step 4: Install the New Fuel Cap
- If equipped with a tether, use your gloved hand to attach the new tether loop to the original mounting point.
- Place the new fuel filler cap onto the filler neck.
- Use your gloved hand to turn the cap clockwise until it clicks.
- Tighten until you hear at least one clear click; this means the cap has reached its built-in tightening limit.
- No torque wrench is used because the cap has a ratcheting click mechanism.
Step 5: Close the Fuel Door
- Use your hand to swing the fuel door closed.
- Press gently until it sits flush with the body.
- Tip: Flush means even with the body panel.
✅ After Repair
- ✅ Start your Pilot and check that the fuel door stays closed and the cap feels secure.
- 💡 If the check engine light was caused by a loose or failed fuel cap, it may take several drive cycles to turn off by itself.
- 🔍 If the check engine light stays on after several normal trips, have the evaporative emissions system scanned for stored codes.
- 🧾 Keep the old cap until you confirm the new cap fits and seals correctly.
💰 DIY vs Shop Cost
Shop Cost: $45-$95 parts + labor
DIY Cost: $15-$35 parts only
You Save: $30-$60 by doing it yourself!
Shop labor rates vary but typically run $100-$150/hour. This repair takes a shop approximately 0.2-0.3 hours.
🎯 Ready to get started?
HowToo makes it easy: same-day/2-day shipping on every part, plus all the tools and specialty tools you need! Check out the parts and tools sections below to add everything to your cart.