

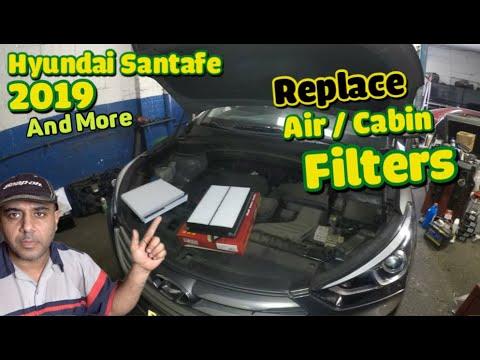







How to Replace the Engine Air Filter on a 2019 Hyundai Santa Fe XL
Step-by-step air box removal and filter install with tools list, safety tips, and post-repair checks for 2019
How to Replace the Engine Air Filter on a 2019 Hyundai Santa Fe XL
Step-by-step air box removal and filter install with tools list, safety tips, and post-repair checks for 2019


🔧 Santa Fe XL - Engine Air Filter Replacement
Replacing your engine air filter helps your Santa Fe XL breathe clean air, which supports smooth performance and good fuel economy. This is a quick job: you’ll open the air box, swap the filter, and close everything back up.
Difficulty Level: Beginner | Estimated Time: 0.2-0.5 hours
⚠️ Safety & Precautions
- ⚠️ Work with the engine off and cool to avoid burns.
- ⚠️ Keep fingers and tools clear of belts and fans.
- ⚠️ Do not start the engine with the air filter removed.
- ⚠️ Battery disconnect is not required for this job.
🔧 Required Tools
You'll need the following tools for this repair:
- Nitrile gloves
- Safety glasses
- Phillips screwdriver
- Flathead screwdriver
- Flashlight
- Clean shop towel
🔩 Required Parts
HowToo sells all the parts you need for this repair:
- Engine air filter - Qty: 1
📋 Before You Begin
- Park on level ground and shift to P.
- Turn the engine off and let it cool for 10-15 minutes.
- Open the hood and locate the air filter box (a black plastic box connected to the large intake tube).
🔨 Step-by-Step Instructions
Follow these steps in order:
Step 1: Find the air filter housing
- Use a flashlight to locate the air box near the front/side of the engine bay with a large plastic tube attached.
Step 2: Release the air box clips or screws
- Look for metal clips around the edge of the air box lid, or screws holding the lid.
- If it has screws, remove them with a Phillips screwdriver.
- If there’s a tight plastic tab, gently help it with a flathead screwdriver (don’t pry hard).
- Clips usually flip open by hand.
Step 3: Lift the air box lid
- Lift the lid up enough to access the filter.
- Don’t force the intake tube; if it feels tight, lift the lid slowly and keep it supported.
Step 4: Remove the old air filter
- Pull the filter straight out.
- Use a clean shop towel to wipe loose dirt from the air box bottom.
- Do not let dirt fall down the intake opening.
Step 5: Install the new air filter
- Place the new filter into the air box the same way the old one came out.
- Make sure the filter sits flat and the edge seal is fully seated all the way around.
- If it won’t sit flat, it’s not aligned.
Step 6: Close and secure the air box
- Lower the air box lid back into place.
- Re-lock the clips by hand, or tighten screws with a Phillips screwdriver until snug.
- If you loosened any intake duct clamp, snug it with a flathead screwdriver.
✅ After Repair
- Double-check all clips/screws are secured and the lid is fully seated.
- Start the engine and listen for any loud “hissing” (can indicate the air box isn’t sealed).
- If you hear a hiss, shut the engine off and re-check the lid alignment and clips.
💰 DIY vs Shop Cost
Shop Cost: $60-$130 (parts + labor)
DIY Cost: $15-$35 (parts only)
You Save: $45-$95 by doing it yourself!
Shop labor rates vary but typically run $100-$150/hour. This repair takes a shop approximately 0.2-0.5 hours.
🎯 Ready to get started?
HowToo makes it easy: same-day/2-day shipping on every part, plus all the tools and specialty tools you need! Check out the parts and tools sections below to add everything to your cart.