


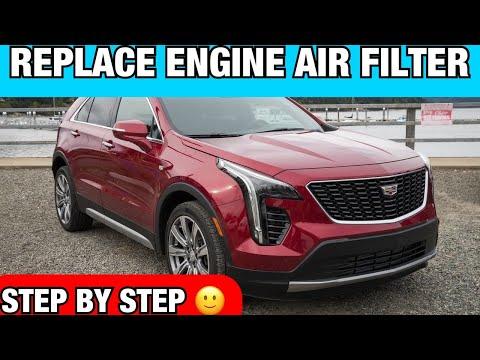






How to Replace the Engine Air Filter on a 2019-2025 Cadillac XT4 (Engine: Inline 4 2.0L)
Beginner-friendly steps with required tools, filter installation tips, and safety checks for 2019, 2020, 2021, 2022, 2023, 2024, 2025
How to Replace the Engine Air Filter on a 2019-2025 Cadillac XT4 (Engine: Inline 4 2.0L)
Beginner-friendly steps with required tools, filter installation tips, and safety checks for 2019, 2020, 2021, 2022, 2023, 2024, 2025


🔧 XT4 - Engine Air Filter Replacement
This is an easy first DIY job. The air-filter housing is on the passenger side of the engine compartment, and its cover is held by six screws. Replacing the filter keeps Haryana dust out of the turbocharged engine.
Difficulty Level: Beginner | Estimated Time: 15-25 minutes
⚠️ Safety & Precautions
- ⚠️ Switch the engine off, remove the key, and let the engine cool.
- ⚠️ Never start the engine while the air-filter housing is open.
- ⚠️ Keep dirt, loose hardware, and tools out of the open intake.
- ⚠️ Do not wash the filter or clean it with compressed air.
- ⚠️ Battery disconnection is not required.
🔧 Required Tools
You'll need the following tools for this repair:
- Torx T25 screwdriver
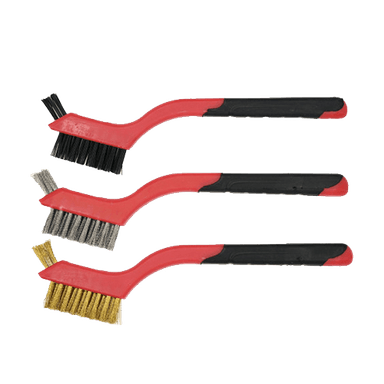
- Soft-bristle 25mm detailing brush
- Clean microfiber cloth
- Nitrile work gloves
- Safety glasses
🔩 Required Parts
HowToo sells all the parts you need for this repair:
- Panel-style engine air filter - Qty: 1
📋 Before You Begin
- 📋 Park your XT4 on level ground, select Park, and apply the parking brake.
- 📋 Open the hood and locate the large black air-filter housing on the passenger side.
- 📋 Compare the new filter with the old one before completing installation.
- 📋 No infotainment service mode or scan tool is required.
🔨 Step-by-Step Instructions
Follow these steps in order:
Step 1: Clean Around the Housing
- Use the 25mm detailing brush to loosen dust around the airbox cover.
- Use the microfiber cloth to wipe away loose dirt before opening it.
- Do not push dirt toward the air intake openings.
Step 2: Loosen the Six Cover Screws
- Use the Torx T25 screwdriver to loosen all six screws on top of the housing.
- Press the driver firmly into each screw and turn counterclockwise.
- Keep the driver straight so the Torx-shaped screw heads aren't damaged.
- The screws may remain captured in the cover. Don't force them out.
- No published installation torque is specified in the owner's procedure.
- Loosen each screw before fully releasing any one.
Step 3: Lift the Airbox Cover
- Put on the nitrile work gloves and lift the housing cover away from the engine.
- Move it only far enough to access the filter. Don't pull hard on the attached intake duct.
- If the cover resists, check that all six screws are fully loosened.
Step 4: Remove the Old Filter
- Lift the old panel filter straight out by its outer rubber frame.
- Note which side faces upward so the replacement goes in the same way.
- Keep loose dirt from falling into the clean side of the housing.
Step 5: Clean and Inspect the Housing
- Use the microfiber cloth to wipe dirt from the lower housing and sealing ledge.
- Use the 25mm detailing brush only around corners that remain closed off from the intake.
- Inspect the housing for leaves, cracks, moisture, or a damaged sealing surface.
- Do not use water or compressed air. A turbo doesn't need a surprise mouthful of dust.
Step 6: Install the New Filter
- Place the new engine air filter into the lower housing in the same orientation as the old filter.
- Run a gloved finger around the filter frame to confirm it sits flat in its channel.
- Make sure no corner is folded, raised, or trapped outside the housing.
- A perfect seal matters more than brute force.
Step 7: Refit the Cover
- Lower the cover evenly over the new filter without shifting it.
- Check the entire seam for an even gap before tightening anything.
- If the cover rocks or won't sit flat, reopen it and reseat the filter.
Step 8: Tighten the Six Screws
- Use the Torx T25 screwdriver to start all six screws by hand.
- Tighten them gradually in an alternating pattern so the cover seats evenly.
- Snug by hand only. No published torque value is specified.
- Stop when each screw is seated. The housing is plastic and can be damaged by overtightening.
✅ After Repair
- ✅ Confirm that all six screws are secure and the housing seam is fully closed.
- ✅ Check that no tools or cloths remain in the engine compartment.
- ✅ Start the engine and listen for a hiss or unusually loud intake noise.
- ✅ If equipped, reset the filter monitor through the Driver Information Center: display Air Filter Life > Right Arrow > Reset > Check Mark > Confirm.
- ✅ If the engine runs poorly or a warning appears, switch it off and recheck the filter seal and cover.
💰 DIY vs Shop Cost
Shop Cost: $60-$120 equivalent, depending on local labor and filter pricing
DIY Cost: $13-$31 equivalent for a standard replacement filter
You Save: Approximately $30-$90 by doing it yourself!
Labor rates vary by location. This repair takes a shop approximately 0.2-0.4 hours.
🎯 Ready to get started?
HowToo makes it easy: same-day/2-day shipping on every part, plus all the tools and specialty tools you need! Check out the parts and tools sections below to add everything to your cart.
