








How to Replace the Engine Air Filter on a 2017 Toyota Tacoma
Step-by-step instructions with tools, parts, safety tips, and quick DIY guidance for 2005, 2006, 2007, 2008, 2009, 2010, 2011, 2012, 2013, 2014, 2015, 2016, 2017, 2018, 2019, 2020, 2021, 2022, 2023
How to Replace the Engine Air Filter on a 2017 Toyota Tacoma
Step-by-step instructions with tools, parts, safety tips, and quick DIY guidance for 2005, 2006, 2007, 2008, 2009, 2010, 2011, 2012, 2013, 2014, 2015, 2016, 2017, 2018, 2019, 2020, 2021, 2022, 2023


🔧 Engine Air Filter - Replacement
Replacing the engine air filter on your Tacoma is a quick maintenance job. A clean filter helps keep dirt out of the engine and can improve throttle response if the old filter is clogged.
Difficulty Level: Beginner | Estimated Time: 0.2-0.5 hours
⚠️ Safety & Precautions
- Turn the engine off and let it cool before opening the air box.
- Keep dirt, leaves, and loose hardware out of the air intake.
- Make sure the air filter box lid is fully seated before starting the engine.
🔧 Required Tools
You'll need the following tools for this repair:
- Phillips screwdriver
- Flat-blade screwdriver
- Clean shop rag
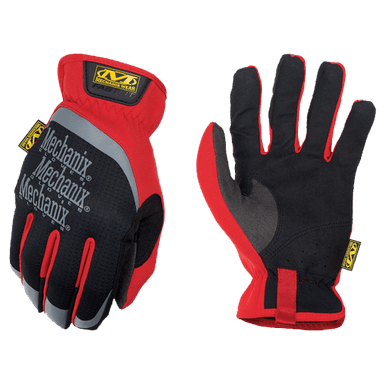
- Gloves
- Safety glasses
🔩 Required Parts
HowToo sells all the parts you need for this repair:
- Engine air filter - Qty: 1
📋 Before You Begin
- Park on level ground and set the parking brake.
- Shut the engine off and open the hood.
- Let the engine bay cool if the truck was recently driven.
🔨 Step-by-Step Instructions
Follow these steps in order:
Step 1: Open the air filter housing
- Locate the air filter box on top of the engine bay.
- Use a Phillips screwdriver or flat-blade screwdriver to loosen the housing fasteners if equipped.
- Release the metal clips by hand if your Tacoma uses clips instead of screws.
- Keep the lid level while lifting.
Step 2: Remove the old air filter
- Lift the air box cover carefully and set it aside.
- Pull the old filter straight out by hand.
- Check the air box for leaves, dirt, or debris.
Step 3: Clean the air box
- Use a clean shop rag to wipe out any dirt inside the housing.
- Do not let debris fall into the intake tube.
Step 4: Install the new air filter
- Place the new engine air filter into the housing the same way the old one sat.
- Make sure the rubber seal sits flat all the way around.
- Improper sealing can let dirty air in.
Step 5: Reinstall the housing cover
- Set the air box lid back in place.
- Engage the clips by hand or tighten the screws with a Phillips screwdriver or flat-blade screwdriver.
- Make sure the box is fully closed on all sides.
✅ After Repair
- Start the engine and listen for any whistling or air leaks.
- Check that the air box is fully latched and secure.
- Dispose of the old filter properly.
💰 DIY vs Shop Cost
Shop Cost: $60-$120 (parts + labor)
DIY Cost: $20-$45 (parts only)
You Save: $40-$75 by doing it yourself!
Shop labor rates vary but typically run $100-$150/hour. This repair takes a shop approximately 0.2-0.5 hours.
🎯 Ready to get started?
HowToo makes it easy: same-day/2-day shipping on every part, plus all the tools and specialty tools you need! Check out the parts and tools sections below to add everything to your cart.