

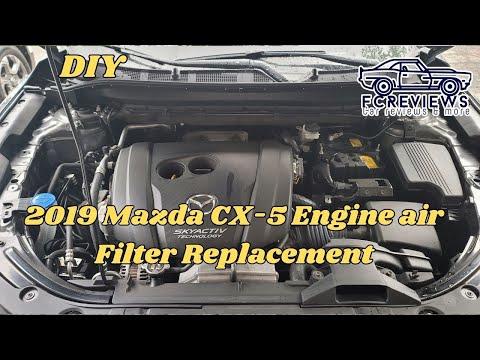





How to Replace the Engine Air Filter on a 2013-2025 Mazda CX-5 (Engine: Inline 4 2.5L)
A beginner-friendly, step-by-step guide covering parts, safety, and proper airbox sealing for 2013, 2014, 2015, 2016
How to Replace the Engine Air Filter on a 2013-2025 Mazda CX-5 (Engine: Inline 4 2.5L)
A beginner-friendly, step-by-step guide covering parts, safety, and proper airbox sealing for 2013, 2014, 2015, 2016


🔧 CX-5 - Engine Air Filter Replacement
This is one of the easiest jobs on your CX-5. You’ll release two clips, lift the airbox cover, exchange the filter, and make sure the new seal sits completely flat.
Difficulty Level: Beginner | Estimated Time: 10-15 minutes
⚠️ Safety & Precautions
- ⚠️ Switch the engine off and let it cool before reaching into the engine bay.
- 🔑 Keep the key away from the vehicle so nobody starts it.
- 🛑 Never run the engine with the air filter removed.
- 🔋 Battery disconnection isn’t required.
🔧 Required Tools
You’ll need the following tools for this repair:
- Nitrile work gloves
- Safety glasses
- Clean microfiber cloth
🔩 Required Parts
HowToo sells all the parts you need for this repair:
- Replacement panel-style engine air filter - Qty: 1
📋 Before You Begin
- 🚙 Park your CX-5 on level ground and apply the parking brake.
- 🌡️ Open the hood after the engine has cooled.
- 📦 Find the black plastic airbox connected to the large engine intake hose.
- 🧹 Sonipat’s dusty conditions can load a filter quickly, so keep dirt out of the clean side of the airbox.
🔨 Step-by-Step Instructions
Follow these steps in order:
Step 1: Open the airbox clips
- Put on your safety glasses and nitrile work gloves.
- Locate the two metal retaining clips along the edge of the airbox cover.
- Pull each clip outward with your fingers until it releases.
- No bolts or screws normally need to be removed.
Step 2: Lift and release the airbox cover
- Lift the clipped edge of the cover only far enough to clear the filter.
- Move the cover slightly away from the fixed locating tabs on the opposite edge.
- Don’t pull hard on the intake hose or attached wiring.
- The plastic tabs break before they apologize.
Step 3: Remove the old filter
- Note how the old filter is positioned before lifting it out by its rubber edge.
- Check the dirty side for excessive dust, leaves, insects, or moisture.
- Don’t shake loose dirt over the open airbox.
Step 4: Clean the airbox
- Use the clean microfiber cloth to wipe loose debris from the lower airbox.
- Keep the cloth away from the outlet leading toward the engine.
- Don’t use compressed air because it can force dirt into the intake.
Step 5: Install the new filter
- Lower the new panel filter into the same position as the old one.
- Press gently around the perimeter so its rubber sealing edge sits flat in the airbox groove.
- Make sure no corner is folded, raised, or trapped outside the housing.
Step 6: Close the airbox
- Engage the fixed cover tabs with their slots first.
- Lower the opposite edge without pinching the filter seal.
- Press the cover down by hand and fasten both metal clips.
- No torque specification applies because the cover uses hand-operated clips.
✅ After Repair
- ✅ Run your fingers around the airbox seam and confirm it’s evenly closed.
- 🔍 Verify both clips are fully locked and the intake hose hasn’t moved.
- 🚗 Start the engine and listen for a loud hiss or unusual intake noise.
- 🧼 Dispose of the old filter without knocking its trapped dust into the engine bay.
💰 DIY vs Shop Cost
Shop Cost: $45-$90 (parts + labor)
DIY Cost: $8-$30 (parts only)
You Save: $35-$60 by doing it yourself!
Shop labor rates vary but typically run $100-$150/hour. This repair takes a shop approximately 0.2-0.3 hours.
🎯 Ready to get started?
HowToo makes it easy: same-day/2-day shipping on every part, plus all the tools and specialty tools you need! Check out the parts and tools sections below to add everything to your cart.