

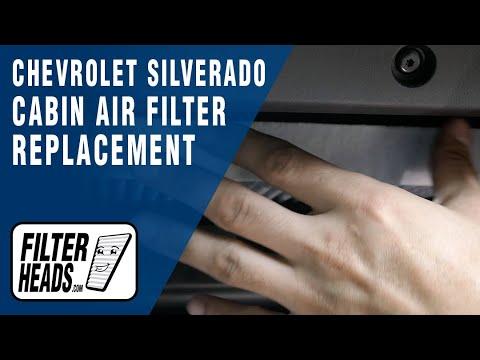






How to Replace the Cabin Air Filter on a 2019-2024 Chevrolet Silverado 1500
Step-by-step glove box access, filter installation, tools, and safety tips for 2019, 2020, 2021, 2022, 2023, 2024
How to Replace the Cabin Air Filter on a 2019-2024 Chevrolet Silverado 1500
Step-by-step glove box access, filter installation, tools, and safety tips for 2019, 2020, 2021, 2022, 2023, 2024


🔧 Silverado 1500 - Cabin Air Filter Replacement
This is one of the easiest maintenance jobs on your Silverado 1500. The filter sits behind the passenger-side glove box, and the replacement is mostly done by hand.
Difficulty Level: Beginner | Estimated Time: 10-20 minutes
⚠️ Safety & Precautions
- ⚠️ Switch the ignition off and remove the key before starting.
- 🧤 Wear gloves because the old filter may contain heavy dust, pollen, and leaves.
- 📦 Empty the glove box first so its contents don’t spill onto the floor.
- 🔋 Battery disconnection is not required.
🔧 Required Tools
You'll need the following tools for this repair:
- Plastic trim removal tool
- LED flashlight
- Nitrile work gloves
- Safety glasses
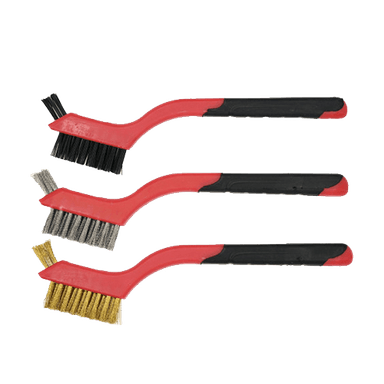
- Soft-bristle detailing brush
- HEPA shop vacuum with crevice attachment
🔩 Required Parts
HowToo sells all the parts you need for this repair:
- High-efficiency cabin air filter - Qty: 1
I’d use the premium HEPA option shown in the parts list. Sonipat’s dust makes better filter media worth the small upgrade. Your lungs don’t need to audition as a second filter.
📋 Before You Begin
- 🅿️ Park on level ground, shift into Park, and switch the ignition off.
- 🧺 Open the passenger glove box and remove everything inside.
- 💡 Position the LED flashlight so you can see behind the glove box.
- 🚫 No infotainment menu, scan tool, programming, or battery reset is needed.
🔨 Step-by-Step Instructions
Follow these steps in order:
Step 1: Lower the glove box
- Open the glove box fully.
- Press both glove-box side walls inward by hand so the built-in stops clear the dashboard opening.
- Support the glove box as it swings downward. Don’t let it hang or snap open.
- Use the plastic trim removal tool only if a side stop needs gentle help moving past the opening.
Step 2: Disconnect the glove-box damper
- Locate the small damper arm attached near the side of the glove box. A damper is the small link that makes the door open slowly.
- Support the glove box with one hand.
- Use your fingers or the plastic trim removal tool to carefully release the damper arm from its pin.
- Lower the glove box far enough to expose the rectangular filter housing.
Step 3: Open the filter housing
- Use the LED flashlight to locate the narrow rectangular cabin-filter access door behind the glove box.
- Press the retaining tabs inward by hand.
- Pull the access door straight out and set it aside.
- Don’t force the tabs. They’re plastic and should release with light pressure.
Step 4: Remove the old filter
- Note the direction of the airflow arrow printed on the old filter before moving it.
- Grip the filter edges with nitrile work gloves and slide it straight out.
- Keep the dirty side facing upward so debris doesn’t fall into the blower housing.
- Take a photo of the arrow first.
Step 5: Clean the housing
- Use the HEPA shop vacuum with crevice attachment to remove loose leaves and dust near the opening.
- Use the soft-bristle detailing brush to loosen debris around the housing edges.
- Keep the vacuum nozzle at the opening. Don’t push it deeply into the HVAC case.
- Never spray cleaner or compressed air into the filter housing.
Step 6: Install the new filter
- Check the airflow arrow on the replacement filter.
- Install it in the same airflow direction as the old filter.
- Slide the filter into the housing without crushing or sharply folding the pleats.
- Make sure the filter sits flat and fully inside the opening.
Step 7: Reinstall the access door
- Position the filter access door over the housing.
- Press it evenly by hand until both retaining tabs click into place.
- Gently pull on the door to confirm it’s locked.
- No torque specification applies because the cover uses retaining tabs.
Step 8: Reinstall the glove box
- Raise the glove box while supporting its weight.
- Reconnect the damper arm to its pin by hand.
- Squeeze the glove-box side walls inward and guide the stops back through the dashboard opening.
- Close and reopen the glove box to confirm smooth movement.
✅ After Repair
- 🌬️ Start the Silverado 1500 and run the blower through low, medium, and high speeds.
- 👂 Listen for fluttering or rubbing sounds. Those usually mean the filter isn’t seated flat.
- 🔍 Check that airflow is steady from the vents.
- 🗑️ Place the old filter in a bag before throwing it away so dust stays contained.
- 📅 Inspect the new filter every 6 months in local dusty conditions and replace it when visibly loaded.
💰 DIY vs Shop Cost
Shop Cost: $60-$120 USD equivalent, depending on local labor and filter choice
DIY Cost: $10-$50 USD equivalent for the filter
You Save: Approximately $40-$80 by doing it yourself!
Shop labor rates vary by region. This repair takes a shop approximately 0.2-0.4 hours.
🎯 Ready to get started?
HowToo makes it easy: same-day/2-day shipping on every part, plus all the tools and specialty tools you need! Check out the parts and tools sections below to add everything to your cart.