

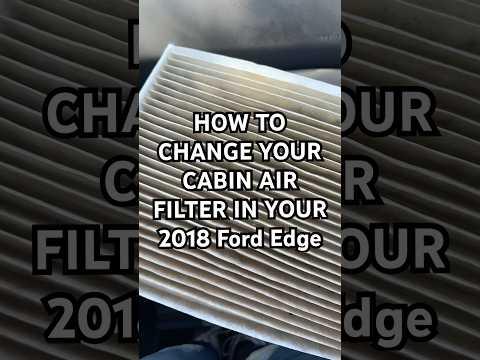







How to Replace the Cabin Air Filter on a 2018 Ford Edge (DIY Guide)
Step-by-step instructions with tools needed, filter orientation tips, and post-install HVAC checks for 2015, 2016, 2017, 2018, 2019
How to Replace the Cabin Air Filter on a 2018 Ford Edge (DIY Guide)
Step-by-step instructions with tools needed, filter orientation tips, and post-install HVAC checks for 2015, 2016, 2017, 2018, 2019


🔧 Edge - Cabin Air Filter Replacement
Your Edge’s cabin air filter cleans the air going through the HVAC system (heat/AC). Replacing it helps airflow and reduces dust/pollen and musty odors.
Difficulty Level: Beginner | Estimated Time: 0.3-0.7 hours
⚠️ Safety & Precautions
- 🔸 Turn ignition OFF and remove the key/fob from the vehicle.
- 🔸 Don’t force plastic panels; they crack easily when cold.
- 🔸 No battery disconnect is required for this service.
🔧 Required Tools
You'll need the following tools for this repair:
- Trim removal tool (plastic) (specialty)
- 7mm socket
- 1/4" ratchet
- 6" extension (1/4")
- Flashlight
- Nitrile gloves
- Safety glasses
🔩 Required Parts
HowToo sells all the parts you need for this repair:
- Cabin air filter - Qty: 1
📋 Before You Begin
- Park on level ground and set the parking brake.
- Move the passenger seat back to give yourself room to work.
- Have a trash bag ready for debris.
🔨 Step-by-Step Instructions
Follow these steps in order:
Step 1: Access the passenger-side lower dash area
- Open the passenger door and kneel by the passenger footwell.
- Use a flashlight to locate the lower panel/trim under the glovebox area.
Step 2: Remove the lower trim panel (if equipped)
- Use a trim removal tool (plastic) (specialty) to gently pop out the push-clips (if present).
- If there are screws, remove them using a 7mm socket with a 1/4" ratchet and 6" extension (1/4").
- Lower the panel and set it aside.
- A trim tool is a plastic pry tool.
Step 3: Locate and remove the cabin filter access door
- Look for a small rectangular access door on the HVAC case (usually on the passenger side behind/under the glovebox area).
- Release the door tabs by hand; if tight, use the trim removal tool (plastic) (specialty) carefully.
- Remove the access door and set it aside.
Step 4: Remove the old cabin air filter
- Put on nitrile gloves and safety glasses.
- Slide the old filter straight out.
- Note the airflow direction arrow printed on the filter frame (this matters for the new one).
Step 5: Install the new cabin air filter
- Check the new filter for an airflow arrow.
- Install it in the same direction the old one came out (match the airflow arrow orientation).
- Make sure the filter seats fully and isn’t folded or pinched.
Step 6: Reinstall the access door and trim panel
- Reinstall the access door by hand until the tabs click into place.
- Reinstall the lower trim panel.
- If screws were removed, install them using the 7mm socket, 1/4" ratchet, and 6" extension (1/4").
✅ After Repair
- Start the Edge and run the blower on high for 30 seconds.
- Make sure airflow is strong and there are no rattles from the glovebox/lower panel area.
- If you still have a musty smell, consider cleaning the evaporator (a separate service).
💰 DIY vs Shop Cost
Shop Cost: $80-$160 (parts + labor)
DIY Cost: $15-$45 (parts only)
You Save: $65-$115 by doing it yourself!
Shop labor rates vary but typically run $100-$150/hour. This repair takes a