

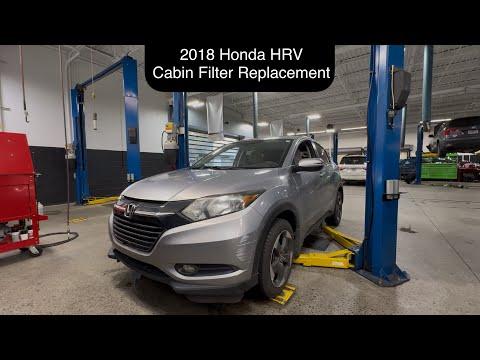





How to Replace the Cabin Air Filter on a 2016-2026 Honda HR-V (Engine: Inline 4 1.8L)
Step-by-step glove box filter replacement guide with tools, parts, and airflow direction for 2016, 2017, 2018, 2019, 2020, 2021, 2022
How to Replace the Cabin Air Filter on a 2016-2026 Honda HR-V (Engine: Inline 4 1.8L)
Step-by-step glove box filter replacement guide with tools, parts, and airflow direction for 2016, 2017, 2018, 2019, 2020, 2021, 2022


🔧 HR-V - Cabin Air Filter Replacement
The cabin air filter cleans the air coming through your vents and A/C system. On your HR-V, it sits behind the glove box and is a very beginner-friendly replacement.
Difficulty Level: Beginner | Estimated Time: 10-15 minutes
🔧 Required Tools
You'll need the following tools for this repair:
- Safety glasses
- Nitrile gloves
- Flashlight
🔩 Required Parts
HowToo sells all the parts you need for this repair:
- Cabin air filter - Qty: 1
📋 Before You Begin
- Park your HR-V on level ground.
- Turn the ignition off.
- Open the passenger door fully so you have room to work.
- Remove heavy items from the glove box so they do not fall out.
- No battery disconnect is required for this repair.
🔨 Step-by-Step Instructions
Follow these steps in order:
Step 1: Open and Empty the Glove Box
- Use your hands to open the glove box fully.
- Remove all papers, manuals, and loose items.
- Use a flashlight to look at both inner sides of the glove box.
- Keep items together in a bag.
Step 2: Release the Glove Box Stops
- Use both hands to gently squeeze the left and right sides of the glove box inward.
- The glove box stops are small molded tabs that keep the glove box from dropping too far.
- While squeezing inward, lower the glove box slowly.
- Let it hang down carefully. Do not force it.
Step 3: Remove the Cabin Filter Cover
- Use your flashlight to find the rectangular cabin filter cover behind the glove box opening.
- Use your fingers to press the small locking tabs on the sides of the cover.
- Pull the cover straight off by hand.
- No screws are used on the HR-V cabin filter cover.
Step 4: Remove the Old Cabin Air Filter
- Use your fingers to slide the old cabin air filter straight out.
- Look at the airflow arrow printed on the old filter before removing it fully.
- On your HR-V, the airflow arrow should point downward when installed.
- Wear nitrile gloves if the filter is dusty or dirty.
Step 5: Install the New Cabin Air Filter
- Use your hands to slide the new cabin air filter into the slot.
- Make sure the airflow arrow on the filter points downward.
- Slide it in gently so the filter does not bend or bunch up.
- Do not crush the filter edges.
Step 6: Reinstall the Filter Cover
- Use your hands to place the cabin filter cover back over the opening.
- Push until both side tabs click into place.
- Lightly tug on the cover by hand to make sure it is locked.
Step 7: Raise the Glove Box
- Use both hands to lift the glove box back into position.
- Squeeze the sides inward again so the glove box stops pass back into place.
- Open and close the glove box once to confirm it moves normally.
✅ After Repair
- Start your HR-V and turn the blower fan on.
- Check that air flows normally from the vents.
- Listen for rattles or flapping sounds. If you hear any, reopen the glove box and make sure the filter cover is fully clipped in.
- Replace the cabin air filter about every 15,000-30,000 miles, or sooner in dusty areas.
💰 DIY vs Shop Cost
Shop Cost: $60-$120 parts + labor
DIY Cost: $15-$35 parts only
You Save: $45-$85 by doing it yourself!
Shop labor rates vary but typically run $100-$150/hour. This repair takes a shop approximately 0.2-0.3 hours.
🎯 Ready to get started?
HowToo makes it easy: same-day/2-day shipping on every part, plus all the tools and specialty tools you need! Check out the parts and tools sections below to add everything to your cart.