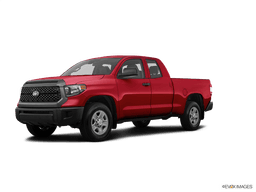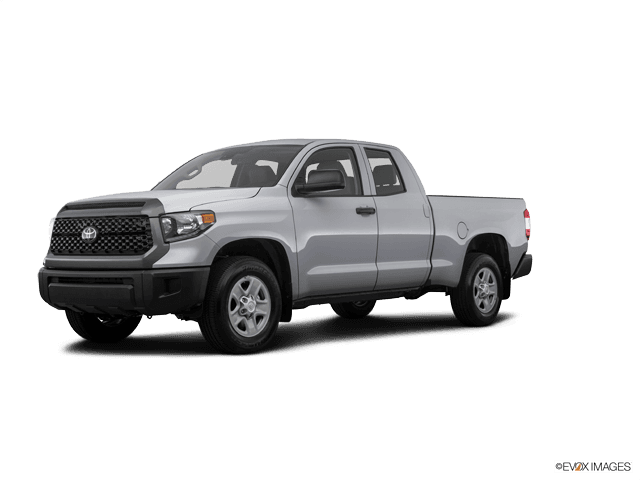






How to Replace the Cabin Air Filter in a 2007-2021 Toyota Tundra (Engine: V8 5.7L)
Step-by-step glove box access, filter orientation, tools, and safety tips for 2007, 2008, 2009, 2010, 2011, 2012, 2013, 2014
How to Replace the Cabin Air Filter in a 2007-2021 Toyota Tundra (Engine: V8 5.7L)
Step-by-step glove box access, filter orientation, tools, and safety tips for 2007, 2008, 2009, 2010, 2011, 2012, 2013, 2014


🔧 Tundra - Cabin Air Filter Replacement
The cabin air filter is behind the glove box. Replacing it helps maintain heater and air-conditioning airflow while reducing dust, pollen, and odors inside your Tundra.
Difficulty Level: Beginner | Estimated Time: 10-15 minutes
⚠️ Safety & Precautions
- ⚠️ Switch the ignition off before lowering the glove box.
- 🧤 Wear gloves and safety glasses because the old filter may contain dust and debris.
- 🔋 Battery disconnection is not required for this repair.
- 🌬️ Do not operate the climate-control blower while the filter is removed.
🔧 Required Tools
You'll need the following tools for this repair:
- Nitrile work gloves
- ANSI-rated safety glasses
- LED flashlight
- Vacuum cleaner with 25mm crevice attachment
🔩 Required Parts
HowToo sells all the parts you need for this repair:
- Cabin air filter - Qty: 1
📋 Before You Begin
- 🅿️ Park your Tundra on level ground, select Park, engage the parking brake, and switch the ignition off.
- 📦 Empty the glove box so its contents do not spill when it is lowered.
- 🔍 Compare the new filter with the old one before installation. They should have the same overall dimensions.
- 🚫 No infotainment setting, scan tool, programming, or service reset is required.
🔨 Step-by-Step Instructions
Follow these steps in order:
Step 1: Open and Empty the Glove Box
- Use nitrile work gloves to remove everything from the glove box.
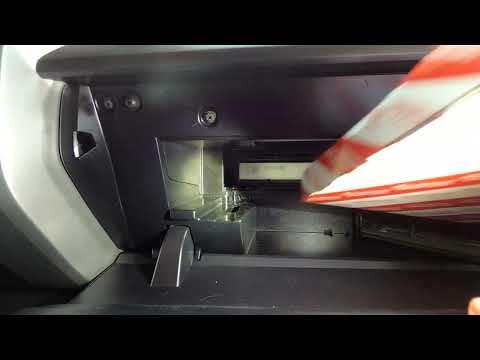
- Use an LED flashlight to locate the small glove-box damper arm on the right side. The damper is the short link that makes the glove box open slowly.
Step 2: Disconnect the Glove-Box Damper
- Use your nitrile-gloved fingers to gently pull the damper arm sideways off its plastic mounting pin.
- Do not pry it with a screwdriver; the plastic arm can crack.
- Support the glove box while releasing the arm.
Step 3: Lower the Glove Box
- Use both nitrile-gloved hands to press the left and right glove-box walls inward.
- Move the molded stops past the dashboard opening, then carefully rotate the glove box downward.
- The lower hinges can remain connected; complete glove-box removal is unnecessary.
Step 4: Remove the Filter Access Cover
- Use the LED flashlight to find the rectangular cabin-filter cover behind the glove box.
- Use your nitrile-gloved fingers to press the cover’s locking tabs and pull the cover straight out.
- No screws or bolts are used, so there are no torque specifications for this repair.
Step 5: Remove the Old Filter
- Use your nitrile-gloved fingers to slide the old cabin air filter straight out.
- Before discarding it, use the LED flashlight to note its arrow marking and orientation.
- Keep the dirty filter level to avoid spilling leaves and dust into the blower housing.
Step 6: Clean the Filter Housing
- Use the LED flashlight to inspect the empty housing for leaves or loose debris.
- Use a vacuum cleaner with a 25mm crevice attachment to remove loose material near the opening.
- Do not push the attachment deeply into the housing because the blower fan is below it.
- Never use compressed air inside the housing.
Step 7: Install the New Filter
- Use nitrile-gloved hands to slide the new filter evenly into its guide tracks without crushing the pleats.
- If the filter is marked UP, install that arrow pointing upward.
- If it is marked AIR FLOW, install that arrow pointing downward, toward the blower motor.
- Confirm the filter sits flat and does not protrude from the housing.
Step 8: Reinstall the Access Cover
- Use your nitrile-gloved fingers to align the cover with the housing.
- Push it into place until both locking tabs click securely.
- Use the LED flashlight to verify the cover is seated evenly around its edges.
Step 9: Reinstall the Glove Box
- Use both nitrile-gloved hands to raise the glove box and press its side walls inward.
- Guide both molded stops back through the dashboard opening, then release the sides.
- Use your nitrile-gloved fingers to reconnect the damper arm to its mounting pin.
- Open and close the glove box slowly to confirm smooth operation.
✅ After Repair
- ✅ Start your Tundra and operate the blower at each speed.
- 🌬️ Confirm that airflow is steady and there is no rubbing, ticking, or whistling sound.
- 🔍 If airflow is restricted, switch the ignition off and verify that the filter is flat and correctly oriented.
- 📅 Inspect the filter approximately every 12 months or 16,000-24,000 km. Replace it sooner in Sonīpat’s dusty conditions.
- 🚫 No maintenance-light reset or scan-tool procedure is required.
💰 DIY vs Shop Cost
Shop Cost: ₹2,000-₹4,500 (parts + labor)
DIY Cost: ₹700-₹2,000 (parts only)
You Save: ₹1,300-₹2,500 by doing it yourself!
Local labor rates vary. This repair takes a shop approximately 0.2-0.4 hour.
🎯 Ready to get started?
HowToo makes it easy: same-day/2-day shipping on every part, plus all the tools and specialty tools you need! Check out the parts and tools sections below to add everything to your cart.