

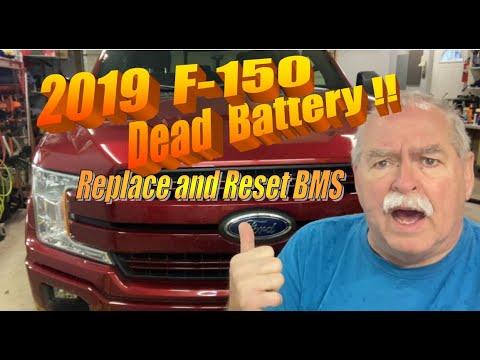





How to Replace the Battery on a 2015-2026 Ford F-150 (Engine: V6 2.7L)
Step-by-step 12V battery installation with tools, torque specs, safety tips, and BMS reset for 2015, 2016, 2017, 2018, 2019, 2020, 2021, 2022, 2023, 2024, 2025, 2026
How to Replace the Battery on a 2015-2026 Ford F-150 (Engine: V6 2.7L)
Step-by-step 12V battery installation with tools, torque specs, safety tips, and BMS reset for 2015, 2016, 2017, 2018, 2019, 2020, 2021, 2022, 2023, 2024, 2025, 2026


🔧 F-150 - 12V Battery Replacement
Changing the battery on your F-150 means removing the old 12-volt battery from the engine bay and installing a new one with the correct size and terminal layout. Your F-150 uses battery monitoring, so after installation the Battery Monitoring System should be reset so charging works correctly.
Difficulty Level: Beginner | Estimated Time: 30-60 minutes
⚠️ Safety & Precautions
- ⚠️ Wear safety glasses and gloves because batteries contain acid and can spark if shorted.
- ⚠️ Always remove the negative battery cable first and install it last.
- ⚠️ Do not let a wrench touch the positive terminal and any metal body part at the same time.
- ⚠️ Keep the battery upright. It is heavy and can leak if tipped.
- ⚠️ Battery disconnect may erase some learned settings and can trigger warning lights until the truck is driven briefly.
- ⚠️ Do not smoke or create sparks near the battery.
🔧 Required Tools
You'll need the following tools for this repair:
- 10mm socket
- 8mm socket
- 3/8-inch drive ratchet
- 6-inch socket extension
- Battery terminal puller (specialty)
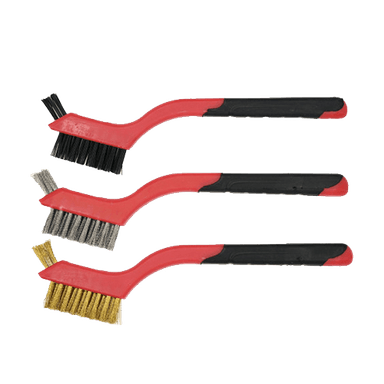
- Battery terminal cleaning brush
- Torque wrench inch-pound
- Memory saver 12V OBD-II (optional)
- Safety glasses
- Nitrile gloves
🔩 Required Parts
HowToo sells all the parts you need for this repair:
- 12V AGM battery, Group 94R/H7 or correct-fit equivalent - Qty: 1
- Battery terminal protector spray - Qty: 1
- Battery terminal anti-corrosion washers - Qty: 2
📋 Before You Begin
- Park your F-150 on level ground, shift to Park, and set the parking brake.
- Turn off the ignition, headlights, climate control, radio, and all accessories.
- Open the hood and wait at least 5 minutes so vehicle modules can go to sleep.
- If using a memory saver, plug it into the OBD-II port before disconnecting the battery. A memory saver keeps small electrical settings alive during battery replacement.
- Make sure the replacement battery matches the original battery type and size. AGM means Absorbent Glass Mat, a sealed battery style commonly used with battery monitoring systems.
🔨 Step-by-Step Instructions
Follow these steps in order:
Step 1: Locate the Battery
- Open the hood and use the hood prop or struts to secure it safely.
- The battery is on the passenger side of the engine bay, near the firewall.
- Use nitrile gloves and safety glasses before touching the battery.
Step 2: Remove the Negative Cable
- Find the negative terminal marked with a minus sign.
- Use a 10mm socket and 3/8-inch drive ratchet to loosen the negative terminal clamp nut.
- Twist the cable gently and lift it off the battery post.
- If it is stuck, use a battery terminal puller. A battery terminal puller lifts the clamp straight up without damaging the post.
- Move the cable away so it cannot spring back and touch the terminal.
- Negative off first prevents sparks.
Step 3: Remove the Positive Cable
- Open the red protective cover on the positive terminal.
- Use a 10mm socket and 3/8-inch drive ratchet to loosen the positive terminal clamp nut.
- Lift the positive cable off the battery post and move it aside.
- Do not let the tool touch the positive terminal and metal body at the same time.
Step 4: Remove the Battery Hold-Down
- Locate the battery hold-down clamp at the lower edge of the battery tray.
- Use an 8mm socket, 6-inch socket extension, and 3/8-inch drive ratchet to remove the hold-down bolt.
- Remove the clamp and set it aside where it will not fall into the engine bay.
Step 5: Lift Out the Old Battery
- Grip the battery firmly with both hands or use the battery handle if equipped.
- Lift straight up and out of the tray.
- Keep the battery upright while carrying it.
- Set it on the ground carefully, away from children, pets, and open flame.
- Batteries are heavier than they look.
Step 6: Clean the Battery Tray and Cable Ends
- Use a battery terminal cleaning brush to clean corrosion from the inside of both cable clamps.
- Use gloves and avoid touching white or blue corrosion with bare skin.
- Wipe the battery tray clean with a shop-safe rag if needed.
- Install battery terminal anti-corrosion washers onto the new battery posts if supplied.
Step 7: Install the New Battery
- Place the new battery into the tray with the positive and negative posts in the same orientation as the old battery.
- Make sure the battery sits flat and does not rock.
- Reinstall the hold-down clamp using the 8mm socket, 6-inch socket extension, and torque wrench inch-pound.
- Torque to 7 Nm (62 in-lbs).
Step 8: Connect the Positive Cable
- Push the positive cable clamp fully down onto the positive battery post.
- Use a 10mm socket and torque wrench inch-pound to tighten the terminal clamp nut.
- Torque to 5 Nm (44 in-lbs).
- Close the red protective cover over the positive terminal.
Step 9: Connect the Negative Cable
- Push the negative cable clamp fully down onto the negative battery post.
- Use a 10mm socket and torque wrench inch-pound to tighten the terminal clamp nut.
- Torque to 5 Nm (44 in-lbs).
- Apply battery terminal protector spray lightly to both terminals after tightening.
Step 10: Reset the Battery Monitoring System
- Sit in the driver seat and close all doors.
- Turn the ignition to ON without starting the engine.
- Use this physical switch sequence: flash the high beams 5 times, then press and release the brake pedal 3 times within 10 seconds.
- Watch the battery warning light. It should flash to confirm the Battery Monitoring System reset.
- If the light does not flash, repeat the sequence once more using the headlamp stalk and brake pedal.
- Do this after every battery replacement.
✅ After Repair
- Start your F-150 and make sure it cranks strongly.
- Check that the battery is secure by gently trying to move it by hand.
- Verify the terminals do not twist or feel loose.
- Reset the clock, radio presets, and one-touch window function if needed.
- If one-touch window operation is lost, fully close the window and hold the switch up for 2 seconds, then fully open it and hold down for 2 seconds.
- Recycle the old battery at a parts store or battery recycler. Do not throw it in household trash.
💰 DIY vs Shop Cost
Shop Cost: $260-$450 (parts + labor)
DIY Cost: $180-$320 (parts only)
You Save: $80-$130 by doing it yourself!
Shop labor rates vary but typically run $100-$150/hour. This repair takes a shop approximately 0.5-1.0 hours.
🎯 Ready to get started?
HowToo makes it easy: same-day/2-day shipping on every part, plus all the tools and specialty tools you need! Check out the parts and tools sections below to add everything to your cart.