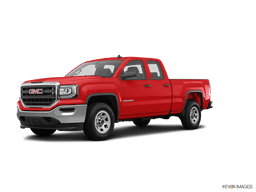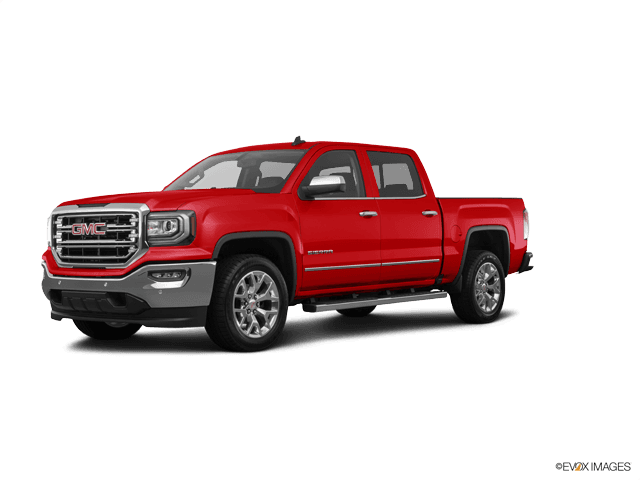

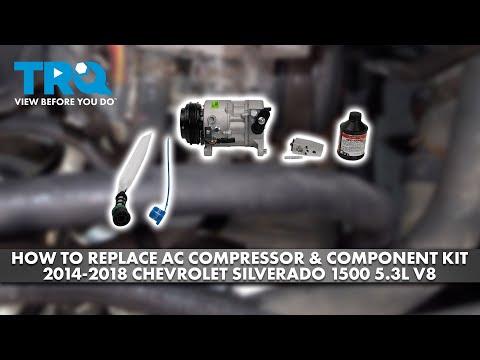







How to Replace the A/C Compressor on a 2017 GMC Sierra 1500 (Recover, Vacuum & Recharge)
Step-by-step compressor swap with required tools/parts, new O-rings, PAG oil guidance, and recharge safety tips for 2017, 2018
How to Replace the A/C Compressor on a 2017 GMC Sierra 1500 (Recover, Vacuum & Recharge)
Step-by-step compressor swap with required tools/parts, new O-rings, PAG oil guidance, and recharge safety tips for 2017, 2018


🔧 Sierra 1500 - A/C Compressor Replacement
Replacing the A/C compressor on your Sierra 1500 involves safely recovering the refrigerant, removing the drive belt and compressor, replacing the sealing O-rings, and then vacuuming and recharging the system to spec. This is not just “bolt-on”—the refrigerant handling and correct oil/recharge amount are critical to avoid compressor failure.
Difficulty Level: Advanced | Estimated Time: 3-6 hours
⚠️ Safety & Precautions
- ⚠️ Do not vent refrigerant to the air—recover it with proper equipment (or have a shop recover/charge it).
- ⚠️ A/C lines and components can be under high pressure even with the engine off.
- ⚠️ Keep hands/tools clear of the belt drive path; remove the key and keep it away.
- ⚠️ Wear safety glasses and gloves—refrigerant/oil can cause frostbite and eye injury.
- ⚠️ Battery disconnect is recommended before unplugging the compressor clutch connector.
🔧 Required Tools
You'll need the following tools for this repair:
- Safety glasses
- Nitrile gloves
- Wheel chocks
- Floor jack (rated 3-ton minimum)
- Jack stands (rated 3-ton minimum)
- Metric socket set (8mm-15mm)
- 3/8" drive ratchet
- 1/2" drive breaker bar
- Serpentine belt tool (specialty)
- Torque wrench (10-150 ft-lbs range)
- A/C line disconnect tool set (specialty)
- Trim clip remover
- Flat blade screwdriver
- Catch pan
- Shop rags
- A/C manifold gauge set for R-134a (specialty)
- Vacuum pump (specialty)
- Refrigerant recovery machine (specialty)
🔩 Required Parts
HowToo sells all the parts you need for this repair:
- A/C compressor - Qty: 1
- A/C compressor manifold seal O-ring set - Qty: 1
- PAG A/C compressor oil (GM-approved spec for your system) - Qty: 1
- R-134a refrigerant (system charge per under-hood label) - Qty: 1
- Receiver drier / accumulator (if specified with compressor replacement) - Qty: 1
- Orifice tube (if specified with compressor replacement) - Qty: 1
- Serpentine belt (optional if worn/cracked) - Qty: 1
📋 Before You Begin
- Park on level ground, set the parking brake, and use wheel chocks.
- Plan for refrigerant recovery: either use a recovery machine or have a shop recover the refrigerant before you start disassembly.
- Disconnect the negative battery cable using a socket/wrench before unplugging A/C electrical connectors.
- Locate the under-hood A/C label and confirm the refrigerant type and factory charge amount—you must recharge to that exact spec.
🔨 Step-by-Step Instructions
Follow these steps in order:
Step 1: Confirm system specs and recover the refrigerant
- Find the under-hood A/C label and note the refrigerant type and charge amount.
- Connect your A/C manifold gauge set for R-134a (specialty) and use a refrigerant recovery machine (specialty) to recover the refrigerant.
- If you don’t have recovery equipment, stop here and have a shop recover the refrigerant, then continue the mechanical steps after it’s empty.
Step 2: Disconnect the battery
- Use a metric socket set (8mm-15mm) and 3/8" drive ratchet to disconnect the negative battery cable.
- Tuck the cable aside so it can’t spring back to the terminal.
Step 3: Raise and support the truck (if needed for access)
- Use a floor jack (rated 3-ton minimum) at the proper lift point and set the frame on jack stands (rated 3-ton minimum).
- Keep a catch pan and shop rags ready—some oil may drip from A/C fittings.
Step 4: Remove any splash shields/air deflectors blocking access
- Use a trim clip remover and flat blade screwdriver for clips, and a metric socket set (8mm-15mm) with 3/8" drive ratchet for bolts.
- Set hardware aside in a tray so it doesn’t get lost.
Step 5: Remove the serpentine belt from the A/C compressor
- Use a serpentine belt tool (specialty) or 1/2" drive breaker bar to rotate the belt tensioner and slip the belt off the A/C compressor pulley.
- Tip: Take a photo of belt routing first.
Step 6: Unplug the A/C compressor electrical connector
- Use a flat blade screwdriver carefully (if needed) to release the connector lock tab.
- Do not pull on the wires—pull on the connector body.
Step 7: Disconnect the refrigerant lines from the compressor
- Place a catch pan under the compressor and wrap the fitting area with shop rags.
- Use the correct A/C line disconnect tool set (specialty) if your line style requires it, and use your metric socket set (8mm-15mm) with 3/8" drive ratchet to remove the line/manifold retaining bolt(s).
- Remove the line block/manifold from the compressor and immediately cover/plug open lines to keep moisture out.
- Remove and discard the old O-rings; do not reuse them.
Step 8: Remove the A/C compressor from its bracket
- Support the compressor by hand and use a metric socket set (8mm-15mm) with 3/8" drive ratchet to remove the compressor mounting bolts.
- Lower the compressor out carefully without bending nearby lines.
Step 9: Prepare the new compressor (oil and seals)
- Install new seals from the A/C compressor manifold seal O-ring set.
- Lightly lubricate O-rings with clean PAG A/C compressor oil (GM-approved spec for your system) so they don’t pinch on assembly.
- If your new compressor is not pre-filled, add the correct oil amount for your exact system configuration (this is a spec-based step—using the wrong amount can damage the compressor).
Step 10: Install the new compressor
- Position the compressor and start all mounting bolts by hand to avoid cross-threading.
- Use a torque wrench (10-150 ft-lbs range) to tighten fasteners to GM service-manual specifications: Torque to OEM spec.
Step 11: Reconnect the refrigerant lines with new O-rings
- Seat the line block/manifold squarely against the compressor.
- Use a metric socket set (8mm-15mm) with 3/8" drive ratchet to install the retaining bolt(s), then tighten with a torque wrench (10-150 ft-lbs range): Torque to OEM spec.
Step 12: Reconnect the compressor electrical connector
- Push the connector in until it clicks and the lock is fully seated.
Step 13: Reinstall the serpentine belt
- Route the belt correctly and use the serpentine belt tool (specialty) or 1/2" drive breaker bar to rotate the tensioner and slip the belt onto the A/C compressor pulley.
- Visually confirm the belt is fully seated in every pulley groove.
Step 14: Reinstall shields/deflectors and lower the truck
- Use the trim clip remover, flat blade screwdriver, and metric socket set (8mm-15mm) with 3/8" drive ratchet to reinstall panels and hardware.
- Lower the truck safely using the floor jack (rated 3-ton minimum).
Step 15: Evacuate and recharge the A/C system
- Connect the A/C manifold gauge set for R-134a (specialty) and pull vacuum using a vacuum pump (specialty) to remove air/moisture.
- Verify the system holds vacuum (a quick leak check).
- Recharge with R-134a refrigerant (system charge per under-hood label) using proper equipment; charge must match the label exactly.
✅ After Repair
- Start the engine and set HVAC to MAX A/C; confirm the compressor engages and cooling is steady.
- Check for leaks at the compressor manifold/fittings (look for oily residue).
- Verify belt tracking—belt should run centered and quiet.
- If cooling is weak or the compressor is noisy, shut it off and recheck oil amount, charge amount, and leaks.
💰 DIY vs Shop Cost
Shop Cost: $900-$1,800 (parts + labor)
DIY Cost: $350-$900 (parts only)
You Save: $550-$900 by doing it yourself!
Shop labor rates vary but typically run $100-$150/hour. This repair takes a shop approximately 3-5 hours.
🎯 Ready to get started?
HowToo makes it easy: same-day/2-day shipping on every part, plus all the tools and specialty tools you need! Check out the parts and tools sections below to add everything to your cart.
I need 2 quick details to make this 100% accurate for your Sierra 1500:
- Which refrigerant is on your under-hood A/C label: R-134a or R-1234yf?
- Are you planning to do the recover/evacuate/recharge yourself, or have a shop handle that part?