


How to Replace Spark Plugs on a 2013 Honda CR-V
Step-by-step instructions with tools, parts, torque specs, and safety tips for 2010, 2011, 2012, 2013, 2014
How to Replace Spark Plugs on a 2013 Honda CR-V
Step-by-step instructions with tools, parts, torque specs, and safety tips for 2010, 2011, 2012, 2013, 2014
🔧 Spark Plugs - Replacement
Your CR-V uses 4 spark plugs mounted in the top of the engine. Replacing them helps restore smooth idle, strong acceleration, and fuel economy when the plugs are worn. This is a straightforward job, but take care not to drop anything into the plug holes.
Difficulty Level: Beginner | Estimated Time: 1-2 hours
⚠️ Safety & Precautions
- Let the engine cool completely before starting. The engine cover and ignition coils can stay hot.
- Work on a level surface with the parking brake set.
- Keep dirt out of the spark plug wells. Debris can damage the engine if it falls into the cylinders.
- Do not overtighten new plugs. The aluminum cylinder head can be damaged.
- Battery disconnect is not required, but turning the ignition off is mandatory.
🔧 Required Tools
You'll need the following tools for this repair:
- 10mm socket
- Ratchet
- 6-inch extension
- 5/8-inch spark plug socket
- Torque wrench
- Trim tool
- Compressed air
- Gloves
- Safety glasses
🔩 Required Parts
HowToo sells all the parts you need for this repair:
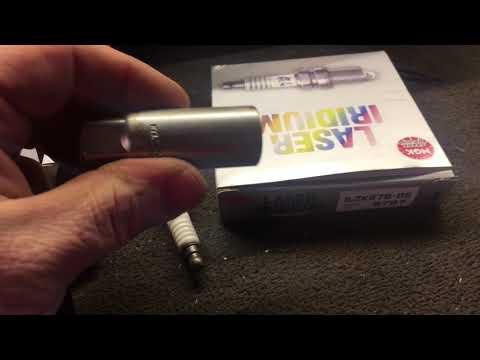
- Spark plugs - Qty: 4
📋 Before You Begin
- Park on level ground and let the engine cool down fully.
- Open the hood and make sure you have room to work.
- Have all 4 new spark plugs ready before removing the old ones.
🔨 Step-by-Step Instructions
Follow these steps in order:
Step 1: Remove the engine cover
- Pull up gently on the engine cover to release it from its rubber mounts.
- Set it aside in a safe spot.
Step 2: Clean around the ignition coils
- Use compressed air to blow dirt away from the top of the engine and the spark plug wells.
- Keep debris out of the cylinders.
Step 3: Remove the ignition coil connectors
- Press the release tab on each coil connector and unplug it.
- Work one coil at a time so you do not mix them up.
Step 4: Remove the ignition coils
- Use a 10mm socket and ratchet to remove the coil hold-down bolts.
- Lift each ignition coil straight up and out.
- Set the coils aside in order.
Step 5: Remove the old spark plugs
- Use a 5/8-inch spark plug socket, 6-inch extension, and ratchet to loosen each plug.
- Turn counterclockwise and remove all 4 plugs.
- Inspect the old plugs for heavy wear, oil fouling, or white deposits.
Step 6: Install the new spark plugs
- Thread each new plug in by hand first to avoid cross-threading.
- Use the 5/8-inch spark plug socket and torque wrench to tighten each plug to 18 Nm (13 ft-lbs).
- Start them by hand every time.
Step 7: Reinstall the ignition coils
- Push each ignition coil back into place.
- Reinstall the coil bolts with the 10mm socket.
- Tighten each bolt to 12 Nm (9 ft-lbs).
- Reconnect each coil connector until it clicks.
Step 8: Reinstall the engine cover
- Align the cover and press it down onto the mounting points.
- Make sure it sits flat and secure.
✅ After Repair
- Start the engine and let it idle for a minute.
- Listen for smooth operation and check for a check engine light.
- Take a short test drive to confirm normal acceleration.
- If the engine runs rough, recheck that every coil connector is fully seated.
💰 DIY vs Shop Cost
Shop Cost: $180-$320 (parts + labor)
DIY Cost: $40-$90 (parts only)
You Save: $140-$230 by doing it yourself!
Shop labor rates vary but typically run $100-$150/hour. This repair takes a shop approximately 1-2 hours.
🎯 Ready to get started?
HowToo makes it easy: same-day/2-day shipping on every part, plus all the tools and specialty tools you need! Check out the parts and tools sections below to add everything to your cart.