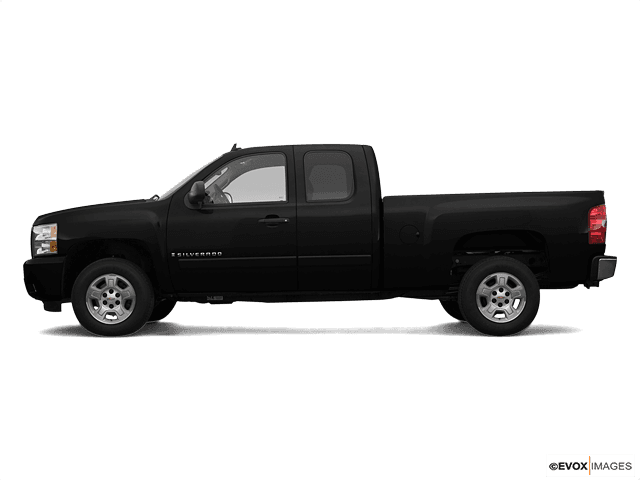

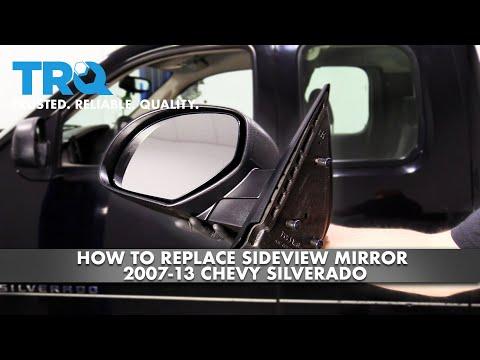







How to Replace Side View Mirrors on a 2007 Chevrolet Silverado 1500
Step-by-step door panel trim removal, wiring unplug, tools/parts list, and 10 Nm (89 in-lbs) torque specs for 1999, 2000, 2001, 2002, 2003, 2004, 2005, 2006, 2007
How to Replace Side View Mirrors on a 2007 Chevrolet Silverado 1500
Step-by-step door panel trim removal, wiring unplug, tools/parts list, and 10 Nm (89 in-lbs) torque specs for 1999, 2000, 2001, 2002, 2003, 2004, 2005, 2006, 2007


🔧 Silverado 1500 - Side View Mirror Replacement
Replacing a side mirror is usually a straightforward bolt-on job from inside the door. You’ll remove the small interior trim cover, unplug the mirror (if powered), remove the retaining nuts, then install and torque the new mirror.
Difficulty Level: Beginner | Estimated Time: 0.5-1.5 hours (per side)
⚠️ Safety & Precautions
- ⚠️ Work on level ground with the key removed.
- ⚠️ If you have power/heated mirrors, disconnect the negative battery cable to prevent electrical shorts.
- ⚠️ Support the mirror with one hand when removing the last nut so it doesn’t fall and chip paint.
- ⚠️ Wear safety glasses—small trim clips can pop loose.
🔧 Required Tools
You'll need the following tools for this repair:
- 10mm socket
- 1/4" drive ratchet
- 6" socket extension (1/4" drive)
- Trim removal tool
- Small flathead screwdriver
- Torque wrench (inch-pound or small Nm range)
- Needle-nose pliers
- Painter’s tape
- Shop towels
- Safety glasses
- Mechanic gloves
🔩 Required Parts
HowToo sells all the parts you need for this repair:
- Side view mirror assembly (left or right, correct options) - Qty: 1
- Mirror mounting nuts (if damaged or missing) - Qty: 3
- Interior sail panel/trim clips (optional) - Qty: 1 set
📋 Before You Begin
- 🧰 Turn the front wheels straight and park on level ground.
- 🧰 Apply painter’s tape along the edge of the door near the mirror to protect paint.
- 🧰 If the mirror is powered/heated, use the 10mm socket to disconnect the negative battery cable and wait 2 minutes.
🔨 Step-by-Step Instructions
Follow these steps in order:
Step 1: Remove the interior mirror trim (sail panel)
- Use a trim removal tool to pry off the small triangular trim cover at the upper front corner of the door (inside, by the mirror).
- If it’s tight, use a small flathead screwdriver gently at the edge, then switch back to the trim removal tool.
- Pull straight out to avoid breaking clips.
Step 2: Unplug the mirror (power/heated mirrors)
- Look behind the sail panel for the mirror wiring connector.
- Press the lock tab and disconnect it by hand; if needed, use needle-nose pliers carefully to help release the tab.
- Don’t yank wires—pull on the connector body.
Step 3: Remove the mirror mounting nuts
- Use a 10mm socket, 6" extension, and 1/4" ratchet to remove the three mirror mounting nuts.
- Hold the mirror from the outside with your free hand while removing the last nut.
- Set the nuts aside if you’re reusing them.
Step 4: Remove the mirror from the door
- From the outside, pull the mirror away from the door.
- Feed the wiring pigtail (if equipped) through the hole as you remove it.
- Use shop towels to wipe the mounting surface clean.
Step 5: Install the new mirror
- Position the new mirror on the door and feed the wiring pigtail through the opening (if equipped).
- Start all three nuts by hand first to avoid cross-threading.
- Use the 10mm socket and ratchet to snug the nuts evenly.
- Finish with a torque wrench: Torque to 10 Nm (89 in-lbs).
- Even tightening helps the seal sit flat.
Step 6: Reconnect wiring and reinstall the sail panel
- Reconnect the mirror electrical connector by hand until it clicks.
- Line up the sail panel clips and push it back into place with firm, even pressure.
Step 7: If your mirror is MANUAL-adjust (no power plug)
- If there is no electrical connector, install the mirror the same way (3 nuts), then verify the manual adjuster moves the glass smoothly.
- If your truck has an inside adjuster knob/lever, make sure it isn’t pinched and moves freely before snapping the trim back on.
✅ After Repair
- ✅ If you disconnected the battery, reconnect it using the 10mm socket and snug the terminal.
- ✅ Test mirror functions: left/right select, glass movement, and heat (if equipped).
- ✅ Close the door and check for wind noise; confirm the mirror sits flush and the gasket is fully seated.
- ✅ Remove the painter’s tape and wipe fingerprints off the paint and mirror glass.
💰 DIY vs Shop Cost
Shop Cost: $200-$550 (parts + labor)
DIY Cost: $60-$350 (parts only)
You Save: $140-$200+ by doing it yourself!
Shop labor rates vary but typically run $100-$150/hour. This repair takes a shop approximately 0.5-1.0 hours.
🎯 Ready to get started?
HowToo makes it easy: same-day/2-day shipping on every part, plus all the tools and specialty tools you need! Check out the parts and tools sections below to add everything to your cart.