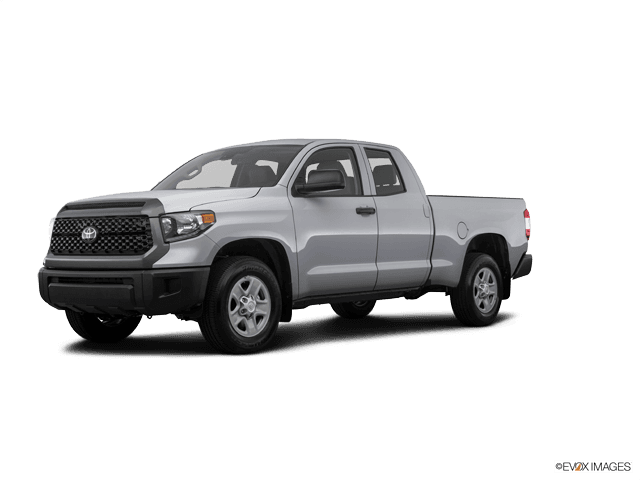

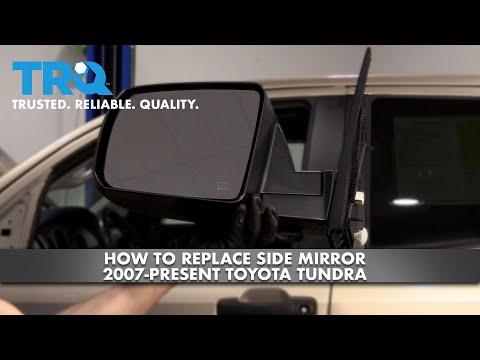







How to Replace Side-View Mirror Assemblies on a 2007-2021 Toyota Tundra (Trim: Limited | Engine: V8 5.7L | Body: Extended Cab Pickup)
Step-by-step DIY instructions with required tools, parts, torque specs, and safety tips for 2007, 2008, 2009, 2010, 2011, 2012, 2013
How to Replace Side-View Mirror Assemblies on a 2007-2021 Toyota Tundra (Trim: Limited | Engine: V8 5.7L | Body: Extended Cab Pickup)
Step-by-step DIY instructions with required tools, parts, torque specs, and safety tips for 2007, 2008, 2009, 2010, 2011, 2012, 2013


🔧 Tundra - Side-View Mirror Assembly Replacement
Replacing a side-view mirror requires removing the interior door trim panel, disconnecting the mirror wiring, and removing three mounting nuts. The procedure is the same on either front door, but the replacement mirror must match the original features, such as heating, turn signal, power folding, puddle lamp, or blind-spot monitoring.
Difficulty Level: Beginner | Estimated Time: 1-1.5 hours per side
Assumption: This procedure replaces the complete mirror assembly, not only the glass.
⚠️ Safety & Precautions
- ⚠️ Support the mirror before removing its final mounting nut.
- ⚠️ Wear safety glasses and gloves because damaged mirror glass can be extremely sharp.
- ⚠️ Do not pry against painted surfaces with a metal screwdriver.
- ⚠️ Disconnect the negative battery terminal before unplugging door wiring.
- ⚠️ Keep the ignition off while the door connectors are disconnected.
🔧 Required Tools
You'll need the following tools for this repair:
- 10mm socket
- 1/4-inch drive ratchet
- 1/4-inch drive 6-inch extension
- Phillips #2 screwdriver
- Nylon trim-removal tool set
- Plastic clip-removal pliers
- 1/4-inch drive inch-pound torque wrench
- Masking tape, 1-inch width
- Mechanic’s gloves
- Safety glasses
🔩 Required Parts
HowToo sells all the parts you need for this repair:
- Driver-side complete mirror assembly matching original equipment - Qty: 1, if replacing driver side
- Passenger-side complete mirror assembly matching original equipment - Qty: 1, if replacing passenger side
- Front door trim-panel clips - Qty: 4-8 per door as needed
- Mirror mounting gasket - Qty: 1 per mirror if not included
Match the connector and every original mirror feature. A mirror without the correct wiring or blind-spot hardware can set warning messages or leave features inoperative.
📋 Before You Begin
- 📋 Park your Tundra on level ground, shift into Park, and apply the parking brake.
- 📋 Lower the window. This gives you a safe handhold and makes the trim panel easier to handle.
- 📋 Turn the ignition off and remove the key from the vehicle.
- 📋 Open the hood. Use a 10mm socket and ratchet to disconnect the negative battery terminal, then isolate it so it cannot spring back onto the post.
- 📋 Wait at least 90 seconds before disconnecting electrical connectors.
- 📋 Apply 1-inch masking tape along painted edges near the mirror and door trim.
🔨 Step-by-Step Instructions
Follow these steps in order:
Step 1: Remove the Interior Handle Screw Cover
- Use a nylon trim-removal tool to lift the small cover behind the interior door-release handle.
- Use a Phillips #2 screwdriver to remove the screw behind the cover.
- Place the screw somewhere safe.
Step 2: Remove the Pull-Handle Fasteners
- Use a nylon trim-removal tool to lift the rubber liner or trim cover inside the door pull handle.
- Use a Phillips #2 screwdriver to remove the exposed screw.
- If another screw is exposed beneath the switch-panel area, remove it with the Phillips #2 screwdriver.
- Keep each screw beside its matching cover.
Step 3: Remove the Window-Switch Panel
- Use a nylon trim-removal tool at the rear edge of the window-switch panel.
- Lift the panel gently, then disengage its front locating tab.
- Press each connector locking tab with your fingers and unplug the connectors.
- Do not pull on the wires.
Step 4: Release the Door-Panel Clips
- Insert a nylon trim-removal tool between the door panel and metal door, beginning at a lower corner.
- Use plastic clip-removal pliers to release each retaining clip around the sides and bottom.
- A trim clip is a reusable plastic fastener that snaps the panel onto the door.
- Work close to each clip so the fiberboard panel does not crack.
Step 5: Lift Off the Door Panel
- Hold the panel with both hands and lift it straight upward to unhook it from the window ledge.
- Support the panel while disconnecting any remaining courtesy-light connector by hand.
- Release the interior handle cables from their bracket by hand, then rotate each cable end out of the handle lever.
- Set the panel on a clean, padded surface.
Step 6: Access the Mirror Connector
- Use a nylon trim-removal tool to pull back only the upper-front corner of the moisture barrier.
- The moisture barrier is the plastic sheet that keeps rainwater away from the door panel.
- Do not tear the sheet or remove its sealing adhesive.
- Locate the mirror wiring connector and unplug it by pressing its locking tab with your fingers.
- Release the wiring harness from its retaining clips by hand.
Step 7: Remove the Old Mirror
- Support the mirror from outside with one hand or have a helper hold it.
- Use a 10mm socket, 6-inch extension, and ratchet to remove the three mirror mounting nuts.
- Keep the socket firmly seated so a nut does not fall inside the door.
- Pull the mirror straight away from the door while feeding its wiring through the opening.
- Use a nylon trim-removal tool only if the old gasket is lightly stuck. Do not pry against the paint.
Step 8: Install the New Mirror
- Check that the new mirror gasket sits flat and fully surrounds the mounting base.
- Feed the wiring through the door opening and place the mirror studs into their holes.
- Start all three nuts by hand to prevent cross-threading.
- Use a 10mm socket and inch-pound torque wrench to tighten the nuts evenly in stages.
- Torque to 8 Nm (71 in-lbs).
- Do not overtighten the nuts because the mirror base can crack or distort.
Step 9: Connect and Test the Mirror
- Route the new harness exactly like the original and secure it in the factory clips by hand.
- Push the connector together by hand until its lock clicks.
- Temporarily reconnect the negative battery terminal with a 10mm socket and ratchet.
- Switch the ignition on and test mirror movement, turn signal, heating, folding, puddle lamp, and blind-spot indicator where equipped.
- Switch the ignition off and disconnect the negative terminal again before reinstalling the panel.
Step 10: Reseal the Moisture Barrier
- Press the moisture barrier back into its original adhesive using gloved fingers.
- Make sure there are no open gaps where water could reach the trim panel.
Step 11: Reinstall the Door Panel
- Reconnect the interior handle cables by hand and lock their housings into the bracket.
- Reconnect the courtesy-light connector by hand.
- Lower the panel’s upper lip over the window ledge and check that it sits evenly.
- Press around the panel perimeter with your palm to engage every retaining clip.
- Replace any broken clips using plastic clip-removal pliers to remove their remains.
Step 12: Reinstall the Switch Panel and Screws
- Reconnect the window-switch connectors by hand until each lock clicks.
- Engage the front tab, then press the switch panel downward by hand.
- Use a Phillips #2 screwdriver to reinstall the pull-handle and interior-handle screws until snug.
- Do not overtighten screws threaded into plastic.
- Press the screw covers and pull-handle liner into place by hand.
Step 13: Reconnect the Battery
- Place the negative terminal fully onto the battery post.
- Use a 10mm socket and inch-pound torque wrench to tighten the terminal clamp.
- Torque to 5.4 Nm (48 in-lbs).
- Remove the masking tape from the door and mirror area.
✅ After Repair
- ✅ Start your Tundra and move the mirror fully left, right, up, and down.
- ✅ Verify the turn signal, heater, power-folding function, puddle lamp, and blind-spot indicator if equipped.
- ✅ Operate the window and door lock to confirm no wiring is pinched.
- ✅ If the automatic window function was lost, close the window completely and hold the switch upward for approximately one second. Then lower it completely and hold the switch down for approximately one second.
- ✅ Adjust the mirror before driving and confirm the glass does not vibrate.
- ✅ If a blind-spot warning remains illuminated or a mirror-related fault appears, verify that the replacement assembly has matching equipment and connectors. Calibration or diagnosis may be necessary if the mirror sensor or bracket was damaged.
💰 DIY vs Shop Cost
Shop Cost: ₹30,000-₹90,000 per side (parts + labor)
DIY Cost: ₹20,000-₹75,000 per side (parts only)
You Save: ₹10,000-₹15,000 per side by doing it yourself!
Local labor and imported U.S.-market mirror prices vary considerably. This repair takes a shop approximately 1-1.5 hours per side.
🎯 Ready to get started?
HowToo makes it easy: same-day/2-day shipping on every part, plus all the tools and specialty tools you need! Check out the parts and tools sections below to add everything to your cart.