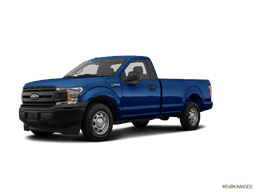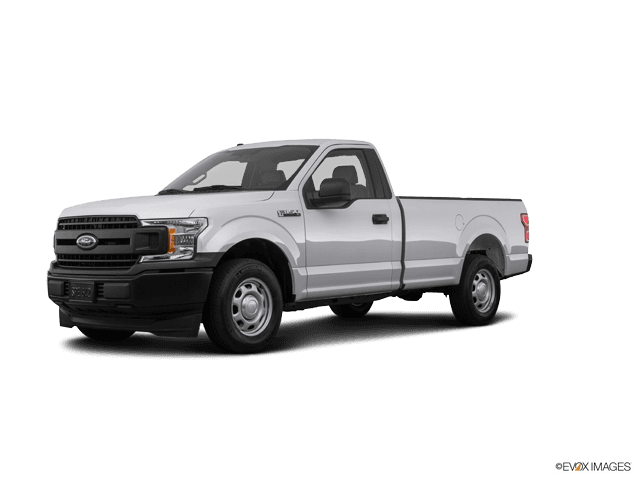

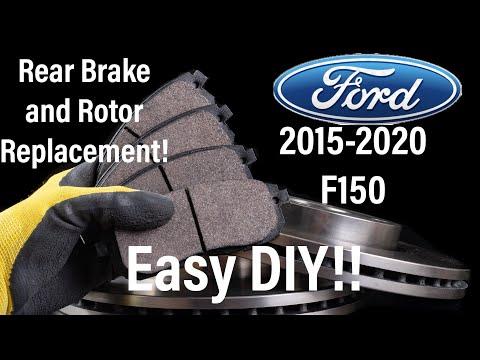






How to Replace Rear Brake Pads on a 2015-2021 Ford F-150 (Trim: XL | Engine: V6 3.5L)
Step-by-step DIY guide with electric parking brake service mode, tools, parts, and torque specs for 2015, 2016, 2017, 2018, 2019, 2020, 2021
How to Replace Rear Brake Pads on a 2015-2021 Ford F-150 (Trim: XL | Engine: V6 3.5L)
Step-by-step DIY guide with electric parking brake service mode, tools, parts, and torque specs for 2015, 2016, 2017, 2018, 2019, 2020, 2021


🔧 F-150 - Rear Brake Pad Replacement
Replacing the rear brake pads on your F-150 means putting the rear electric parking brake into service mode, removing the rear calipers, swapping the pads, and safely reinstalling everything. This job is very doable for a careful beginner, but the electric parking brake step is important so the rear calipers are not damaged.
Difficulty Level: Beginner to Intermediate | Estimated Time: 1.5-2.5 hours
⚠️ Safety & Precautions
- ⚠️ Your F-150 uses an electric parking brake, so it must be placed in rear brake service mode before removing the rear calipers.
- ⚠️ Never work under the truck with only a jack holding it up; always use jack stands.
- ⚠️ Brake dust can be harmful; wear safety glasses and a dust mask, and avoid blowing dust with compressed air.
- ⚠️ Do not press the brake pedal while a caliper is removed.
- ⚠️ Brake parts may be hot after driving; let the rear brakes cool before starting.
- ⚠️ Battery disconnect is not normally required for this rear brake pad replacement.
🔧 Required Tools
You'll need the following tools for this repair:
- 21mm lug nut socket
- 13mm socket
- 15mm wrench
- 3/8-inch drive ratchet
- 1/2-inch drive breaker bar
- 1/2-inch drive torque wrench
- Disc brake piston compression tool (specialty)
- Flat-blade screwdriver
- Brake caliper hanger hook
- Floor jack (rated 3-ton minimum)
- Jack stands (rated 3-ton minimum)
- Wheel chocks
- Nitrile gloves
- Safety glasses
- Dust mask
🔩 Required Parts
HowToo sells all the parts you need for this repair:
- Rear brake pad set - Qty: 1
- Rear brake pad hardware kit - Qty: 1
- Brake lubricant - Qty: 1
- Brake cleaner - Qty: 1
📋 Before You Begin
- 🅿️ Park your F-150 on level ground and leave the transmission in Park.
- 🧱 Chock the front wheels using wheel chocks so the truck cannot roll.
- 🔑 Make sure the regular parking brake is released before entering service mode.
- 📘 A brake caliper is the clamp that squeezes the brake pads against the rotor to stop the truck.
- 📘 A brake rotor is the round metal disc behind the wheel that the brake pads squeeze against.
- 📘 A torque wrench tightens bolts to the correct tightness so they are not too loose or too tight.
🔨 Step-by-Step Instructions
Follow these steps in order:
Step 1: Put the Rear Brakes in Service Mode
- Sit in the driver seat with the doors closed.
- Turn the ignition ON without starting the engine.
- Release the electric parking brake using the parking brake switch.
- Press and hold the accelerator pedal all the way down.
- While holding the accelerator pedal, push and hold the electric parking brake switch downward.
- Turn the ignition OFF, then turn it back ON within about 5 seconds while still holding both controls.
- Wait for the rear parking brake motors to retract and for the dash message indicating parking brake maintenance/service mode.
- Release the accelerator pedal and parking brake switch.
- Listen for the motors finishing.
Step 2: Loosen the Rear Lug Nuts
- Use a 21mm lug nut socket with a 1/2-inch drive breaker bar to loosen the rear wheel lug nuts about half a turn.
- Do not remove the lug nuts yet.
Step 3: Raise and Support the Rear of the Truck
- Use a floor jack rated 3-ton minimum to lift the rear of your F-150 at the rear axle housing.
- Place jack stands rated 3-ton minimum under the rear axle tubes.
- Lower the truck gently onto the jack stands.
- Keep the floor jack lightly touching the axle as a backup support.
Step 4: Remove the Rear Wheels
- Use the 21mm lug nut socket and 3/8-inch drive ratchet or breaker bar to remove the loosened lug nuts.
- Remove both rear wheels and set them flat on the ground.
- Slide a wheel under the frame for backup safety.
Step 5: Remove the Rear Caliper Bolts
- Work on one side at a time so the other side can be used as a reference.
- Use a 15mm wrench to hold the caliper slide pin if it spins.
- Use a 13mm socket and 3/8-inch drive ratchet to remove the upper and lower rear caliper bolts.
- Do not remove the brake hose.
Step 6: Lift the Caliper Off the Pads
- Use a flat-blade screwdriver carefully between the caliper and pad to create a little clearance if needed.
- Lift the caliper off the brake pads by hand.
- Hang the caliper from the suspension using a brake caliper hanger hook.
- Do not let the caliper hang by the brake hose.
Step 7: Remove the Old Brake Pads and Hardware
- Pull the old inner and outer brake pads out of the caliper bracket by hand.
- Use a flat-blade screwdriver to remove the old metal pad clips from the caliper bracket.
- Spray the bracket contact areas with brake cleaner.
- Wipe away dirt with a clean rag while wearing nitrile gloves and safety glasses.
Step 8: Compress the Rear Caliper Piston
- Use a disc brake piston compression tool to slowly press the caliper piston straight back into the caliper.
- Compress the piston slowly so brake fluid can move back through the system without forcing it.
- Do not twist the piston unless your tool design requires slight alignment pressure; the parking brake was already retracted in service mode.
- Slow pressure protects the seals.
Step 9: Install New Brake Pad Hardware
- Snap the new rear brake pad hardware kit clips into the caliper bracket by hand.
- Apply a thin layer of brake lubricant to the pad contact points on the clips.
- Do not get lubricant on the brake pad friction material or rotor surface.
Step 10: Install the New Rear Brake Pads
- Install the new inner and outer rear brake pads into the bracket by hand.
- Make sure the pads slide smoothly in the clips.
- If a pad has a wear indicator tab, install it in the same orientation as the original pad.
Step 11: Reinstall the Rear Caliper
- Lower the caliper over the new brake pads by hand.
- Start both caliper bolts by hand to avoid cross-threading.
- Use the 15mm wrench to hold the slide pin if needed.
- Use the 13mm socket and 3/8-inch drive ratchet to snug the caliper bolts.
- Use the 1/2-inch drive torque wrench with the correct socket setup to tighten the rear caliper bolts to Torque to 35 Nm (26 ft-lbs).
Step 12: Repeat on the Other Side
- Repeat Steps 5 through 11 on the other rear brake assembly.
- Keep the caliper supported with the brake caliper hanger hook while the pads are removed.
Step 13: Reinstall the Rear Wheels
- Place each rear wheel back onto the hub by hand.
- Install the lug nuts by hand first.
- Use the 21mm lug nut socket and 3/8-inch drive ratchet to snug the lug nuts in a star pattern.
Step 14: Lower the Truck and Torque the Lug Nuts
- Use the floor jack rated 3-ton minimum to lift the truck slightly off the jack stands.
- Remove the jack stands rated 3-ton minimum.
- Lower the truck until the tires touch the ground firmly.
- Use the 1/2-inch drive torque wrench and 21mm lug nut socket to tighten the lug nuts in a star pattern to Torque to 204 Nm (150 ft-lbs).
Step 15: Exit Rear Brake Service Mode
- Turn the ignition ON without starting the engine.
- Press and hold the accelerator pedal all the way down.
- While holding the accelerator pedal, pull and hold the electric parking brake switch upward.
- Turn the ignition OFF, then turn it back ON within about 5 seconds while still holding both controls.
- Wait for the parking brake motors to apply and the maintenance/service mode message to clear.
- Release the accelerator pedal and parking brake switch.
Step 16: Pump the Brake Pedal
- Before moving the truck, press the brake pedal several times until it feels firm.
- This seats the caliper pistons against the new brake pads.
- Do not skip this step; the brake pedal may go low the first few presses.
✅ After Repair
- ✅ Start your F-150 and confirm the brake warning light is off.
- ✅ Apply and release the electric parking brake once to verify normal operation.
- ✅ Check around both rear calipers for leaks or loose parts.
- ✅ Test the brakes at very low speed in a safe area before normal driving.
- ✅ Bed in the new pads with several gentle stops from 30-40 mph, allowing the brakes to cool between stops.
- ✅ Recheck lug nut torque after the first short drive: Torque to 204 Nm (150 ft-lbs).
💰 DIY vs Shop Cost
Shop Cost: $250-$450 (parts + labor)
DIY Cost: $45-$120 (parts only)
You Save: $200-$330 by doing it yourself!
Shop labor rates vary but typically run $100-$150/hour. This repair takes a shop approximately 1.0-1.5 hours.
🎯 Ready to get started?
HowToo makes it easy: same-day/2-day shipping on every part, plus all the tools and specialty tools you need! Check out the parts and tools sections below to add everything to your cart.