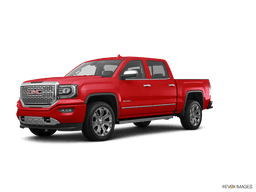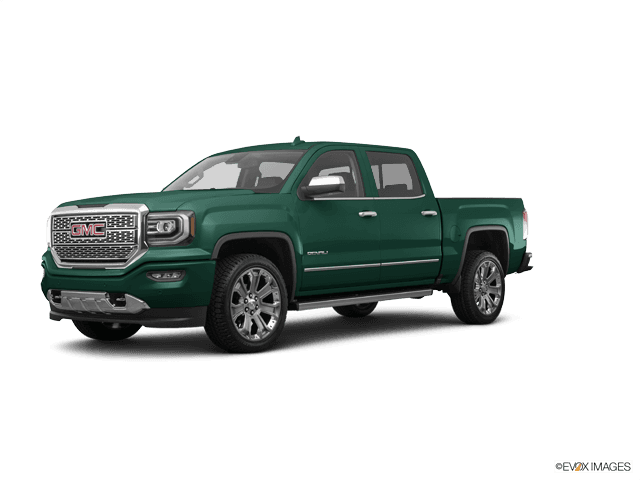

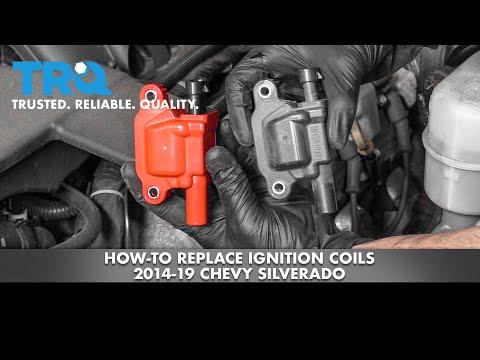






How to Replace Ignition Coils on a 2014-2019 GMC Sierra 1500 6.2L V8 (Trim: Denali | Engine: V8 6.2L)
Step-by-step DIY instructions with required tools, parts, torque specs, and safety tips for 2014, 2015, 2016, 2017, 2018, 2019
How to Replace Ignition Coils on a 2014-2019 GMC Sierra 1500 6.2L V8 (Trim: Denali | Engine: V8 6.2L)
Step-by-step DIY instructions with required tools, parts, torque specs, and safety tips for 2014, 2015, 2016, 2017, 2018, 2019


🔧 Sierra 1500 - Ignition Coil Replacement
Your Sierra 1500 has eight ignition coils, one for each cylinder. Each coil connects to its spark plug with a short ignition wire; replacement involves removing the engine cover, disconnecting the wiring and swapping the affected coils.
Difficulty Level: Beginner | Estimated Time: 1-2 hours for all eight
Assumption: These instructions cover the stock 6.2L V8 ignition system.
⚠️ Safety & Precautions
- ⚠️ Let the engine cool completely because the exhaust manifolds are close to the coils.
- ⚠️ Disconnect the negative battery cable before unplugging ignition-system wiring.
- ⚠️ Keep dirt out of the ignition wires and spark-plug areas.
- ⚠️ Pull ignition wires by their boots, never by the cables.
- ⚠️ Replace one coil at a time to prevent mixing up the ignition wires.
🔧 Required Tools
You'll need the following tools for this repair:
- 8mm socket
- 10mm socket
- 1/4-inch drive ratchet
- 1/4-inch drive 3-inch extension
- Inch-pound torque wrench rated 20-200 in-lbs
- Small flat-blade screwdriver
- Spark-plug wire boot pliers (specialty)
- Compressed-air blow gun rated 30 psi
- Nitrile mechanic gloves
- Safety glasses
🔩 Required Parts
HowToo sells all the parts you need for this repair:
- Ignition coil for 6.2L V8 - Qty: 1-8 as needed
- Ignition coil mounting bolt - Qty: As needed if damaged
- Spark-plug ignition wire - Qty: As needed if damaged
- Dielectric silicone grease - Qty: 1 small tube
If replacing coils due only to a single-cylinder fault, replacing all eight is not automatically required. Use coils that match the original electrical connector and mounting design.
📋 Before You Begin
- 📍 Park your Sierra 1500 on level ground, shift into Park and apply the parking brake.
- 🧊 Turn off the ignition and allow the engine to become completely cool.
- 🔑 Remove the key or keep the keyless-entry transmitter away from the vehicle.
- 🔌 Record any radio settings you want to preserve before disconnecting the battery.
- 🧹 Clean loose dirt from the top and sides of the engine before opening any connections.
🔨 Step-by-Step Instructions
Follow these steps in order:
Step 1: Disconnect the Battery
- Open the hood and locate the battery on the passenger side of the engine compartment.
- Use a 10mm socket and 1/4-inch drive ratchet to loosen the negative battery-terminal clamp.
- Lift the negative cable from the terminal and position it where it cannot spring back into contact.
- Wear safety glasses and nitrile mechanic gloves while handling the battery connection.
Step 2: Remove the Engine Appearance Cover
- Grip the engine appearance cover with both hands and pull upward evenly to release its push-in retainers.
- If the oil-fill cap passes through the cover, remove it by hand first, lift off the cover and immediately reinstall the cap to keep dirt out.
- Do not use a metal tool to pry against the intake manifold.
- Pull near each retainer to avoid cracking the cover.
Step 3: Create Working Clearance if Needed
- If the air-intake duct blocks access to a passenger-side coil, use an 8mm socket and 1/4-inch drive ratchet to loosen its hose clamps.
- Use a small flat-blade screwdriver only to release any duct-connector locking tab; do not force the tab.
- Move the duct aside without allowing debris to enter the throttle-body opening.
Step 4: Identify the Coil Being Replaced
- The four coils on each side are mounted in a row along the valve cover.
- Each coil has one electrical connector, one mounting bolt and one short wire running to a spark plug.
- Work on only one coil at a time so its ignition wire returns to the correct position.
Step 5: Disconnect the Ignition Wire
- Use spark-plug wire boot pliers to grasp the rubber boot where the short ignition wire attaches to the coil.
- Twist the boot gently to break its seal, then pull it straight from the coil tower.
- Do not pull on the wire itself. Replace the wire if its boot is torn, burned, swollen or carbon-tracked.
- Carbon tracking looks like a thin black lightning-shaped line and can cause repeated misfires.
- A slight twisting motion releases stubborn boots safely.
Step 6: Disconnect the Coil Electrical Connector
- Use the tip of a small flat-blade screwdriver to move the connector’s locking retainer only if it cannot be moved by hand.
- Press the release tab and pull the connector straight from the coil.
- Do not pry on the connector terminals or pull on the wires.
Step 7: Remove the Old Ignition Coil
- Use a 10mm socket, 3-inch extension and 1/4-inch drive ratchet to remove the coil mounting bolt.
- Lift the coil straight away from its mounting bracket.
- Use a compressed-air blow gun rated 30 psi to remove loose dirt from the mounting area while wearing safety glasses.
- Do not direct compressed air into electrical connectors.
Step 8: Install the New Ignition Coil
- Compare the new coil with the removed coil. The connector, mounting ear and high-voltage tower must match.
- Position the new coil squarely on its mounting point.
- Start the mounting bolt by hand to avoid crossing the threads.
- Use a 10mm socket, 3-inch extension and inch-pound torque wrench to tighten the bolt to 10 Nm (89 in-lbs).
- Do not overtighten the bolt; the mounting ear can crack.
Step 9: Reconnect the Wiring
- Apply a very thin film of dielectric silicone grease inside the ignition-wire boot using a gloved fingertip. Do not pack the boot with grease.
- Push the ignition-wire boot onto the coil tower by hand until it is fully seated.
- Push the electrical connector into the coil until its locking tab clicks.
- Gently tug the connector body by hand to verify it is locked.
Step 10: Replace the Remaining Coils
- Repeat Steps 5 through 9 for each additional coil.
- Continue replacing only one coil at a time.
- Inspect each short ignition wire as you proceed and replace any wire showing cracking, burns or damaged terminals.
Step 11: Reinstall the Air-Intake Duct
- If removed, position the duct fully over the throttle-body and air-cleaner connections by hand.
- Use an 8mm socket and 1/4-inch drive ratchet to tighten the clamps until the duct cannot rotate. Do not crush the plastic duct.
- Reconnect any electrical connector removed from the duct and confirm its lock clicks into place.
Step 12: Reinstall the Engine Cover
- Align the cover’s retainers with their mounting points and press down firmly by hand.
- If the oil-fill cap was removed, use your hand to reinstall it securely after positioning the cover.
- Check that no tools, loose fasteners or rags remain in the engine compartment.
Step 13: Reconnect the Battery
- Place the negative battery clamp fully onto the terminal.
- Use a 10mm socket and inch-pound torque wrench to tighten the terminal clamp to 5 Nm (44 in-lbs).
- Confirm the clamp cannot rotate by hand. Do not overtighten it.
✅ After Repair
- ✅ Start the engine and let it idle for several minutes.
- 👂 Listen for smooth operation and verify there is no shaking, snapping or ticking from an improperly seated ignition wire.
- 🔍 Check that every coil connector and ignition-wire boot remains fully seated.
- 🚨 If the check-engine light flashes, shut the engine off immediately and recheck the connectors and ignition-wire routing.
- 🛣️ Take a short test drive using light acceleration first, then confirm that the engine accelerates without hesitation or misfiring.
- 💡 A stored misfire code may remain after the repair until cleared with a compatible scan tool or after enough successful drive cycles.
💰 DIY vs Shop Cost
Shop Cost: ₹12,000-₹65,000 depending on the number of coils replaced
DIY Cost: ₹4,000-₹40,000 for parts
You Save: ₹8,000-₹25,000 by doing it yourself!
Labor rates around Sonīpat vary. This repair takes a shop approximately 0.8-1.5 hours.
🎯 Ready to get started?
HowToo makes it easy: same-day/2-day shipping on every part, plus all the tools and specialty tools you need! Check out the parts and tools sections below to add everything to your cart.