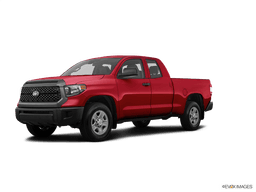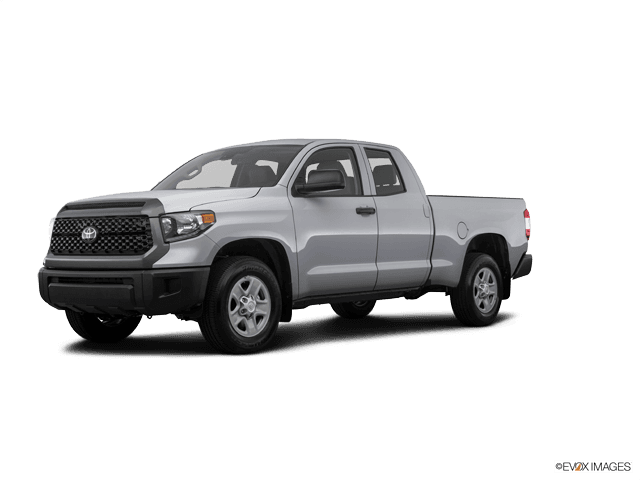

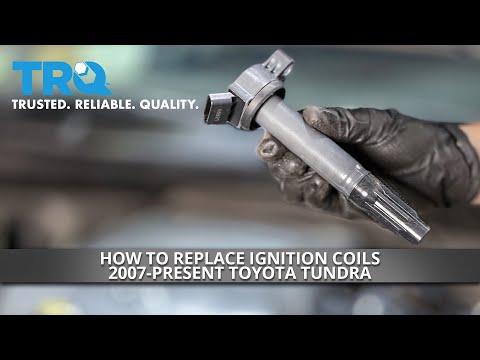







How to Replace Ignition Coils on a 2007-2021 Toyota Tundra 5.7L V8 (Engine: V8 5.7L)
Step-by-step DIY instructions with tools, parts, torque specs, and safety tips for 2007, 2008, 2009, 2010, 2011, 2012, 2013, 2014
How to Replace Ignition Coils on a 2007-2021 Toyota Tundra 5.7L V8 (Engine: V8 5.7L)
Step-by-step DIY instructions with tools, parts, torque specs, and safety tips for 2007, 2008, 2009, 2010, 2011, 2012, 2013, 2014


🔧 Tundra - Ignition Coil Replacement
Your Tundra uses one ignition coil above each spark plug. Replace the failed coil, or replace all eight if age-related failures are recurring; coils do not have to be replaced as a set.
Difficulty Level: Beginner | Estimated Time: 0.5-1.5 hours
⚠️ Safety & Precautions
- ⚠️ Let the engine cool completely before touching the coils or exhaust-side components.
- 🔋 Disconnect the negative battery cable to prevent accidental shorts and ignition-system operation.
- 🧤 Pull electrical connectors by their housings, never by their wires.
- 🚫 Do not allow dirt, tools, or hardware to fall into the spark-plug wells.
- 🔥 Keep ignition coils away from fuel, water, and open flames.
🔧 Required Tools
You'll need the following tools for this repair:
- 10mm socket
- 1/4-inch-drive ratchet
- 1/4-inch-drive 3-inch extension
- 1/4-inch-drive inch-pound torque wrench
- Plastic trim removal tool
- Compressed-air blow gun with regulated air supply
- Safety glasses
- Nitrile mechanic gloves
🔩 Required Parts
HowToo sells all the parts you need for this repair:
- Ignition coil for 5.7L V8 - Qty: 1 per failed cylinder, or 8 for a complete set
- Dielectric silicone grease - Qty: 1 small tube
Note: Use coils specifically matched to the 5.7L engine. Avoid mixing inexpensive universal coils with the original Toyota-style coils.
📋 Before You Begin
- 🅿️ Park your Tundra on level ground, shift into Park, apply the parking brake, and switch the ignition off.
- 🌡️ Allow the engine to cool for at least 30 minutes.
- 🔑 Move the key away from the vehicle so nobody starts the engine.
- 🧭 Cylinder locations are passenger side 1-3-5-7 and driver side 2-4-6-8, counted from front to rear.
- 📱 If diagnosing a misfire, record the trouble code before disconnecting the battery. For example, P0305 identifies cylinder 5.
🔨 Step-by-Step Instructions
Follow these steps in order:
Step 1: Disconnect the battery
- Use the 10mm socket and 1/4-inch-drive ratchet to loosen the negative battery-terminal clamp.
- Lift the clamp from the terminal and position it where it cannot spring back into contact.
- Never let a tool bridge both battery terminals.
Step 2: Remove the engine cover
- Grip the plastic engine cover near its mounting points and pull it straight upward to release its rubber grommets.
- If a grommet remains attached to an engine stud, use the plastic trim removal tool to remove it and reinstall it in the cover.
- Set the cover in a clean, safe location.
Step 3: Identify the coil being replaced
- Locate the coil directly above the affected cylinder’s spark plug.
- Passenger-side cylinders are 1-3-5-7 from front to rear.
- Driver-side cylinders are 2-4-6-8 from front to rear.
- If replacing all eight coils, work on one cylinder at a time so connectors and fasteners stay organized.
Step 4: Clean around the ignition coil
- Put on the safety glasses.
- Use the compressed-air blow gun with regulated air supply to clear loose dirt from around the coil and spark-plug well.
- Keep your face away from the escaping debris.
Step 5: Disconnect the electrical connector
- Press the locking tab on the coil connector with your fingers and pull the connector housing straight backward.
- If the connector is stubborn, gently depress its tab with the plastic trim removal tool. Do not pry against the wires.
- Stop if the plastic is cracking; heat and age can make the connector brittle.
Step 6: Remove the old ignition coil
- Use the 10mm socket, 3-inch extension, and 1/4-inch-drive ratchet to remove the coil retaining bolt.
- Twist the coil gently to free its rubber boot, then pull it straight upward.
- An ignition-coil boot is the long rubber section that fits over the spark plug.
- Inspect the boot and spark-plug well for engine oil or coolant. Fluid in the well requires separate diagnosis before installing the new coil.
Step 7: Prepare the new ignition coil
- Confirm the new and old coils have matching connector, mounting-tab, boot, and overall dimensions.
- While wearing the nitrile mechanic gloves, place a very thin film of dielectric silicone grease inside the lower lip of the new boot.
- Dielectric grease is an insulating silicone grease that helps prevent moisture from entering the boot.
- Do not fill the boot with grease and do not apply grease to the metal electrical contacts.
Step 8: Install the new ignition coil
- Lower the coil squarely into the spark-plug well by hand.
- Press downward until the boot seats firmly over the spark plug and the mounting hole aligns.
- Start the retaining bolt by hand to prevent cross-threading.
- Use the 10mm socket, 3-inch extension, and inch-pound torque wrench to tighten the bolt to 10 Nm (89 in-lbs or 7 ft-lbs).
- Do not overtighten the small coil bolt.
Step 9: Reconnect the ignition-coil connector
- Push the electrical connector onto the coil by hand until its locking tab clicks.
- Pull lightly on the connector housing to verify it is locked.
- Repeat Steps 3 through 9 for any additional coils being replaced.
Step 10: Reinstall the engine cover
- Align the cover’s rubber grommets with their mounting points.
- Press down by hand directly above each mounting point until the cover is fully seated.
- Check that no wiring or hoses are trapped beneath the cover.
Step 11: Reconnect the battery
- Place the negative battery clamp fully onto its terminal.
- Use the 10mm socket and inch-pound torque wrench to tighten the terminal nut to 5.4 Nm (48 in-lbs).
- Confirm the terminal cannot rotate by hand. Do not overtighten it.
✅ After Repair
- 🚗 Start the engine and let it idle. It should run smoothly without abnormal shaking.
- 👂 Listen for snapping or clicking near the coils, which can indicate an improperly seated boot or electrical arcing.
- 🔍 Confirm every replaced coil connector is fully locked and no warning lights remain.
- 🛣️ Take a short, gentle road test and confirm the engine accelerates normally.
- ⚠️ If the check-engine light flashes, stop driving. A flashing light indicates an active misfire that can damage the catalytic converters.
- 🧰 If the same cylinder still misfires, inspect its spark plug, connector, wiring, fuel injector, and engine compression rather than continuing to replace coils.
- 🕒 Battery disconnection may reset the clock and temporarily erase learned idle or transmission behavior; normal driving allows these values to relearn.
💰 DIY vs Shop Cost
Shop Cost: ₹12,000-₹30,000 for one coil, or ₹70,000-₹180,000 for eight coils (parts + labor; imported-part pricing varies)
DIY Cost: ₹7,000-₹22,000 for one coil, or ₹55,000-₹150,000 for eight coils (parts only)
You Save: ₹5,000-₹30,000 by doing it yourself!
Local labor and imported-part prices vary. This repair takes a shop approximately 0.5-1.0 hour for one coil or 1.0-1.5 hours for all eight.
🎯 Ready to get started?
HowToo makes it easy: same-day/2-day shipping on every part, plus all the tools and specialty tools you need! Check out the parts and tools sections below to add everything to your cart.