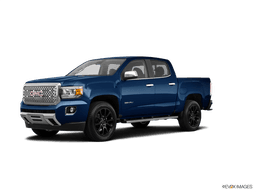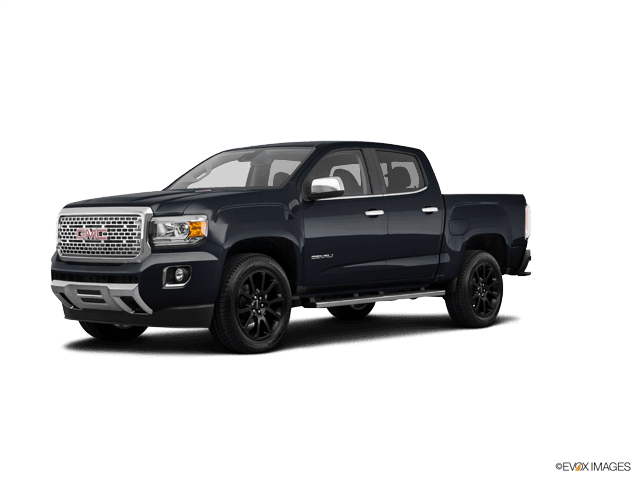







How to Replace Front Windshield Wipers on a 2015-2025 GMC Canyon
Step-by-step J-hook blade installation with tools, safety tips, and correct 22- and 18-inch sizes for 2015, 2016, 2017, 2018, 2019, 2020, 2021, 2022, 2023, 2024, 2025
How to Replace Front Windshield Wipers on a 2015-2025 GMC Canyon
Step-by-step J-hook blade installation with tools, safety tips, and correct 22- and 18-inch sizes for 2015, 2016, 2017, 2018, 2019, 2020, 2021, 2022, 2023, 2024, 2025


🔧 Canyon - Front Windshield Wiper Replacement
This one’s easy. Replace both front blades together using a 22-inch driver blade and an 18-inch passenger blade. I’d use the matching beam-style pair shown in the parts list because Haryana heat, dust, and monsoon rain are rough on exposed blade frames.
Difficulty Level: Beginner | Estimated Time: 10-15 minutes
⚠️ Safety & Precautions
- ⚠️ Turn the ignition off before touching the wiper arms.
- ⚠️ Place a folded towel on the windshield below each arm.
- ⚠️ Never release a raised bare wiper arm. It can snap down and crack the glass.
- ⚠️ Replace one blade at a time so the other arm shows the correct blade direction.
- ⚠️ No battery disconnect or service mode is required.
🔧 Required Tools
You’ll need the following tools for this repair:
- Medium microfiber towel
- Nitrile work gloves
- Safety glasses
🔩 Required Parts
HowToo sells all the parts you need for this repair:
- 22-inch front driver-side beam wiper blade - Qty: 1
- 18-inch front passenger-side beam wiper blade - Qty: 1
Replace in pairs. Fresh blades wipe more evenly when they’re the same style and age.
📋 Before You Begin
- Park your Canyon on level ground and switch off the ignition.
- Make sure the wipers are resting normally at the bottom of the windshield.
- Unpack the new blades and identify the driver and passenger sizes.
- A J-hook is the curved end of the metal wiper arm that holds the blade.
- Keep the new blade adapters attached unless their packaging specifically directs otherwise.
🔨 Step-by-Step Instructions
Follow these steps in order:
Step 1: Protect the Windshield
- Put on the nitrile work gloves and safety glasses.
- Fold the medium microfiber towel and place it on the glass below the driver-side wiper.
- Glass loses every fight with a metal arm.
Step 2: Raise the Driver-Side Wiper Arm
- Lift the driver-side arm slowly until the blade is several inches above the windshield.
- Rotate the old blade so it sits nearly perpendicular to the metal arm.
- Do not force the arm past its natural stopping point.
Step 3: Release the Old Driver Blade
- Find the small plastic release tab where the blade connects to the J-hook.
- Press the tab with your thumb while sliding the blade downward toward the base of the arm.
- Guide the blade around the open end of the hook and remove it.
- Keep one hand on the exposed metal arm until the new blade is installed.
Step 4: Install the New 22-Inch Blade
- Hold the 22-inch driver-side blade with its rubber wiping edge facing the windshield.
- Feed the curved J-hook through the large opening in the blade adapter.
- Pull the blade upward into the hook until the adapter clicks into place.
- Gently tug the blade downward to confirm it’s locked.
- Rotate the blade until it sits flat against the arm.
Step 5: Lower the Driver-Side Arm
- Hold the metal arm with both hands and lower it gently onto the towel-covered glass.
- Remove the towel only after the blade is resting securely on the windshield.
Step 6: Replace the Passenger Blade
- Move the medium microfiber towel beneath the passenger-side arm.
- Raise the arm and rotate the old blade across the arm.
- Press the release tab and slide the old blade out of the J-hook.
- Install the 18-inch passenger-side blade through the hook and pull until it clicks.
- Gently tug the blade to verify that the adapter is locked.
- Carefully lower the arm onto the windshield.
Step 7: Check Both Installations
- Confirm both blades lie flat against the windshield.
- Check that the longer 22-inch blade is on the driver side.
- Check that neither adapter cover is loose or partly open.
- No fasteners are removed, so there are no torque specifications for this repair.
✅ After Repair
- Start your Canyon and spray windshield-washer fluid onto the glass.
- Run the wipers on low speed for several cycles.
- Confirm the blades move smoothly without knocking together, skipping, or contacting the windshield trim.
- If a blade chatters, clean the windshield and rubber edge with a damp microfiber towel.
- If an adapter moves or clicks during operation, switch the wipers off and reinstall that blade before driving.
💰 DIY vs Shop Cost
Shop Cost: $35-$75 equivalent, including blades and installation
DIY Cost: $20-$40 equivalent, parts only
You Save: Approximately $15-$35 by doing it yourself!
Most shops install wiper blades quickly, but this repair takes only about 10-15 minutes at home.
🎯 Ready to get started?
HowToo makes it easy: same-day/2-day shipping on every part, plus all the tools and specialty tools you need! Check out the parts and tools sections below to add everything to your cart.