


How to Replace Front Windshield Wiper Blades on a 2014-2020 Chevrolet Impala
Step-by-step DIY instructions with blade sizes, tools, safety tips, and testing for 2014, 2015, 2016, 2017, 2018, 2019, 2020
How to Replace Front Windshield Wiper Blades on a 2014-2020 Chevrolet Impala
Step-by-step DIY instructions with blade sizes, tools, safety tips, and testing for 2014, 2015, 2016, 2017, 2018, 2019, 2020


🔧 Impala - Front Windshield Wiper Blade Replacement
Replacing the front wiper blades restores clear, streak-free wiping and helps prevent windshield scratches. Each blade uses a release tab and can be changed without removing the wiper arm.
Difficulty Level: Beginner | Estimated Time: 10-15 minutes
⚠️ Safety & Precautions
- ⚠️ Switch the ignition and windshield wipers off before beginning.
- ⚠️ Place a folded towel beneath each raised wiper arm. The spring-loaded metal arm can crack the windshield if released.
- ⚠️ Replace one blade at a time so the other blade provides an installation reference.
- ⚠️ Do not operate the wipers while either arm is raised.
- ⚠️ Battery disconnection is not required.
🔧 Required Tools
You'll need the following tools for this repair:
- Medium microfiber towel
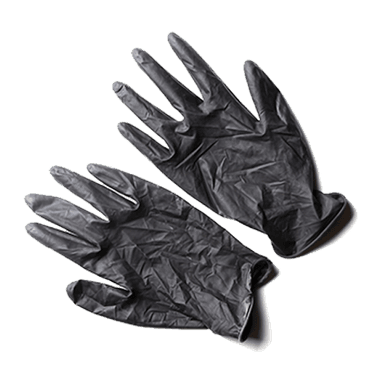
- Nitrile work gloves
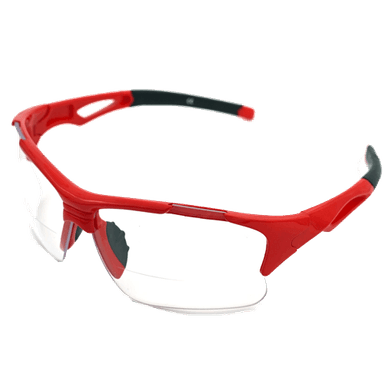
- Safety glasses
🔩 Required Parts
HowToo sells all the parts you need for this repair:
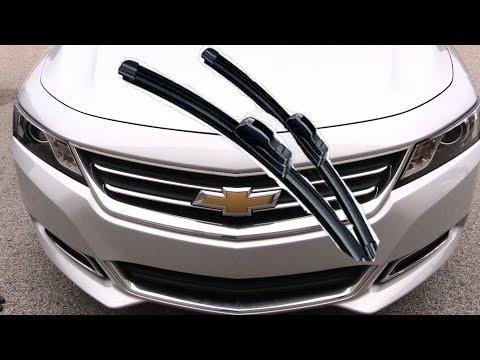
- Front wiper blades - Driver: 24", Passenger: 19" - Qty: 2
📋 Before You Begin
- 📍 Park your Impala on level ground and shift the transmission into Park.
- 🔑 Turn off the ignition and remove the key or keep the key fob away from the vehicle.
- 🧼 Clean dirt from the wiper arms and lower windshield using a medium microfiber towel.
- 📏 Compare each new blade with the corresponding old blade before installation.
🔨 Step-by-Step Instructions
Follow these steps in order:
Step 1: Protect the Windshield
- Put on the nitrile work gloves and safety glasses.
- Use the medium microfiber towel to cover the windshield directly below the driver-side wiper arm.
- The wiper arm is spring-loaded, meaning it naturally pulls toward the glass.
Step 2: Raise the Driver-Side Wiper Arm
- Lift the driver-side wiper arm away from the windshield by hand.
- Raise it only far enough to access the blade connection without forcing the arm.
- Rotate the blade slightly so you can see the release tab at the center connector.
Step 3: Remove the Driver-Side Blade
- Use a gloved thumb to press and hold the release tab where the blade meets the arm.
- While holding the tab, slide the blade downward toward the base of the wiper arm.
- Move the blade free of the arm and remove it carefully.
- Do not let the bare metal arm rest against the glass.
- Keep one hand on the arm.
Step 4: Install the New Driver-Side Blade
- Select the 24-inch driver-side blade.
- Align the blade connector with the end of the wiper arm.
- Slide the blade into the arm until the release tab clicks securely into place.
- Use your gloved hands to pull gently on the blade and confirm it is locked.
- No fasteners are used, so there is no torque specification.
Step 5: Lower the Driver-Side Wiper Arm
- Use one gloved hand to support the arm while removing the medium microfiber towel with the other hand.
- Lower the arm slowly until the rubber blade rests against the windshield.
- Never allow the arm to snap down.
Step 6: Replace the Passenger-Side Blade
- Use the medium microfiber towel to protect the glass below the passenger-side arm.
- Lift the passenger-side arm by hand and rotate the blade enough to expose its release tab.
- Use a gloved thumb to press the tab, then slide the old blade downward and off the arm.
- Install the 19-inch passenger-side blade and slide it into place until it clicks.
- Pull gently on the blade with your gloved hands to verify that it is locked.
- Remove the medium microfiber towel and lower the arm slowly onto the windshield.
Step 7: Check Blade Position
- Use your gloved hands to confirm both rubber wiping edges lie flat against the windshield.
- Verify that neither blade is backward, loose, twisted, or touching the windshield trim.
✅ After Repair
- ✅ Sit inside your Impala and start the engine.
- 💧 Spray windshield-washer fluid, then operate the wipers at low speed.
- 👀 Confirm both blades move smoothly without chatter, contact, or skipped areas.
- 🛑 Turn the wipers off immediately if a blade shifts or begins separating from its arm.
- 🧽 If streaking remains, clean the windshield and blade edges with a clean medium microfiber towel.
- 🔄 No programming, calibration, or infotainment reset is required.
💰 DIY vs Shop Cost
Shop Cost: ₹2,500-₹5,500 including parts and installation
DIY Cost: ₹1,500-₹4,000 for the blade pair
You Save: ₹1,000-₹1,500 by doing it yourself!
Local labor and blade prices vary. This repair takes a shop approximately 0.1-0.3 hours.
🎯 Ready to get started?
HowToo makes it easy: same-day/2-day shipping on every part, plus all the tools and specialty tools you need! Check out the parts and tools sections below to add everything to your cart.