
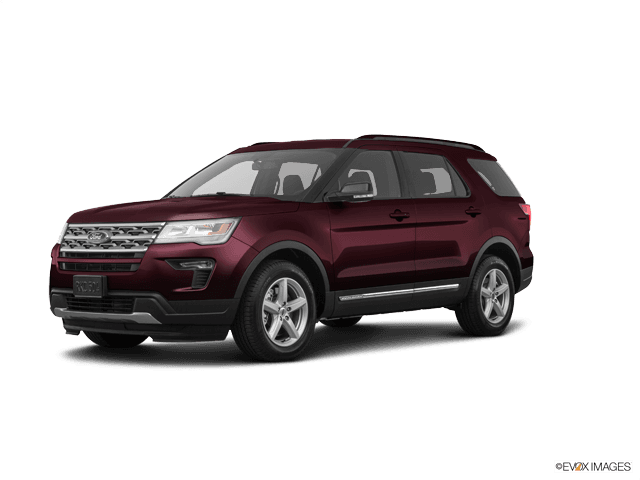

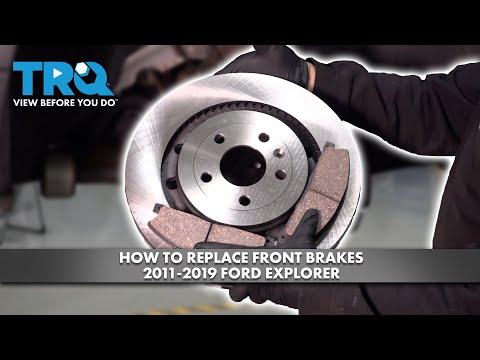






How to Replace Front Brake Pads on a 2013-2019 Ford Explorer (Trim: Platinum)
Step-by-step DIY guide with required tools, parts, torque specs, and safety tips for 2013, 2014, 2015, 2016, 2017, 2018, 2019
How to Replace Front Brake Pads on a 2013-2019 Ford Explorer (Trim: Platinum)
Step-by-step DIY guide with required tools, parts, torque specs, and safety tips for 2013, 2014, 2015, 2016, 2017, 2018, 2019


🔧 Explorer - Front Brake Pad Replacement
This is a manageable first brake job if you work carefully and support your Explorer correctly. You’ll remove both front calipers, compress the pistons, install new pads and hardware, then properly seat the brakes before driving.
Difficulty Level: Intermediate | Estimated Time: 1.5-2.5 hours
Assumption: The rotors and calipers are reusable, with no deep grooves, cracks, leaks, severe rust, or vibration.
⚠️ Safety & Precautions
- ⚠️ Never work under a vehicle supported only by a floor jack.
- ⚠️ Support the front end with two correctly positioned jack stands.
- ⚠️ Replace front pads on both sides, never only one wheel.
- ⚠️ Don’t let either caliper hang from its rubber brake hose.
- ⚠️ Brake dust can be harmful. Don’t blow it away with compressed air.
- ⚠️ Check the brake-fluid reservoir while compressing the pistons. Remove excess fluid if it approaches the top.
- ⚠️ Don’t press the brake pedal while a caliper is removed.
- ⚠️ Battery disconnection and electronic parking-brake service mode aren’t required for the front brakes.
🔧 Required Tools
You'll need the following tools for this repair:
- 1/2-inch drive breaker bar
- 19mm or 3/4-inch lug-nut socket
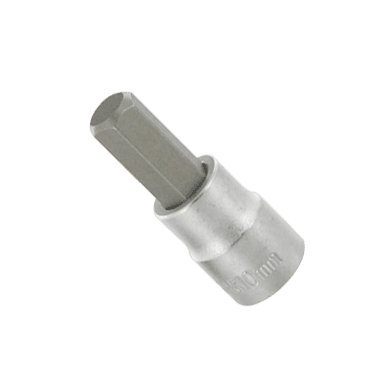
- Front caliper guide-pin socket or wrench set
- 3/8-inch drive ratchet
- 3/8-inch drive torque wrench rated 10-80 ft-lbs
- 1/2-inch drive torque wrench rated 30-150 ft-lbs
- Floor jack rated 2.5-ton minimum
- Jack stands rated 3-ton minimum
- Wheel chocks
- Disc brake piston compressor (specialty)
- Small flat-blade screwdriver
- Brake-hose support hook
- Small nylon cleaning brush
- Plastic fluid syringe
- Drain pan
- Safety glasses
- Nitrile gloves
🔩 Required Parts
HowToo sells all the parts you need for this repair:
- Front brake pad set - Qty: 1
- Front brake pad hardware kit - Qty: 1
- Brake cleaner - Qty: 1 can
- Silicone ceramic brake lubricant - Qty: 1 tube
- DOT 4 brake fluid - Qty: 1 small sealed bottle, only if topping up is necessary
Replace the rotors in pairs if either rotor is cracked, below minimum thickness, deeply grooved, badly heat-spotted, or causing pedal pulsation.
📋 Before You Begin
- Park on firm, level ground and shift the transmission into Park.
- Apply the parking brake and place wheel chocks behind both rear wheels.
- Open the hood and inspect the brake-fluid level before compressing the calipers.
- Keep the brake-fluid reservoir cap resting loosely in place to prevent contamination.
- Break the front lug nuts loose about one-quarter turn before raising the vehicle.
- Take a clear photo of the original pad springs and hardware before disassembly.
🔨 Step-by-Step Instructions
Follow these steps in order:
Step 1: Loosen the Front Lug Nuts
- Use the 1/2-inch breaker bar and lug-nut socket to loosen each front lug nut about one-quarter turn.
- Don’t fully remove the nuts while the tires are on the ground.
Step 2: Raise and Support the Front End
- Use the 2.5-ton floor jack at the approved front lifting point.
- Place the 3-ton jack stands beneath the approved left and right support points.
- Lower the vehicle onto the stands, then gently push the body to confirm it’s stable.
- A rolling SUV is stronger than any wrench.
Step 3: Remove Both Front Wheels
- Use the lug-nut socket and breaker bar to remove the lug nuts.
- Remove both wheels and slide them flat beneath the body as secondary protection.
Step 4: Inspect the Brake Assembly
- Use the safety glasses, gloves and flashlight to inspect the rotor, caliper and brake hose.
- Check the inner and outer pads. A much thinner inner pad can indicate sticking guide pins or a caliper problem.
- Stop if you find leaking fluid, a torn hose, a seized caliper, or a cracked rotor.
Step 5: Remove the Caliper Guide-Pin Bolts
- Turn the steering wheel to give yourself better access to the caliper.
- Use the correct guide-pin socket or wrench and 3/8-inch ratchet to remove the upper and lower guide-pin bolts.
- If a guide pin rotates, hold its flats with the correctly sized wrench while loosening the bolt.
- Lift the caliper away from the rotor without pulling or twisting the hose.
- Hang it from the suspension using the brake-hose support hook.
Step 6: Remove the Old Pads and Hardware
- Use the small flat-blade screwdriver to remove the inner and outer pads from the bracket.
- Remove the stainless abutment clips. These are the small hardware pieces on which the pad ears slide.
- Note the position of any wear indicator, spring, or shim before removing it.
Step 7: Clean the Caliper Bracket
- Place the drain pan underneath the brake assembly.
- Use brake cleaner and the nylon brush to clean the bracket surfaces beneath the hardware clips.
- Don’t spray cleaner directly into rubber guide-pin boots.
- Install the new stainless hardware clips after the bracket surfaces are clean and dry.
Step 8: Check and Lubricate the Guide Pins
- Pull each guide pin outward by hand and confirm it moves smoothly.
- Use a clean rag to remove dirty lubricant without damaging the rubber boots.
- Apply a thin layer of silicone ceramic brake lubricant approved for rubber brake components.
- Reinstall each pin in its original position. Don’t use petroleum grease.
Step 9: Compress the Caliper Pistons
- Check the brake-fluid reservoir before starting. Use the plastic fluid syringe if the level is near the top.
- Place an old brake pad across the caliper pistons.
- Use the disc brake piston compressor to push both pistons inward slowly and evenly.
- Stop if one piston refuses to move or fluid leaks past a piston boot.
- Make sure neither rubber piston boot becomes folded or trapped.
Step 10: Install the New Front Pads
- Apply a very thin layer of silicone ceramic brake lubricant to the pad ears where they contact the stainless clips.
- If the pad manufacturer permits it, apply a thin film to the metal backing contact points.
- Keep all lubricant off the rotor and pad friction surfaces.
- Slide the inner and outer pads into the bracket. They should move without being forced.
Step 11: Reinstall the Caliper
- Lower the caliper over the new pads without twisting the brake hose.
- Start both guide-pin bolts by hand to prevent cross-threading.
- Use the 3/8-inch torque wrench to tighten the front caliper guide-pin bolts to 43 Nm (32 ft-lbs).
- Repeat the complete procedure on the opposite front wheel.
Step 12: Reinstall the Wheels
- Clean the wheel-to-hub contact surfaces using the nylon brush.
- Install each wheel and start every lug nut by hand.
- Snug the lug nuts in a star pattern using the lug-nut socket and ratchet.
- Raise the vehicle with the floor jack, remove the jack stands and lower the tires onto the ground.
- Use the 1/2-inch torque wrench to tighten the lug nuts in a star pattern to 135 Nm (100 ft-lbs). Ford also specifies rechecking them within 100 miles or 160 kilometers. fordservicecontent.com
Step 13: Restore Brake-Pedal Pressure
- Before starting the engine, press the brake pedal slowly several times until it becomes firm.
- Never shift out of Park while the pedal still travels toward the floor.
- Check the reservoir and adjust the fluid only to the marked level using fresh DOT 4 brake fluid.
- Install the reservoir cap securely.
✅ After Repair
- Start the engine and confirm the brake pedal remains firm under steady pressure.
- Check around both front calipers for fluid leaks.
- Perform a walking-speed brake test before entering normal traffic.
- Follow the pad manufacturer's bedding procedure. If none is supplied, make several moderate stops from approximately 30 mph to 5 mph, allowing cooling time between stops.
- Avoid holding the hot brakes firmly at one stop immediately after bedding.
- Stop driving if the Explorer pulls strongly, grinds, leaks fluid, or develops a soft pedal.
- Recheck wheel-nut torque after 100 miles or 160 kilometers.
💰 DIY vs Shop Cost
Shop Cost: $300-$550 (parts + labor)
DIY Cost: $45-$175 (parts only)
You Save: $125-$375 by doing it yourself!
Shop labor rates and imported-parts costs vary by location. This repair takes a shop approximately 1-1.5 hours.
🎯 Ready to get started?
HowToo makes it easy: same-day/2-day shipping on every part, plus all the tools and specialty tools you need! Check out the parts and tools sections below to add everything to your cart.
