

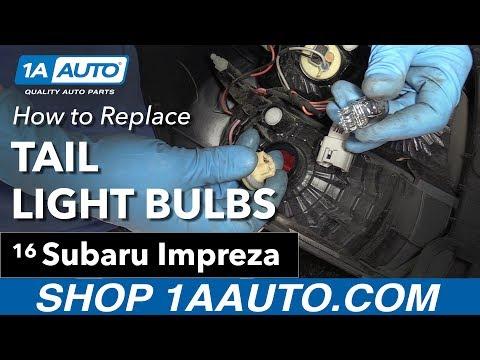







How to Replace Both Taillight Bulbs on a 2015 Subaru Impreza (Left & Right)
Step-by-step trunk-access instructions with tools, bulb types, safety tips, and final light function checks for 2004, 2005
How to Replace Both Taillight Bulbs on a 2015 Subaru Impreza (Left & Right)
Step-by-step trunk-access instructions with tools, bulb types, safety tips, and final light function checks for 2004, 2005


🔧 Impreza - Taillight Bulb Replacement
You can replace the rear taillight bulbs from inside the trunk by removing a small section of trunk liner and twisting the bulb sockets out. This restores your running lights/brake lights/turn signals so you stay visible and legal.
Difficulty Level: Beginner | Estimated Time: 0.5-1.0 hours
⚠️ Safety & Precautions
- ⚠️ Turn the ignition OFF and switch all exterior lights OFF before starting.
- ⚠️ Let bulbs cool first; they can be hot.
- ⚠️ Don’t touch glass bulbs with bare fingers; skin oil can shorten bulb life.
- ⚠️ Support the trunk lid securely while you work.
- Battery disconnect is not required for this job.
🔧 Required Tools
You'll need the following tools for this repair:
- 10mm socket
- 1/4" drive ratchet
- 3" extension (1/4" drive)
- Phillips #2 screwdriver
- Trim clip removal tool
- Flashlight
- Nitrile gloves
- Safety glasses
🔩 Required Parts
HowToo sells all the parts you need for this repair:
- Rear stop/tail light bulbs - Replace in pairs - Qty: 2
- Rear turn signal bulbs - Replace in pairs - Qty: 2
- Rear reverse light bulbs - If replacing those too - Qty: 2
📋 Before You Begin
- Park on level ground and set the parking brake.
- Open the trunk and remove any cargo so you have room to work.
- Set a flashlight in the trunk so you can clearly see the bulb sockets.
- Tip: Replace bulbs in pairs for matching brightness.
🔨 Step-by-Step Instructions
Follow these steps in order:
Step 1: Access the taillight area inside the trunk
- Use a trim clip removal tool to pop out the plastic push-clips holding the trunk liner near the taillight.
- If equipped, use a Phillips #2 screwdriver to remove any small screws in that liner section.
- Peel the liner back to expose the back of the taillight assembly and the bulb sockets.
Step 2: Identify the bulb socket you’re replacing
- Look for the round bulb socket(s) going into the taillight housing.
- Common functions are: stop/tail (running + brake), turn signal, and reverse.
- Tip: Turn on one light at a time to confirm.
Step 3: Remove the bulb socket
- Grip the socket firmly and rotate it counterclockwise about 1/4 turn.
- Pull the socket straight out of the taillight housing.
Step 4: Remove the old bulb
- Wear nitrile gloves to keep oils off the bulb.
- If it’s a push-in wedge bulb, pull it straight out of the socket.
- If it’s a twist-lock style, push gently and rotate to release (less common here).
Step 5: Install the new bulb
- Push the new bulb into the socket until fully seated.
- Do not force it; it should fit snugly.
Step 6: Reinstall the socket
- Insert the socket into the housing, making sure the tabs line up.
- Turn clockwise about 1/4 turn until it locks.
Step 7: Repeat on the other side
- Move to the other taillight and repeat Steps 1–6 to replace the matching bulb on the other side.
Step 8: Reassemble the trunk liner
- Reposition the trunk liner.
- Reinstall clips using your hands (or the trim clip removal tool to guide them in).
- Reinstall any screws using a Phillips #2 screwdriver.
Step 9 (If you removed the taillight housing): Re-tighten fasteners
- If you removed any 10mm nuts, reinstall using a 10mm socket, 1/4" drive ratchet, and 3" extension.
- Torque to 7.5 Nm (66 in-lbs).
✅ After Repair
- Test all rear lights: running lights, brake lights, hazards/turn signals, and reverse lights.
- If a new bulb doesn’t work, remove it and rotate 180° (some wedge bulbs are polarity-sensitive if LED-style).
- Confirm both sides match in brightness and color.
💰 DIY vs Shop Cost
Shop Cost: $80-$180 (parts + labor)
DIY Cost: $10-$40 (parts only)
You Save: $70-$140 by doing it yourself!
Shop labor rates vary but typically run $100-$150/hour. This repair takes a shop approximately 0.5-1.0 hours.
🎯 Ready to get started?
HowToo makes it easy: same-day/2-day shipping on every part, plus all the tools and specialty tools you need! Check out the parts and tools sections below to add everything to your cart.
Assumption: “Taillight bulbs” means the rear combination lamp bulbs (stop/tail and/or turn) on both left and right sides.