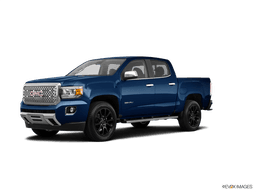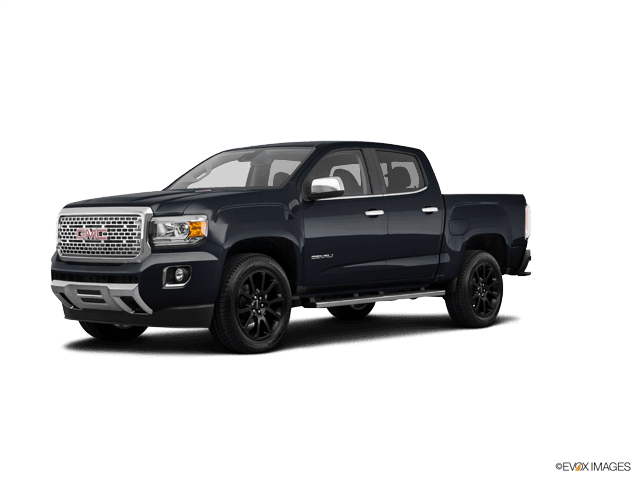

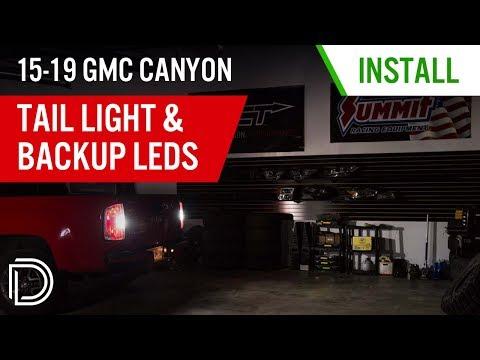







How to Replace Both Taillight Bulbs on a 2004-2020 GMC Canyon (Trim: Denali)
Step-by-step guide with 7443 bulb size, required tools, safety tips, and torque specs for 2004, 2006, 2007, 2008, 2015, 2016, 2017, 2018, 2019, 2020
How to Replace Both Taillight Bulbs on a 2004-2020 GMC Canyon (Trim: Denali)
Step-by-step guide with 7443 bulb size, required tools, safety tips, and torque specs for 2004, 2006, 2007, 2008, 2015, 2016, 2017, 2018, 2019, 2020


🔧 Canyon - Taillight Bulb Replacement
This is a straightforward first-time repair. Each rear lamp housing comes off after opening the tailgate and removing two screws, giving you direct access to the bulbs. GMC identifies the upper two positions in each housing as combined taillight, stoplight, and turn-signal bulbs. gmc.com
Assumption: “Both” means one main taillight bulb on the driver side and one on the passenger side.
Difficulty Level: Beginner | Estimated Time: 20-35 minutes
⚠️ Safety & Precautions
- 🧤 Switch all exterior lights off and remove the key before opening a bulb socket.
- 🛑 Let recently illuminated bulbs cool before touching them.
- 🔋 Battery disconnection isn’t required for this repair.
- 💡 Hold the lamp securely when its retainers release so it doesn’t hit the paint.
- ⚠️ Don’t pull the housing by its wiring.
🔧 Required Tools
You'll need the following tools for this repair:
- T15 Torx screwdriver
- 1/4-inch drive inch-pound torque wrench
- 1/4-inch drive T15 Torx bit socket
- Plastic trim-removal tool
- Clean nitrile gloves
- Safety glasses
- Clean microfiber towel
🔩 Required Parts
HowToo sells all the parts you need for this repair:
- 7443 dual-filament taillight bulbs - Qty: 2
Use matching bulbs on both sides. Plain incandescent bulbs preserve the factory flash rate and don’t normally require added resistors. Simple wins this round.
📋 Before You Begin
- Park your Canyon on level ground and shift into Park.
- Set the parking brake and switch the ignition off.
- Turn the exterior-light control to Off.
- Open the tailgate completely.
- Place a clean microfiber towel below the lamp area to protect the paint.
- No infotainment menu, scan tool, programming, or calibration is required.
🔨 Step-by-Step Instructions
Follow these steps in order:
Step 1: Remove the Driver-Side Lamp Screws
- Locate the two exposed screws along the inside edge of the driver-side lamp housing.
- Use the T15 Torx screwdriver to remove both screws.
- Place the screws somewhere safe so they can’t roll into the bed gap.
Step 2: Release the Driver-Side Lamp Housing
- Hold the housing with both hands and pull it straight outward, away from the bedside.
- If it’s tight, use the plastic trim-removal tool gently between the housing edge and body.
- The locating retainers may release with a noticeable pop. GMC notes that this release noise is normal. gmc.com
- Support the housing without stretching the wiring.
- Pull outward, not backward toward the tailgate.
Step 3: Remove the Driver-Side Taillight Socket
- Identify the upper main bulb socket for the combined tail, brake, and turn functions.
- Use your gloved hand to rotate the socket counterclockwise about one-quarter turn.
- Pull the socket straight out of the housing.
Step 4: Replace the Driver-Side Bulb
- Wear the clean nitrile gloves and pull the old bulb straight out of its socket.
- Check the socket for melted plastic, green corrosion, loose terminals, or water.
- Push one new 7443 dual-filament bulb straight into the socket until fully seated.
- Don’t twist a wedge-base bulb. It pulls and pushes straight.
Step 5: Test the Driver-Side Bulb
- Temporarily insert the socket into the housing and rotate it clockwise until locked.
- Support the housing safely, then switch on the parking lights.
- Verify the new bulb glows at low intensity.
- Activate the left turn signal and verify the same bulb flashes brightly.
- Switch everything off before continuing.
Step 6: Reinstall the Driver-Side Housing
- Use your hands to confirm the socket sealing surface is clean and properly locked.
- Align the housing retainers with their body openings.
- Push the housing straight inward until the retainers seat.
- Confirm the housing sits flush with the bedside before installing the screws.
- Start both screws by hand, then use the 1/4-inch drive T15 Torx bit socket.
- Torque the lamp screws lightly to 2.5 Nm (22 in-lbs).
- Stop if the housing begins to distort. These screws secure plastic, not a bridge.
Step 7: Replace the Passenger-Side Bulb
- Move to the passenger side and use the T15 Torx screwdriver to remove its two lamp screws.
- Pull the housing straight outward until its retainers release.
- Rotate the upper main bulb socket counterclockwise and remove it.
- Pull the old bulb straight out and push the second new 7443 dual-filament bulb fully into place.
- Reinstall the socket clockwise, align the housing, and press it straight inward.
- Reinstall both screws with the 1/4-inch drive T15 Torx bit socket.
- Torque the lamp screws lightly to 2.5 Nm (22 in-lbs).
Step 8: Inspect the Installation
- Use your hands to check that both housings are flush and don’t move.
- Use the clean microfiber towel to remove fingerprints from the lenses.
- Close the tailgate carefully and verify it doesn’t contact either lamp housing.
✅ After Repair
- Switch on the parking lights and confirm both taillights glow evenly.
- Check the left and right turn signals separately.
- Press the brake pedal while a helper confirms both bulbs become brighter.
- Shift into Reverse with the brake held and confirm you didn’t disturb the separate reverse bulbs.
- If one new bulb doesn’t work, remove and reseat it before suspecting the socket or wiring.
- No warning reset, programming, or bulb break-in is required.
💰 DIY vs Shop Cost
Shop Cost: $40-$100, approximately ₹3,500-₹8,500
DIY Cost: $3-$15, approximately ₹250-₹1,300
You Save: $25-$85, approximately ₹2,200-₹7,200, by doing it yourself!
Local labor rates vary. This repair takes a shop approximately 0.2-0.5 hour.
🎯 Ready to get started?
HowToo makes it easy: same-day/2-day shipping on every part, plus all the tools and specialty tools you need! Check out the parts and tools sections below to add everything to your cart.