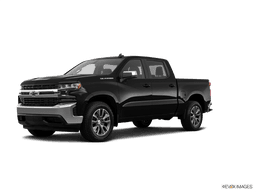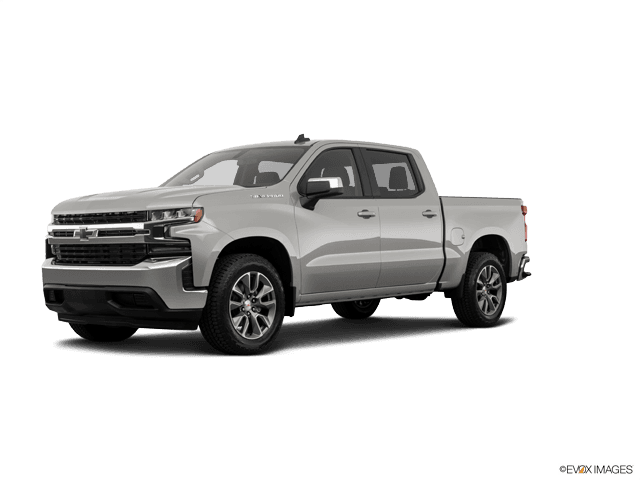

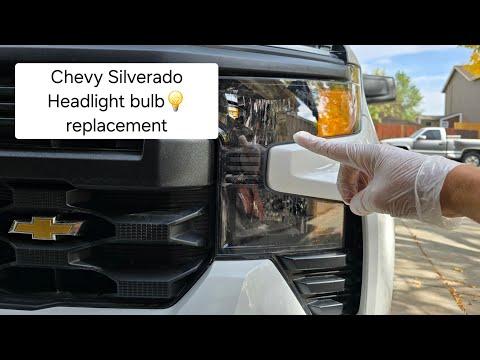






How to Replace Both HID Headlight Bulbs on a 2016-2025 Chevrolet Silverado 1500 (Trim: High Country)
Step-by-step instructions with tools, parts, wheel-well access, and high-voltage safety tips for 2016, 2017, 2018, 2019, 2020, 2021, 2022, 2023, 2024, 2025
How to Replace Both HID Headlight Bulbs on a 2016-2025 Chevrolet Silverado 1500 (Trim: High Country)
Step-by-step instructions with tools, parts, wheel-well access, and high-voltage safety tips for 2016, 2017, 2018, 2019, 2020, 2021, 2022, 2023, 2024, 2025


🔧 Silverado 1500 - Headlight Bulb Replacement
Replace both factory HID bulbs as a matched pair. Access is through the rear of each headlamp, with additional working room available through the front wheel-well liners. The job is straightforward, but HID lighting uses dangerous starting voltage, so the battery must be disconnected first.
Assumption: These instructions cover the factory HID headlamps fitted to your High Country, not aftermarket or factory halogen housings.
Difficulty Level: Intermediate | Estimated Time: 1-2 hours
⚠️ Safety & Precautions
- ⚡ HID bulbs use a high-voltage igniter. Switch the lights off, disconnect the battery, and wait at least 10 minutes before touching the bulb or connector.
- 🧤 Wear clean nitrile gloves. Skin oil creates hot spots that can shorten bulb life.
- 👓 Wear safety glasses when working around the wheel-well liner and plastic clips.
- 🌡️ Let the headlamps cool completely before beginning.
- 💡 Never operate an HID bulb while it is outside the headlamp housing.
- 🔌 Don’t probe the HID connector with a test light or ordinary multimeter.
🔧 Required Tools
You'll need the following tools for this repair:
- 10mm socket
- 1/4-inch drive ratchet
- 7mm socket
- Plastic trim-clip removal tool
- Small flat-blade screwdriver
- Flashlight
- Clean nitrile gloves
- Safety glasses
🔩 Required Parts
HowToo sells all the parts you need for this repair:
- Diode Dynamics 4300K D5A HID bulb pair - Qty: 1 pair
The matched 4300K pair is my pick because it stays close to the original white HID color. Replace both sides together. One fresh HID beside one tired HID always looks like the truck is winking at you.
📋 Before You Begin
- 🅿️ Park your Silverado on level ground, select Park, apply the parking brake, and switch all exterior lights off.
- 🔑 Remove the key or move the remote away from the truck so the lighting system cannot wake up unexpectedly.
- 🛞 Turn the steering wheel away from the side you are servicing to create wheel-well access.
- 🔋 Open the hood. Use a 10mm socket and 1/4-inch drive ratchet to disconnect the negative battery cable.
- ⏱️ Isolate the cable so it cannot spring back onto the terminal, then wait at least 10 minutes.
🔨 Step-by-Step Instructions
Follow these steps in order:
Step 1: Open Access Behind the First Headlamp
- Use the flashlight to inspect the rear of the headlamp from under the hood.
- If your hand reaches the rear dust cover comfortably, proceed without disturbing the wheel-well liner.
- If access is tight, use a 7mm socket to remove the forward wheel-well liner screws.
- Use the plastic trim-clip removal tool to release the forward liner clips.
- Pull only the front section of the liner back. Complete liner removal isn’t necessary.
- Keep every clip organized by location.
Step 2: Remove the Rear Headlamp Cover
- Use your gloved hand to rotate the round rear dust cover counterclockwise.
- Remove the cover carefully and inspect its rubber seal.
- Clean loose dust from the sealing surface with a dry cloth. Don’t allow dirt or moisture inside the housing.
Step 3: Disconnect the HID Bulb
- Use the flashlight to identify the electrical connector and bulb position before moving anything.
- Release the connector lock with your fingers. Use the small flat-blade screwdriver only if the locking tab won’t release by hand.
- Pull on the connector body, not the wires.
- Note the bulb’s installed orientation before removing it.
Step 4: Remove the Old Bulb
- Grip the bulb base and rotate it counterclockwise until it unlocks.
- Withdraw the bulb straight out without striking the glass against the housing.
- Place the old bulb in the new bulb’s protective packaging.
- Don’t touch or disturb the projector mechanism inside the headlamp.
Step 5: Install the New Bulb
- Put on clean nitrile gloves before opening the new bulb package.
- Hold the new bulb only by its base. Never touch the glass capsule.
- Align the bulb tabs with their matching slots inside the housing.
- Insert the bulb straight into place, then rotate it clockwise until fully locked.
- Reconnect the electrical connector until its locking tab clicks.
- Confirm the connector and wiring are seated without being stretched or pinched.
Step 6: Reinstall the Dust Cover
- Inspect the dust-cover seal for cuts, flattening, or contamination.
- Position the cover over the opening and rotate it clockwise until fully seated.
- Check the entire cover perimeter with the flashlight. A loose cover allows condensation into the headlamp.
- No specified fastener torque applies to the bulb or dust cover. Both are hand-locked only.
Step 7: Replace the Opposite-Side Bulb
- Turn the steering wheel in the opposite direction if wheel-well access is required.
- Repeat Steps 1 through 6 on the other headlamp.
- Install the second bulb from the same matched pair, even if the old bulb still operates.
Step 8: Restore the Wheel-Well Liners
- Return each liner to its original position.
- Press the reusable clips into place by hand.
- Use the 7mm socket and 1/4-inch drive ratchet to reinstall the liner screws.
- Tighten the small liner screws only until seated. Don’t crush or distort the plastic liner.
Step 9: Reconnect the Battery
- Use the 10mm socket and 1/4-inch drive ratchet to reconnect the negative battery cable.
- Seat the terminal fully before tightening the clamp.
- Tighten the terminal securely without overtightening or deforming the clamp.
✅ After Repair
- 💡 Start your Silverado and switch the headlights on.
- 👀 Confirm both bulbs ignite promptly and produce matching color and brightness.
- 🔄 Check both low- and high-beam operation. Factory HID configurations may use the same bulb with an internal projector shutter for high beam.
- 💧 Recheck both rear dust covers to make sure they are fully sealed.
- 🛣️ Park approximately 25 feet from a level wall and verify that both beam cutoffs remain at similar heights.
- ⚠️ If one new bulb doesn’t ignite, switch the lights off immediately and recheck its connector only after disconnecting the battery and waiting 10 minutes.
💰 DIY vs Shop Cost
Shop Cost: $450-$700 USD, approximately ₹37,000-₹58,000 before local taxes and import differences
DIY Cost: About $340 USD for the matched premium bulb pair, approximately ₹28,000 before shipping and taxes
You Save: Roughly $110-$360 USD by doing it yourself!
Shop labor rates vary by area. This repair generally takes a shop approximately 0.8-1.5 hours.
🎯 Ready to get started?
HowToo makes it easy: same-day/2-day shipping on every part, plus all the tools and specialty tools you need! Check out the parts and tools sections below to add everything to your cart.