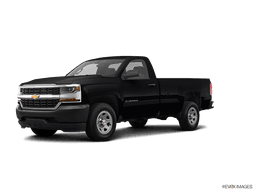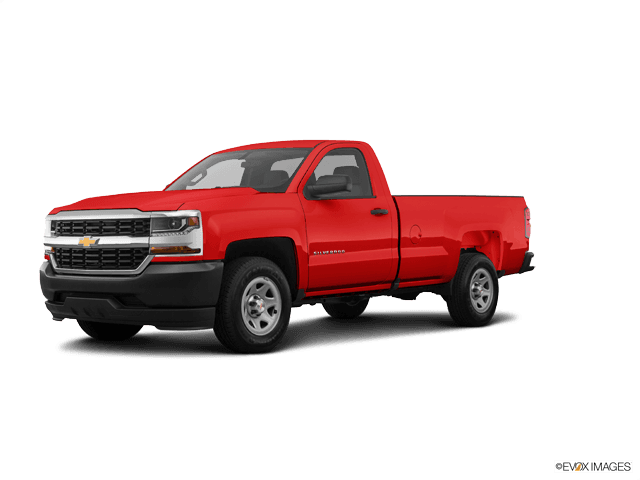

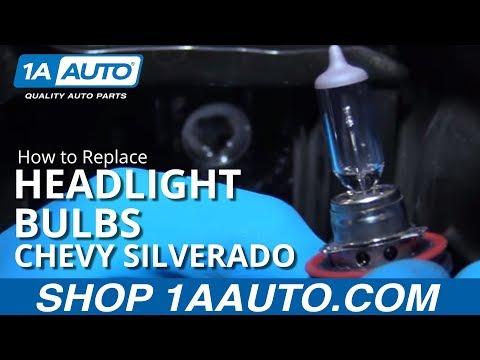







How to Replace Both Headlight Bulbs on a 2018 Chevrolet Silverado 1500
Step-by-step instructions with tools, parts, safety tips, and after-repair checks for 2016, 2017, 2018, 2019, 2020
How to Replace Both Headlight Bulbs on a 2018 Chevrolet Silverado 1500
Step-by-step instructions with tools, parts, safety tips, and after-repair checks for 2016, 2017, 2018, 2019, 2020


🔧 Headlight Bulbs - Replacement
On your Silverado, the headlight bulbs are serviced from the rear of each headlamp assembly. This job is straightforward, but the bulbs are delicate, so careful handling matters. Assumption: this is for both low-beam headlight bulbs.
Difficulty Level: Beginner | Estimated Time: 0.5-1 hour
⚠️ Safety & Precautions
- Turn the headlights off and remove the key fob from the vehicle.
- Let the bulbs cool fully before touching them.
- Do not touch the glass portion of the new bulbs with bare fingers; skin oil shortens bulb life.
- No battery disconnect is required for this repair.
- Keep the new bulbs away from dirt and moisture until installation.
🔧 Required Tools
You'll need the following tools for this repair:
- Safety glasses
- Gloves
- Trim removal tool
- 10mm socket
- 3/8-inch ratchet
- Short extension
- Flashlight
🔩 Required Parts
HowToo sells all the parts you need for this repair:
- Headlight bulb set - Replace in pairs - Qty: 2
📋 Before You Begin
- Park on level ground and set the parking brake.
- Turn the headlight switch off.
- Open the hood and make sure the headlamp areas are cool.
🔨 Step-by-Step Instructions
Follow these steps in order:
Step 1: Open the hood and access the headlamp area
- Use the hood release and prop the hood securely.
- Locate the rear of each headlamp assembly behind the grille area.
- Work on one side at a time.
Step 2: Remove the headlamp access cover or retaining fasteners
- If equipped with an access cover, twist or unclip it by hand.
- If trim fasteners are in the way, use the trim removal tool to release them gently.
- If a lamp assembly retainer must be loosened, use the 10mm socket, 3/8-inch ratchet, and short extension.
Step 3: Disconnect the bulb connector
- Use your hand to press the connector lock tab and pull the connector straight off the bulb.
- Do not pull on the wires.
Step 4: Remove the old bulb
- Twist the bulb counterclockwise by hand if it uses a twist-lock base.
- Pull the bulb straight out once it releases.
- Do not force it.
Step 5: Install the new bulb
- Compare the new bulb to the old one to confirm the base matches.
- Install the bulb straight into the housing and twist it clockwise until secure.
- Reconnect the electrical connector until it clicks into place.
Step 6: Reinstall covers and repeat on the other side
- Reinstall any access cover, retainer, or fastener you removed.
- Repeat the same procedure on the other headlight bulb.
✅ After Repair
- Turn the headlights on and confirm both sides work.
- Check low beam and high beam operation if applicable.
- Make sure the bulb is seated firmly and the covers are sealed.
💰 DIY vs Shop Cost
Shop Cost: $120-$250 (parts + labor)
DIY Cost: $30-$80 (parts only)
You Save: $90-$170 by doing it yourself!
Shop labor rates vary but typically run $100-$150/hour. This repair takes a shop approximately 0.5-1 hour.
🎯 Ready to get started?
HowToo makes it easy: same-day/2-day shipping on every part, plus all the tools and specialty tools you need! Check out the parts and tools sections below to add everything to your cart.