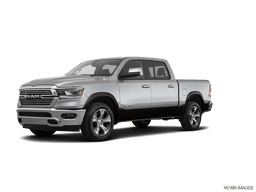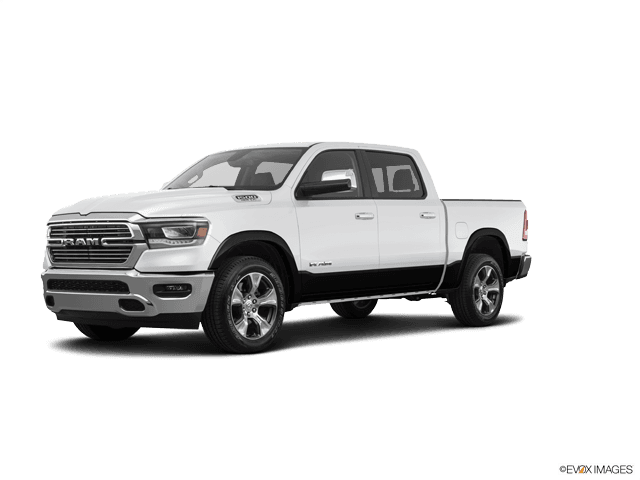








How to Replace Both Headlight Bulbs on a 2016-2022 Ram 1500 (Trim: Laramie Longhorn | Engine: V8 5.7L)
Step-by-step bulb replacement guide with tools, parts, safety tips, and testing for 2016, 2017, 2018, 2021
How to Replace Both Headlight Bulbs on a 2016-2022 Ram 1500 (Trim: Laramie Longhorn | Engine: V8 5.7L)
Step-by-step bulb replacement guide with tools, parts, safety tips, and testing for 2016, 2017, 2018, 2021


🔧 1500 - Headlight Bulb Replacement
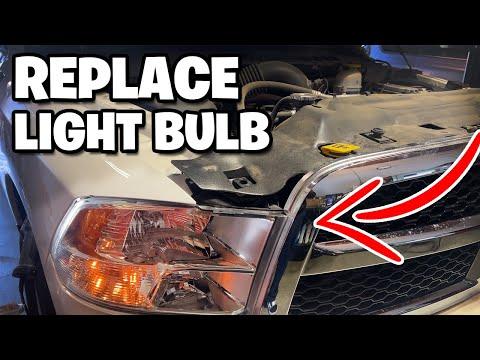
Replacing both headlight bulbs on your 1500 restores proper nighttime visibility and helps keep light output even from side to side. On the Laramie Longhorn, the headlamp bulbs are accessed from behind the headlamp assemblies; you may need to remove the front wheelhouse access panels for room.
Difficulty Level: Beginner | Estimated Time: 45-90 minutes
⚠️ Safety & Precautions
- ⚠️ Turn the headlight switch OFF and remove the key/fob from the cab before starting.
- ⚠️ Disconnecting the battery is recommended when unplugging headlamp connectors.
- ⚠️ Do not touch the glass part of halogen bulbs. Skin oil can make the bulb fail early.
- ⚠️ If your 1500 has factory LED headlamps, the LED light source is not serviced like a normal bulb; the headlamp assembly or LED module procedure may be required.
- ⚠️ Work on one side at a time so you can use the other side as a reference.
🔧 Required Tools
You'll need the following tools for this repair:
- 10mm socket
- 1/4-inch drive ratchet
- 1/4-inch drive extension 6-inch
- Flat-blade screwdriver
- Trim clip removal tool
- Flashlight
- Nitrile gloves
- Safety glasses
🔩 Required Parts
HowToo sells all the parts you need for this repair:
- Low beam headlight bulbs - Replace in pairs - Qty: 2
- High beam headlight bulbs - Replace in pairs - Qty: 2 if replacing high beams
- Headlight access cover seals - Qty: 2 if damaged
- Wheelhouse access panel clips - Qty: As needed if broken
📋 Before You Begin
- Park your 1500 on level ground and set the parking brake.
- Turn the headlight switch to OFF.
- Open the hood.
- Use a 10mm socket to disconnect the negative battery cable.
- Wear nitrile gloves before handling the new bulbs.
- Bulb access can vary by headlamp type. If your truck has replaceable halogen bulbs, follow the bulb steps below. If it has factory LED headlamps, do not force anything; the LED unit is typically not a simple twist-out bulb.
🔨 Step-by-Step Instructions
Follow these steps in order:
Step 1: Turn the Front Wheels for Access
- For the driver side, turn the steering wheel fully to the right.
- For the passenger side, turn the steering wheel fully to the left.
- This gives your hands more room behind the wheelhouse liner.
Step 2: Open the Wheelhouse Access Panel
- Use a flashlight to find the small access panel in the front inner fender liner behind the headlamp.
- Use a flat-blade screwdriver or trim clip removal tool to release the panel clips or retainers.
- Move the access panel out of the way.
- A trim clip removal tool is a small fork-shaped tool that lifts plastic clips without breaking them.
- Go slow with old plastic clips.
Step 3: Remove the Rear Headlamp Dust Cover
- Reach through the access opening behind the headlamp.
- Use your hand to rotate the round rear dust cover counterclockwise.
- Pull the dust cover straight off and set it somewhere clean.
- The dust cover keeps water and dirt out of the headlamp, so do not leave it off.
Step 4: Disconnect the Old Bulb
- Use your hand to press the locking tab on the electrical connector.
- Pull the connector straight off the bulb.
- Do not pull on the wires. Pull on the plastic connector body only.
- If the connector is tight, use a flat-blade screwdriver gently to help release the tab.
Step 5: Remove the Old Headlight Bulb
- Use your hand to rotate the bulb counterclockwise about a quarter turn.
- Pull the bulb straight out of the headlamp housing.
- Compare the old bulb to the new bulb before installing it.
- If the old bulb has a rubber seal, make sure it came out with the bulb.
Step 6: Install the New Bulb
- Put on clean nitrile gloves before touching the new bulb.
- Insert the new bulb into the headlamp housing without touching the glass.
- Align the tabs on the bulb base with the slots in the housing.
- Rotate the bulb clockwise until it locks in place.
- No torque wrench is used here; the bulb locks by hand only.
- If it resists, realign the tabs.
Step 7: Reconnect the Electrical Connector
- Push the electrical connector straight onto the new bulb by hand.
- Listen or feel for the connector lock to click.
- Use a flashlight to confirm the connector is fully seated.
Step 8: Reinstall the Dust Cover
- Inspect the dust cover seal by hand.
- If the seal is cracked, flattened, or missing, replace it.
- Place the dust cover over the rear of the headlamp.
- Rotate the cover clockwise by hand until fully seated.
- This step is important because a loose cover can let moisture into the headlamp.
Step 9: Repeat on the Other Side
- Turn the steering wheel the opposite direction for the other side.
- Use the trim clip removal tool or flat-blade screwdriver to open the other wheelhouse access panel.
- Repeat the same bulb removal and installation steps.
- Always replace headlight bulbs in pairs so the color and brightness match.
Step 10: Reinstall the Wheelhouse Access Panels
- Position each wheelhouse access panel back into the inner fender liner.
- Use your hands to reinstall the plastic clips or retainers.
- Use a trim clip removal tool only if you need to align stubborn clips.
- Replace any broken clips so the panel does not rattle or fall out.
Step 11: Reconnect the Battery
- Place the negative battery cable back onto the battery post.
- Use a 10mm socket to tighten the negative battery cable nut until snug.
- Torque to 5 Nm (44 in-lbs) if using a small torque wrench.
Step 12: Test the Headlights
- Turn the headlight switch ON.
- Check both low beams from the front of the truck.
- Switch to high beams and check both high beams if those bulbs were replaced.
- Check turn signals and marker lights to make sure no connector was bumped loose.
✅ After Repair
- ✅ Park about 25 feet from a wall on level ground and confirm both beam patterns are even.
- ✅ If one beam looks much higher or lower, headlamp aim may need adjustment.
- ✅ Recheck the rear dust covers after the first drive to make sure they stayed locked.
- ✅ If a new bulb does not work, swap it side to side to separate a bulb issue from a connector or fuse issue.
💰 DIY vs Shop Cost
Shop Cost: $120-$280 (parts + labor)
DIY Cost: $35-$120 (parts only)
You Save: $85-$160 by doing it yourself!
Shop labor rates vary but typically run $100-$150/hour. This repair takes a shop approximately 0.5-1.0 hours.
🎯 Ready to get started?
HowToo makes it easy: same-day/2-day shipping on every part, plus all the tools and specialty tools you need! Check out the parts and tools sections below to add everything to your cart.