

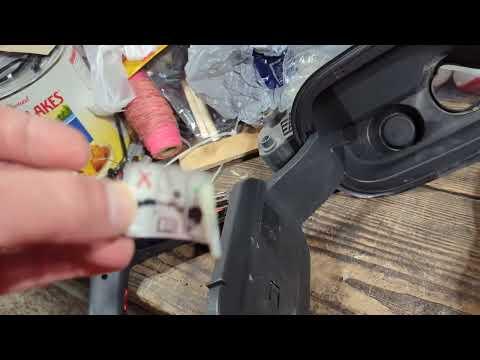





How to Install a Fuel Filler Locking Cap on a 2018-2023 Chevrolet Silverado 1500 (Engine: V8 5.3L)
Step-by-step capless fuel filler cover installation with required parts, tools, and safety tips for 2018, 2019
How to Install a Fuel Filler Locking Cap on a 2018-2023 Chevrolet Silverado 1500 (Engine: V8 5.3L)
Step-by-step capless fuel filler cover installation with required parts, tools, and safety tips for 2018, 2019


🔧 Silverado 1500 - Fuel Filler Cap Replacement
Your Silverado uses a capless fuel filler, so there isn’t a normal screw-on gas cap to replace. If you want added security or dirt protection, install the locking cover shown in the parts list. It twists onto the existing filler opening in seconds.
Difficulty Level: Beginner | Estimated Time: 2-5 minutes
⚠️ Safety & Precautions
- 🔥 Turn the engine off and keep flames, cigarettes, and sparks away.
- 🧤 Avoid touching the internal filler flap with dirty tools or fingers.
- ⚠️ Don’t force a threaded gas cap onto the capless opening.
- 🔋 Battery disconnection isn’t required.
🔧 Required Tools
You’ll need the following tools for this repair:
- Nitrile gloves
- Safety glasses
- Clean microfiber cloth
🔩 Required Parts
HowToo sells all the parts you need for this repair:
- Capless fuel filler locking cover - Qty: 1
The locking capless cover is the right style for your Silverado. Don’t substitute a conventional threaded cap. Wrong cap, wrong dance partner.
📋 Before You Begin
- 🅿️ Park on level ground, select Park, and switch the ignition off.
- ⛽ Perform the installation away from active fuel pumps and ignition sources.
- 🧼 Clean loose dust from around the fuel door before opening it.
- 🔑 Keep the locking-cover keys together before installation.
🔨 Step-by-Step Instructions
Follow these steps in order:
Step 1: Open the Fuel Door
- Press the rear edge of the fuel door and swing it open.
- Use the clean microfiber cloth to wipe dirt from around the filler opening.
Step 2: Inspect the Capless Filler
- Confirm that the spring-loaded internal flap sits closed and even.
- Remove only loose debris with the clean microfiber cloth.
- Don’t push the flap open with a screwdriver or other metal tool.
Step 3: Unlock the New Cover
- Insert the supplied key into the locking cover.
- Turn the key to its installation or unlocked position.
- Check the key action before fitting it.
Step 4: Install the Cover
- Place the cover squarely over the capless filler opening.
- Press it inward gently and turn it clockwise by hand until it locks into place.
- No torque wrench is used. Hand pressure is sufficient.
- Don’t use pliers because they can crack or distort the plastic cover.
Step 5: Verify the Lock
- Turn the key to the locked position and remove it.
- Pull lightly on the cover by hand. It should stay secure without excessive movement.
- Close the fuel door and confirm that it sits flush with the bedside.
✅ After Repair
- 🔍 Confirm the fuel door closes without contacting the new cover.
- ⛽ At the next fill-up, unlock and remove the cover before inserting the nozzle.
- ⚠️ If a check-engine light was already on, replacing or adding this cover may not clear it because the factory capless seal is underneath.
- 🛠️ A damaged internal flap or persistent fuel smell requires diagnosis of the filler neck and evaporative-emissions system.
💰 DIY vs Shop Cost
Shop Cost: $75-$140 USD (part + inspection/labor)
DIY Cost: Approximately $52 USD (part only)
You Save: Approximately $23-$88 USD by doing it yourself!
Shop labor rates vary. This installation takes a shop approximately 0.1-0.2 hours.
🎯 Ready to get started?
HowToo makes it easy: same-day/2-day shipping on every part, plus all the tools and specialty tools you need! Check out the parts and tools sections below to add everything to your cart.