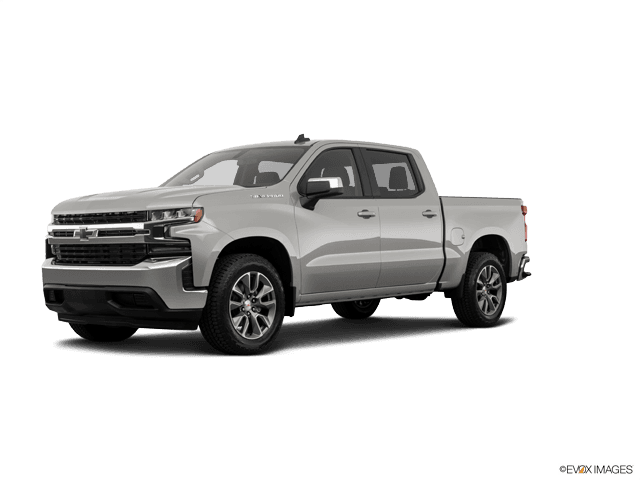

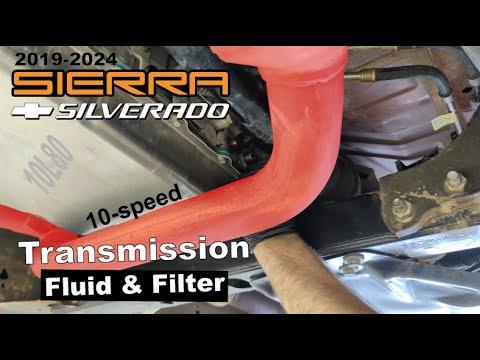






How to Change Transmission Fluid on a 2019-2021 Chevrolet Silverado 1500 (Trim: High Country | Engine: V8 5.3L)
Step-by-step 10-speed pan-drop, filter replacement, Dexron ULV refill, and torque specs for 2019, 2020, 2021
How to Change Transmission Fluid on a 2019-2021 Chevrolet Silverado 1500 (Trim: High Country | Engine: V8 5.3L)
Step-by-step 10-speed pan-drop, filter replacement, Dexron ULV refill, and torque specs for 2019, 2020, 2021


Do a pan-drop, filter replacement, and temperature-based refill on your Silverado. This is an advanced beginner job because the transmission has no dipstick and must be level, running, and within a specific temperature range for the final check.
🔧 Silverado 1500 - Transmission Fluid Change
Drain the old fluid, remove and clean the pan, replace the filter, then refill with Dexron ULV automatic transmission fluid. The final level is established through the level plug while the engine is running.
Assumption: These instructions apply to the factory 10-speed automatic fitted with the 6.2L engine.
Difficulty Level: Advanced | Estimated Time: 3-5 hours
⚠️ Safety & Precautions
- ⚠️ Support your Silverado on four correctly rated jack stands. It must remain level during filling.
- ⚠️ Never work beneath a vehicle supported only by a floor jack.
- ⚠️ Transmission fluid and exhaust components can cause severe burns.
- ⚠️ Keep hands, clothing, and tools away from rotating parts while the engine runs.
- ⚠️ Don’t start the engine until the transmission has received its initial fluid fill.
- ⚠️ Don’t substitute Dexron VI or add a universal transmission additive.
- ⚠️ Battery disconnection isn’t required for this service.
🔧 Required Tools
You'll need the following tools for this repair:
- 3-ton floor jack
- 3-ton jack stands
- Wheel chocks
- 8mm-15mm metric socket set
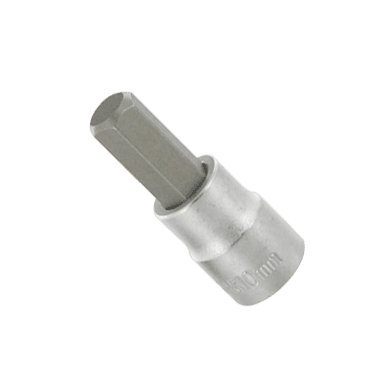
- 8mm hex-bit socket
- 3/8-inch drive ratchet
- 3/8-inch drive extension set
- Inch-pound torque wrench
- Foot-pound torque wrench
- Transmission fluid transfer pump (specialty)
- OBD-II scan tool with transmission-temperature data (specialty)
- 10-quart drain pan
- Plastic gasket scraper
- Brake-cleaner spray nozzle
- Lint-free shop towels
- Nitrile gloves
- Safety glasses
🔩 Required Parts
HowToo sells all the parts you need for this repair:
- Dexron ULV automatic transmission fluid - Qty: 9 quarts
- 10-speed automatic transmission filter kit - Qty: 1
- Transmission pan gasket - Qty: 1 if not included with the filter kit
- Transmission drain-plug seal - Qty: 1 if removed or damaged
- Non-chlorinated brake cleaner - Qty: 2 cans
The ULV fluid and vehicle-matched filter kit are pinned in the parts list. Buy nine quarts so you have enough for the initial fill and final level adjustment. Running short halfway through this job is nobody's idea of quality garage time.
📋 Before You Begin
- 📋 Park on solid, level ground and apply the parking brake.
- 📋 Chock the wheels before lifting your Silverado.
- 📋 Raise all four corners evenly and place the frame securely on jack stands.
- 📋 Confirm the truck is level with a bubble level placed on the frame.
- 📋 Connect the scan tool and confirm it displays transmission fluid temperature.
- 📋 Let the exhaust cool before working around the transmission pan.
- 📋 Remove the fill plug before draining anything. This confirms that you can refill the transmission.
🔨 Step-by-Step Instructions
Follow these steps in order:
Step 1: Verify the Transmission and Fill Access
- Use the 8mm-15mm metric socket set to remove any underbody shield blocking the transmission pan.
- Locate the transmission fill plug on the side of the transmission case.
- Use the appropriate socket or 8mm hex-bit socket to loosen and remove the fill plug.
- Stop the job if the plug is seized or damaged. Don’t drain a transmission you can’t refill.
Step 2: Drain the Old Fluid
- Place the 10-quart drain pan beneath the transmission pan.
- If the pan has a drain plug, remove it slowly with the matching socket from the 8mm-15mm metric socket set.
- If there’s no drain plug, loosen the pan bolts gradually with the 3/8-inch drive ratchet.
- Leave two bolts loosely installed at one end and lower the opposite edge so the fluid drains in a controlled stream.
- Measure the amount drained. This gives you a safe starting point for the refill.
Step 3: Remove the Transmission Pan
- Support the pan with one hand while removing the remaining bolts with the correct metric socket.
- Lower the pan carefully. It will still contain fluid.
- Keep track of bolt locations if different bolt lengths are used.
- Don’t pry between the transmission case and pan sealing surfaces.
Step 4: Remove the Old Filter
- Wear safety glasses because fluid trapped above the filter can spill suddenly.
- Pull the filter straight downward using both hands.
- Remove the old filter neck seal from the transmission bore if it didn’t come out with the filter.
- Use a plastic pick or suitable small tool carefully. Don’t scratch the aluminum bore.
- A doubled seal causes leaks and low pressure.
Step 5: Clean and Inspect the Pan
- Use non-chlorinated brake cleaner and lint-free shop towels to clean the pan.
- Remove and clean the pan magnet, then reinstall it in its original position.
- A coating of dark metallic paste on the magnet is normally expected.
- Large metal flakes, needle-like pieces, or heavy clutch material indicate internal transmission damage.
- Use the plastic gasket scraper to clean the sealing surfaces without gouging them.
Step 6: Install the New Filter
- Lightly coat the new filter neck seal with fresh Dexron ULV fluid.
- Press the filter squarely into its bore until it’s fully seated.
- Confirm the filter doesn’t hang loosely or sit at an angle.
- If the replacement filter uses retaining bolts, tighten them only to the specification supplied with that filter kit.
Step 7: Reinstall the Transmission Pan
- Position the clean pan and new gasket against the transmission case.
- Start every pan bolt by hand to prevent cross-threading.
- Use the inch-pound torque wrench to tighten the bolts gradually in a crossing pattern.
- Torque the pan bolts to 9 Nm (80 in-lbs).
- Don’t use RTV silicone unless the replacement gasket specifically requires it.
- If equipped, install the drain plug with a good seal and torque to 24 Nm (18 ft-lbs).
Step 8: Add the Initial Fluid Fill
- Keep the engine off during the initial fill.
- Use the transmission fluid transfer pump to pump Dexron ULV through the fill opening.
- Start by adding approximately the same quantity you measured during draining.
- For a pan-and-filter service, expect roughly 7-8.1 quarts, but actual quantity depends on drain time and pan design.
- Stop when fluid begins running back out of the fill opening.
- Install the fill plug finger-tight.
Step 9: Circulate the New Fluid
- Start the engine with your Silverado still level and securely supported.
- Hold the brake pedal firmly.
- Move the shifter through Park, Reverse, Neutral, Drive, and the lower ranges.
- Pause approximately three seconds in each position, then return to Park.
- Leave the engine idling.
- Use the OBD-II scan tool to monitor transmission fluid temperature.
Step 10: Set the Final Fluid Level
- Perform the final check while the engine is idling and the transmission fluid is approximately 35-45°C (95-113°F).
- Use the correct socket to remove the level or fill plug carefully.
- If no fluid exits, use the transmission fluid transfer pump to add Dexron ULV until it begins to run out.
- Allow excess fluid to drain until only a thin stream or steady drip remains.
- Install the plug before the transmission temperature rises above the checking range.
- Torque the fill or level plug to 24 Nm (18 ft-lbs).
- Shut off the engine only after the plug is installed.
Step 11: Reinstall the Underbody Shield
- Use the matching socket from the 8mm-15mm metric socket set to reinstall the shield.
- Remove the jack stands and lower your Silverado evenly with the 3-ton floor jack.
- Remove the wheel chocks after the truck is safely on the ground.
✅ After Repair
- ✅ Start the engine and check around the pan, drain plug, and fill plug for leaks.
- ✅ Drive gently for 10-15 minutes and verify that shifts feel normal.
- ✅ Recheck for leaks after the road test.
- ✅ Don’t judge shift quality during the first few miles because the fresh fluid is still circulating.
- ✅ If the old fluid contained heavy debris, the transmission slips, or it bangs into gear, stop driving and arrange professional diagnosis.
- ✅ Dispose of the used transmission fluid through an approved recycling facility.
💰 DIY vs Shop Cost
Shop Cost: $450-$750 (parts + labor)
DIY Cost: $140-$260 (parts only)
You Save: $190-$610 by doing it yourself!
Shop labor rates vary but typically run $100-$150/hour. This repair takes a shop approximately 2-3 hours.
🎯 Ready to get started?
HowToo makes it easy: same-day/2-day shipping on every part, plus all the tools and specialty tools you need! Check out the parts and tools sections below to add everything to your cart.