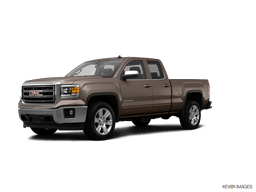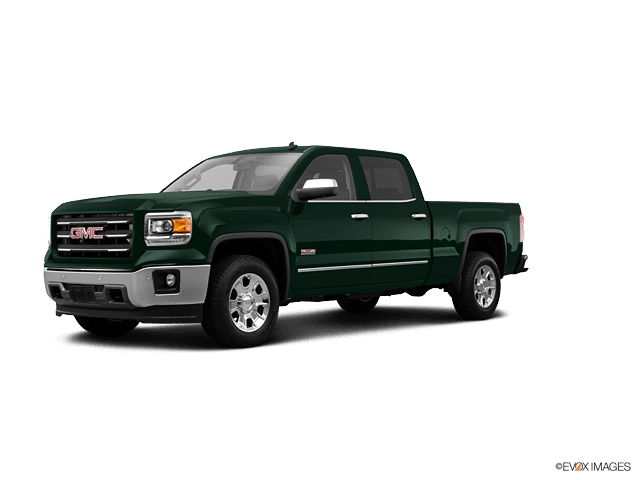








How to Change Transmission Fluid & Filter on a 2014 GMC Sierra 1500 (DEXRON-VI)
Step-by-step pan drop service with required tools/parts, pan bolt torque spec, and temperature-based fluid level check for 2007, 2008, 2009, 2010, 2011, 2012, 2013, 2014, 2015
How to Change Transmission Fluid & Filter on a 2014 GMC Sierra 1500 (DEXRON-VI)
Step-by-step pan drop service with required tools/parts, pan bolt torque spec, and temperature-based fluid level check for 2007, 2008, 2009, 2010, 2011, 2012, 2013, 2014, 2015


🔧 Sierra 1500 - Transmission Fluid & Filter Change
On your Sierra 1500, a proper transmission “fluid change” is usually a pan drop with a new filter, then refilling and setting the fluid level at the correct temperature. This matters because this transmission uses a temperature-based level check—too much or too little fluid can cause shifting issues.
Difficulty Level: Intermediate | Estimated Time: 2-4 hours
⚠️ Safety & Precautions
- ⚠️ Work on level ground; the fluid level check requires the truck to be level.
- ⚠️ Transmission fluid can be hot; wear gloves and safety glasses.
- ⚠️ Support the truck with jack stands—never rely on a floor jack.
- ⚠️ Keep the engine running only when instructed, with wheels chocked and parking brake set.
- 🔧 Battery disconnect is not required for this job.
🔧 Required Tools
You'll need the following tools for this repair:
- Floor jack (rated 3-ton minimum)
- Jack stands (rated 3-ton minimum)
- Wheel chocks
- Safety glasses
- Nitrile gloves
- Drain pan (10-quart minimum)
- Socket set (metric)
- Ratchet
- Torque wrench (inch-pound)
- Torque wrench (foot-pound)
- Flat trim scraper
- Brake cleaner
- Shop rags
- Fluid transfer pump (specialty)
- OBD2 scan tool with transmission fluid temperature (specialty)
- Infrared thermometer (specialty)
🔩 Required Parts
HowToo sells all the parts you need for this repair:
- Automatic transmission filter - Qty: 1
- Transmission pan gasket - Qty: 1
- Automatic transmission fluid (DEXRON-VI) - Qty: 8-10 quarts
📋 Before You Begin
- Park on a flat, level surface; set the parking brake and chock the wheels.
- Raise the truck and support it on jack stands so it sits level front-to-rear.
- Make sure you can monitor transmission fluid temperature. An OBD2 scan tool is a plug-in reader that shows live transmission temperature data.
- Clean around the pan first—less mess later.
🔨 Step-by-Step Instructions
Follow these steps in order:
Step 1: Warm the transmission (lightly)
- Drive 10 minutes, then park on your level work area.
- Use your OBD2 scan tool with transmission fluid temperature (specialty) to confirm the fluid is warm (you’ll fine-tune level later).
Step 2: Safely lift and level the truck
- Use a floor jack (rated 3-ton minimum) to lift the truck.
- Set it down on jack stands (rated 3-ton minimum) at equal heights so it sits level.
- Keep wheel chocks installed and verify the truck is stable before going underneath.
Step 3: Locate the fill/check plugs before draining
- Use your flashlight (from your workspace) and visually identify the transmission’s fill/check plug(s) on the transmission case.
- Pro tip: Confirm you can open the fill plug first.
Step 4: Drain the pan
- Place a drain pan (10-quart minimum) under the transmission pan.
- If your pan has a drain plug: use the correct socket set (metric) with a ratchet to remove it and drain.
- If there is no drain plug: use a socket set (metric) with a ratchet to loosen pan bolts around the edges, leaving a few bolts threaded at one end.
- Carefully crack the pan loose so fluid pours out one side into the drain pan.
Step 5: Remove the pan and filter
- Use a socket set (metric) with a ratchet to remove the remaining pan bolts and lower the pan.
- Lower the pan slowly—more fluid will spill.
- Remove the old filter by pulling it straight down by hand; keep the drain pan under it.
- Make sure the old filter seal/O-ring isn’t stuck in the transmission bore.
Step 6: Clean the pan and magnet
- Use brake cleaner and shop rags to clean the pan and the magnet(s).
- Light gray “mud” on the magnet is normal; chunks of metal are not.
- Use a flat trim scraper to remove any stuck gasket material from the pan rail (don’t gouge it).
Step 7: Install the new filter and gasket
- Install the new filter by pushing it straight into place by hand until fully seated.
- Position the new pan gasket on the pan.
Step 8: Reinstall the pan and torque the bolts
- Start all pan bolts by hand to avoid cross-threading.
- Use a torque wrench (inch-pound) to tighten the pan bolts evenly in a crisscross pattern.
- Torque to 12 Nm (106 in-lbs).
Step 9: Refill with DEXRON-VI
- Use a fluid transfer pump (specialty) to pump Automatic transmission fluid (DEXRON-VI) into the fill port.
- Add fluid until it begins to run back out of the level/check opening (if your setup uses an overflow-style check).
- Reinstall the plug finger-tight for now using your socket set (metric) and ratchet.
Step 10: Set the fluid level at temperature (critical)
- Start the engine and keep your foot on the brake.
- Shift slowly through P-R-N-D and back to P, pausing 2-3 seconds in each gear.
- Use the OBD2 scan tool with transmission fluid temperature (specialty) to monitor temp. (If you don’t have one, use an infrared thermometer (specialty) on the pan, but scan-tool temp is more accurate.)
- With the engine running and the transmission at the specified warm range used for level checking, remove the level/check plug using your socket set (metric) and ratchet.
- If a thin stream/drip comes out, the level is correct. If nothing comes out, use the fluid transfer pump (specialty) to add fluid until it starts to drip out.
- Reinstall and tighten the plug using your torque wrench (foot-pound) if you have the spec available for your plug; otherwise snug it firmly with the ratchet without over-tightening.
Step 11: Clean up and lower the truck
- Use brake cleaner and shop rags to clean any spilled fluid from the case and pan.
- Use the floor jack (rated 3-ton minimum) to lift slightly, remove jack stands (rated 3-ton minimum), then lower the truck.
✅ After Repair
- Test drive 10-15 minutes, then park and check underneath for leaks.
- Verify normal shifting and no flare/slip on acceleration.
- Recheck the level at temperature if you notice delayed engagement or harsh shifts.
- Dispose of used ATF properly (many parts stores accept it).
💰 DIY vs Shop Cost
Shop Cost: $300-$550 (parts + labor)
DIY Cost: $90-$180 (parts only)
You Save: $210-$370 by doing it yourself!
Shop labor rates vary but typically run $100-$150/hour. This repair takes a shop approximately 2-3 hours.
🎯 Ready to get started?
HowToo makes it easy: same-day/2-day shipping on every part, plus all the tools and specialty tools you need! Check out the parts and tools sections below to add everything to your cart.