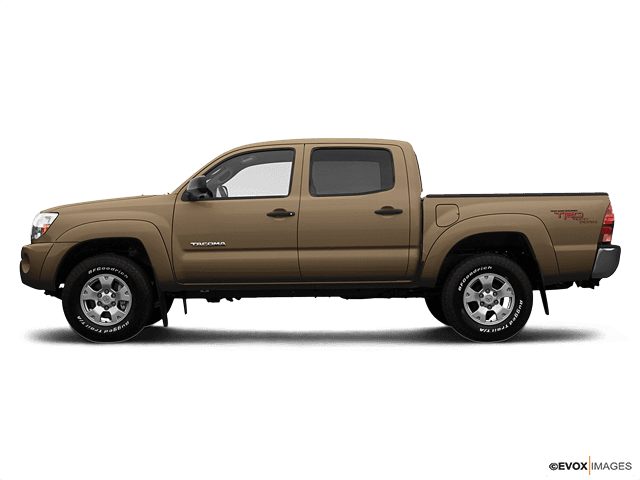








2007 Toyota Tacoma: How to Replace the Serpentine Belt (Timing Belt vs Timing Chain)
Step-by-step accessory drive belt replacement with tools list, safety tips, routing checks, and troubleshooting for 2005, 2006, 2007, 2008, 2009, 2010, 2011, 2012, 2013, 2014, 2015
2007 Toyota Tacoma: How to Replace the Serpentine Belt (Timing Belt vs Timing Chain)
Step-by-step accessory drive belt replacement with tools list, safety tips, routing checks, and troubleshooting for 2005, 2006, 2007, 2008, 2009, 2010, 2011, 2012, 2013, 2014, 2015


🔧 Tacoma - Timing Belt Replacement
Your Tacoma’s 4.0L V6 uses a timing chain, not a timing belt—so there’s no normal “timing belt replacement” interval on this engine. Timing chain replacement is only done if there are symptoms (rattle on cold start, cam/crank correlation codes, oil sludge damage) and it’s a big, advanced job.
Quick questions (so I give the right DIY steps): 1) Did you mean the serpentine/accessory drive belt (the belt you can see at the front of the engine)? 2) Are you having any cold-start rattle or a Check Engine Light?
Difficulty Level: Intermediate (accessory belt) / Advanced (timing chain) | Estimated Time: 0.5-1.0 hours (accessory belt) / 10-14 hours (timing chain)
⚠️ Safety & Precautions
- ⚠️ Work on a cool engine—hot fans and pulleys can injure you.
- ⚠️ Keep fingers/clothing clear of the belt path and fan area.
- ⚠️ If you raise the truck, support it with jack stands on solid ground.
- ⚠️ Battery disconnect is not required for accessory belt replacement, but never crank the engine while hands are near the pulleys.
🔧 Required Tools
You'll need the following tools for this repair:
- Safety glasses
- Mechanic gloves
- Flashlight
- 14mm combination wrench
- 14mm socket
- 3/8" drive ratchet
- 6" socket extension (3/8" drive)
- Trim clip tool
- Floor jack (rated 2-ton minimum)
- Jack stands (pair, rated 2-ton minimum)
- Wheel chocks
🔩 Required Parts
HowToo sells all the parts you need for this repair:
- Serpentine/accessory drive belt - Qty: 1
📋 Before You Begin
- 🅿️ Park on level ground, put the transmission in Neutral, and set the parking brake.
- 🧱 Place wheel chocks behind the rear wheels.
- 📸 Take a picture of the belt routing, or look for the routing sticker in the engine bay. If there’s no sticker, sketch the path before removal.
- Routing mistakes are the #1 beginner issue.
🔨 Step-by-Step Instructions
Follow these steps in order:
Step 1: Get access and confirm the belt routing
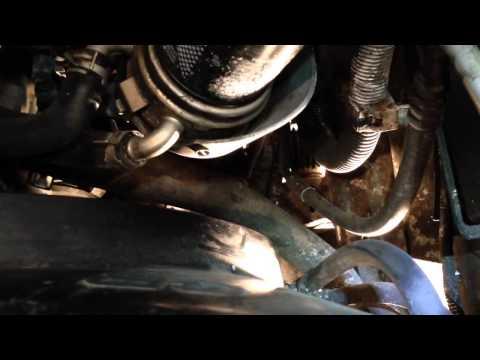
- Use a flashlight to locate the serpentine belt and the belt tensioner (a spring-loaded pulley that keeps belt tension automatically).
- Use your phone to take a clear photo of the belt path around all pulleys.
- If a plastic cover is in the way, remove push-clips using a trim clip tool.
Step 2: Relieve belt tension
- Place a 14mm socket on a 3/8" ratchet with a 6" extension, or use a 14mm wrench on the tensioner’s hex.
- Rotate the tensioner slowly to relieve tension (it will feel strong—this is normal).
- While holding the tensioner, slide the belt off one easy-to-reach pulley (usually an upper smooth idler pulley).
- Move slowly—don’t let the tensioner snap back.
Step 3: Remove the old belt
- Release the tensioner gently back to its resting position using the 14mm wrench or 14mm socket.
- Pull the belt out from the remaining pulleys by hand.
- Inspect pulleys with a flashlight: look for wobble, roughness, or chirping signs (a bad pulley can destroy a new belt).
Step 4: Install the new belt
- Route the new belt to match your photo, leaving one easiest pulley for last.
- Make sure the belt ribs sit fully in the grooved pulleys (it should not ride on the edge).
- Rotate the tensioner again using the 14mm socket and ratchet (or 14mm wrench).
- Slip the belt over the last pulley, then slowly release the tensioner.
Step 5: Double-check alignment
- Use a flashlight to check every pulley: the belt must be centered and fully seated in grooves.
- Reinstall any removed covers/clips using the trim clip tool.
✅ After Repair
- 👀 Start the engine and watch the belt for 10-20 seconds—look for wobble, wandering, or squealing.
- 🔇 If you hear chirping/squeal, shut it off and re-check routing and seating on every pulley.
- 🧪 Take a short test drive, then re-check belt alignment once more.
💰 DIY vs Shop Cost
Shop Cost: $120-$250 (parts + labor)
DIY Cost: $25-$70 (parts only)
You Save: $95-$180 by doing it yourself!
Shop labor rates vary but typically run $100-$150/hour. This repair takes a shop approximately 0.5-1.0 hours.
🎯 Ready to get started?
HowToo makes it easy: same-day/2-day shipping on every part, plus all the tools and specialty tools you need! Check out the parts and tools sections below to add everything to your cart.