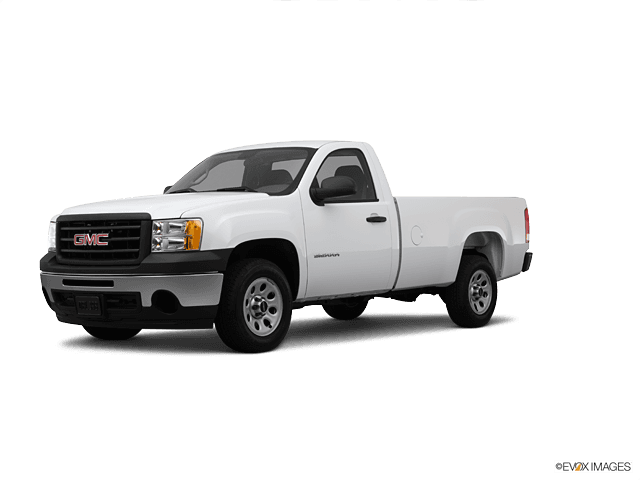









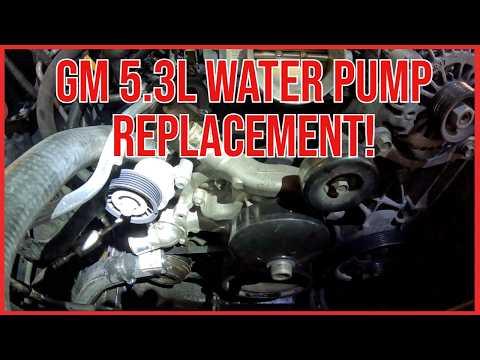





How to Replace the Water Pump on a 2012 GMC Sierra 1500
Step-by-step instructions with tools, parts, torque specs, and cooling system bleed tips for 2007, 2008, 2009, 2010, 2011, 2012, 2013
How to Replace the Water Pump on a 2012 GMC Sierra 1500
Step-by-step instructions with tools, parts, torque specs, and cooling system bleed tips for 2007, 2008, 2009, 2010, 2011, 2012, 2013


🔧 Water Pump - Replacement
The water pump moves coolant through your engine to keep it from overheating. On your Sierra, the pump is front-mounted and driven by the belt, so the job means relieving belt tension, removing the pump, and refilling the cooling system carefully.
Difficulty Level: Intermediate | Estimated Time: 2-4 hours
⚠️ Safety & Precautions
- Work on a completely cool engine only. Hot coolant can cause severe burns.
- Use jack stands if you lift the truck. Never rely on a floor jack alone.
- Keep hands clear of the fan and belt path.
- Dispose of old coolant properly. It is toxic.
- No battery disconnect is required for this repair.
🔧 Required Tools
You'll need the following tools for this repair:
- 3/8-inch drive ratchet
- 10mm socket
- 15mm socket
- 13mm socket
- Serpentine belt tool (specialty)
- Torque wrench
- Drain pan
- Gasket scraper
- Shop towels
- Funnel
- Jack stands
- Floor jack
- Safety glasses
- Gloves
🔩 Required Parts
HowToo sells all the parts you need for this repair:
- Water pump - Qty: 1
- Water pump gasket - Qty: 1
- Engine coolant - Qty: 2-3 gallons
- Thermostat gasket - Qty: 1
📋 Before You Begin
- Park on level ground and set the parking brake.
- Let the engine cool completely before opening the cooling system.
- If the coolant level is above the pump, expect coolant to spill when the pump comes off.
- Tip: Take a photo of the belt routing first.
🔨 Step-by-Step Instructions
Follow these steps in order:
Step 1: Drain the cooling system
- Place a drain pan under the radiator drain or lower hose area.
- Open the radiator drain or loosen the lower hose clamp with a flat-blade screwdriver if needed.
- Drain enough coolant to get the level below the water pump.
- Tip: Save old coolant only if it is clean.
Step 2: Remove the serpentine belt
- Use a serpentine belt tool to rotate the belt tensioner.
- Slip the belt off the alternator or another easy pulley.
- Slowly release the tensioner and remove the belt from the engine bay.
Step 3: Remove the fan shroud and fan clutch assembly
- Use a 10mm socket and 3/8-inch drive ratchet to remove the upper fan shroud fasteners.
- Lift the shroud upward and set it aside.
- If equipped, remove the fan clutch assembly using the correct fan clutch tool. Be careful not to damage the radiator.
Step 4: Remove the water pump pulley
- Use a 13mm socket to remove the pulley bolts.
- Hold the pulley steady by hand while loosening the bolts.
- Remove the pulley from the pump.
Step 5: Remove the water pump
- Use a 10mm socket to remove the water pump bolts.
- Note the different bolt lengths and keep them in order.
- Pull the pump straight off the engine.
- Catch any remaining coolant with the drain pan.
Step 6: Clean the sealing surface
- Use a gasket scraper and shop towels to clean the engine mating surface.
- Do not scratch the aluminum surface.
- Make sure the old gasket material is fully removed.
Step 7: Install the new water pump
- Install the new water pump gasket on the pump.
- Position the new pump on the engine by hand.
- Start all bolts by hand first.
- Use a 10mm socket and torque wrench to tighten the bolts evenly in a crisscross pattern.
- Torque to 15 Nm (11 ft-lbs).
Step 8: Reinstall the pulley, fan, shroud, and belt
- Reinstall the pulley and tighten the bolts with a 13mm socket.
- Torque to 25 Nm (18 ft-lbs).
- Reinstall the fan clutch assembly if removed.
- Reinstall the fan shroud and secure it with the 10mm socket.
- Route the serpentine belt using the belt routing diagram and reinstall it with the serpentine belt tool.
Step 9: Refill the cooling system
- Close the drain and refill with the correct engine coolant through a funnel.
- Fill slowly to help reduce trapped air.
- Install the radiator cap only after initial bleeding is complete.
Step 10: Bleed the air and check for leaks
- Start the engine and let it idle with the heater set to hot.
- Watch the coolant level and top off as needed.
- Inspect the water pump, hose connections, and drain area for leaks.
- Bring the engine up to operating temperature and confirm the heater blows warm air.
✅ After Repair
- Recheck coolant level after the engine cools completely.
- Look for any seepage around the pump after a short road test.
- Monitor the temperature gauge for the next few drives.
- If the engine still runs hot, air may still be trapped in the system.
💰 DIY vs Shop Cost
Shop Cost: $450-$850 (parts + labor)
DIY Cost: $120-$260 (parts only)
You Save: $330-$590 by doing it yourself!
Shop labor rates vary but typically run $100-$150/hour. This repair takes a shop approximately 2-4 hours.
🎯 Ready to get started?
HowToo makes it easy: same-day/2-day shipping on every part, plus all the tools and specialty tools you need! Check out the parts and tools sections below to add everything to your cart.