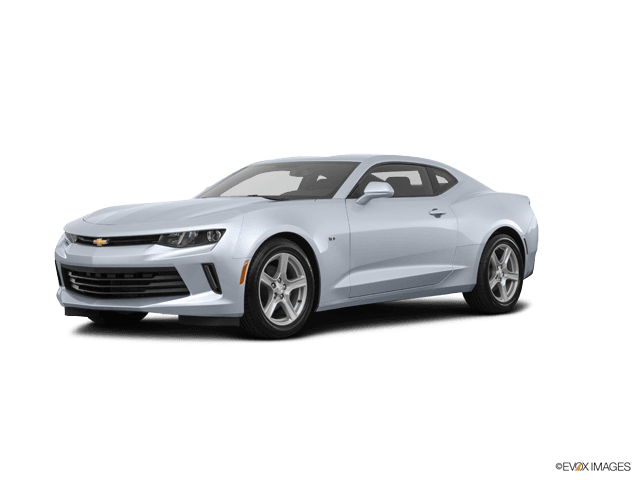
















How to Replace the Thermostat on a 2016-2018 Chevrolet Camaro (Coolant Drain, Fill & Bleed) (Engine: Inline 4 2.0L)
Step-by-step instructions with required tools/parts, Dex-Cool refill tips, bleeding procedure, and leak checks
How to Replace the Thermostat on a 2016-2018 Chevrolet Camaro (Coolant Drain, Fill & Bleed) (Engine: Inline 4 2.0L)
Step-by-step instructions with required tools/parts, Dex-Cool refill tips, bleeding procedure, and leak checks for 2016, 2017, 2018


🔧 Camaro - Thermostat Replacement
On your Camaro, the thermostat controls coolant flow so the engine warms up correctly and doesn’t overheat. Replacing it typically involves draining some coolant, removing the thermostat housing, installing a new seal, then refilling and bleeding air out of the cooling system.
Difficulty Level: Intermediate | Estimated Time: 1.5-3.0 hours
⚠️ Safety & Precautions
- ⚠️ Never open the coolant cap on a hot engine; hot coolant can spray and burn you.
- ⚠️ Support the Camaro with jack stands before going underneath; never rely on a jack.
- ⚠️ Coolant is toxic—keep it off skin, paint, and away from pets.
- Disconnecting the battery is not usually required for this job, but keep tools clear of the electric cooling fan (it can turn on unexpectedly).
🔧 Required Tools
You'll need the following tools for this repair:
- Floor jack (rated 3-ton minimum)
- Jack stands (rated 3-ton minimum)
- Wheel chocks
- Safety glasses
- Nitrile gloves
- Drain pan (at least 3-gallon)
- Shop rags
- Trim clip removal tool
- Flat blade screwdriver
- 3/8" drive ratchet
- 3/8" drive torque wrench (10–80 Nm range)
- Socket set (8mm, 10mm, 13mm)
- E-Torx socket set (E8, E10)
- Extension set (3" and 6")
- Hose clamp pliers
- Pick tool
- Funnel with spill-free coolant fill adapter
- Cooling system vacuum fill tool (specialty)
- OBD-II scan tool with live data (specialty)
🔩 Required Parts
HowToo sells all the parts you need for this repair:
- Engine thermostat (OEM-temp) - Qty: 1
- Thermostat housing seal / O-ring - Qty: 1
- Dex-Cool coolant (prediluted 50/50) - Qty: 2-3 gallons
- Replacement hose clamp(s) (optional) - Qty: 1-2
📋 Before You Begin
- Park on level ground, set the parking brake, and let the engine cool completely (best: overnight).
- Raise the front and support it on jack stands; place wheel chocks at the rear wheels.
- Set the HVAC to full HOT during bleeding later (this helps move coolant through the heater circuit).
- If you don’t have a vacuum fill tool: use a spill-free funnel and plan extra time to bleed air.
🔨 Step-by-Step Instructions
Follow these steps in order:
Before I lock in the exact thermostat location/fasteners and GM torque specs:
- Are we doing this because of a P0128 code (coolant not warming up) or because it’s overheating/leaking?
- Do you have a vacuum fill tool, or are we doing a standard fill + bleed with a funnel?
Reply with those two answers and I’ll give you the exact bolt-by-bolt steps with the correct GM torque specs and bleed procedure for your Camaro.
✅ After Repair
- Verify the coolant level is stable after a full heat-soak/cool-down cycle (drive, cool completely, recheck).
- Check for leaks at the thermostat housing and hoses with the engine running and fully warm.
- Use a scan tool to confirm engine coolant temperature rises normally and the P0128 (if present) does not return.
💰 DIY vs Shop Cost
Shop Cost: $350-$750 (parts + labor)
DIY Cost: $60-$180 (parts only)
You Save: $170-$570 by doing it yourself!
Shop labor rates vary but typically run $100-$150/hour. This repair takes a shop approximately 1.5-3.0 hours.
🎯 Ready to get started?
HowToo makes it easy: same-day/2-day shipping on every part, plus all the tools and specialty tools you need! Check out the parts and tools sections below to add everything to your cart.
Guide for Engine Coolant Thermostat replace for these Chevrolet vehicles
| Year Make Model | Sub Model | Engine | Body Style |
|---|---|---|---|
| 2018 Chevrolet Camaro | - | V6 3.6L | - |
| 2017 Chevrolet Camaro | - | V6 3.6L | - |
| 2016 Chevrolet Camaro | - | V6 3.6L | - |