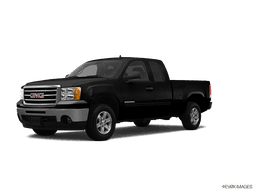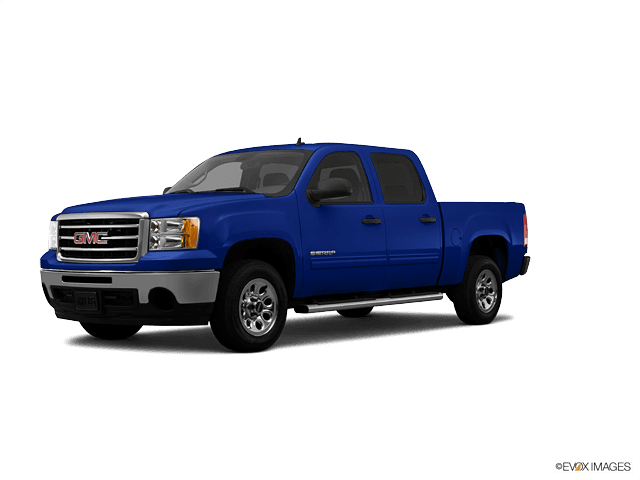
















How to Replace the Shock Absorbers on a 2007-2013 GMC Sierra 1500 (Trim: SL)
Step-by-step instructions with tools, parts, safety tips, and torque guidance for a smooth DIY repair
How to Replace the Shock Absorbers on a 2007-2013 GMC Sierra 1500 (Trim: SL)
Step-by-step instructions with tools, parts, safety tips, and torque guidance for a smooth DIY repair for 2007, 2008, 2009, 2010, 2011, 2012, 2013


🔧 Shock Absorbers - Replacement
Assumption: this covers replacing all four shocks on your Sierra. On this truck, the front and rear shocks are separate jobs, and the rear is usually simpler than the front. New shocks will improve ride control, braking stability, and body movement over bumps.
Difficulty Level: Intermediate | Estimated Time: 2-4 hours
⚠️ Safety & Precautions
- Support the truck securely with jack stands before removing any shocks. Never rely on a floor jack alone.
- Keep the suspension supported when a shock is removed so the axle or control arm does not drop suddenly.
- Do not work under a vehicle with the tires off the ground unless it is properly supported.
- No battery disconnect is required for this repair.
- If any shock is leaking oil heavily or the truck has a broken spring, stop and inspect for additional suspension damage.
🔧 Required Tools
You'll need the following tools for this repair:
- Floor jack (rated 3-ton minimum)
- Jack stands (rated for truck weight)
- Wheel chocks
- Safety glasses
- Mechanic gloves
- Ratchet
- 13mm socket
- 15mm socket
- 18mm socket
- 21mm socket
- Torque wrench
- Breaker bar
- Penetrating oil
- Trim clip tool
🔩 Required Parts
HowToo sells all the parts you need for this repair:
- Front shock absorbers - Replace in pairs - Qty: 2
- Rear shock absorbers - Replace in pairs - Qty: 2
- Upper shock mounting hardware - Qty: 4
- Lower shock mounting hardware - Qty: 4
📋 Before You Begin
- Park on level ground and set the parking brake.
- Place wheel chocks at the wheels that will stay on the ground.
- Spray penetrating oil on all shock bolts and nuts a few minutes before removal.
- Raise only one end of the truck at a time.
🔨 Step-by-Step Instructions
Follow these steps in order:
Step 1: Lift and secure the truck
- Use the floor jack to raise the front or rear of the truck, depending on which shocks you are replacing first.
- Place jack stands under the frame and lower the truck onto them.
- Keep the axle or suspension lightly supported with the floor jack so the shock is not under tension.
Step 2: Remove the wheel for access
- Use the 21mm socket and ratchet to remove the wheel lug nuts.
- Remove the wheel and set it aside.
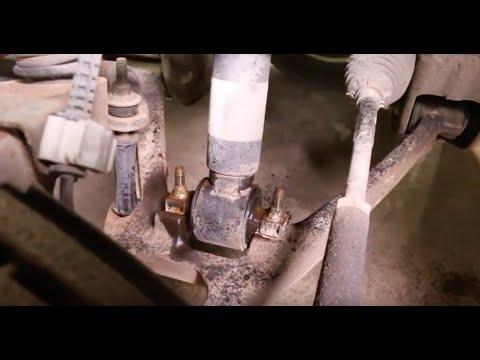
Step 3: Remove the lower shock bolt
- Use the 21mm socket and breaker bar to remove the lower shock bolt.
- If the bolt is tight, apply more penetrating oil and try again.
- Keep the suspension supported.
Step 4: Remove the upper shock fastener
- Use the 18mm socket or 21mm socket as needed to remove the upper shock nut and washer.
- On some trucks, access is tighter at the top mount, so work slowly.
- Remove the shock absorber from the vehicle.
Step 5: Install the new shock absorber
- Position the new shock in the same direction as the old one.
- Use the original hardware if it is in good shape, or install the new mounting hardware from the parts list.
- Start the upper fastener by hand first, then align the lower mount.
Step 6: Tighten the shock fasteners
- Use the torque wrench to tighten the upper and lower shock fasteners to factory specification.
- Do not fully tighten the suspension hardware until the shock is seated correctly and the vehicle is stable on its suspension.
- Tighten smoothly and evenly.
Step 7: Reinstall the wheel
- Reinstall the wheel and hand-tighten the lug nuts.
- Lower the truck to the ground with the floor jack.
- Use the torque wrench to tighten the lug nuts to factory specification.
Step 8: Repeat for the remaining shocks
- Replace shocks in pairs on the same axle.
- If you are doing all four, complete the opposite side next, then move to the other axle.
✅ After Repair
- Test drive slowly over a rough road and listen for clunks or rattles.
- Check that all bolts and lug nuts remain tight after the test drive.
- Make sure the truck sits level and the ride feels controlled.
- If you hear noise after installation, recheck the upper and lower mounts.
💰 DIY vs Shop Cost
Shop Cost: $400-$900 (parts + labor)
DIY Cost: $120-$360 (parts only)
You Save: $280-$540 by doing it yourself!
Shop labor rates vary but typically run $100-$150/hour. This repair takes a shop approximately 2-4 hours.
🎯 Ready to get started?
HowToo makes it easy: same-day/2-day shipping on every part, plus all the tools and specialty tools you need! Check out the parts and tools sections below to add everything to your cart.
Guide for Suspension Shock Absorber replace for these GMC vehicles
| Year Make Model | Sub Model | Engine | Body Style |
|---|---|---|---|
| 2013 GMC Sierra 1500 | Denali | - | - |
| 2013 GMC Sierra 1500 | SL | - | - |
| 2013 GMC Sierra 1500 | SLE | - | - |
| 2013 GMC Sierra 1500 | SLT | - | - |
| 2013 GMC Sierra 1500 | WT | - | - |
| 2013 GMC Sierra 1500 | Hybrid | - | - |
| 2013 GMC Sierra 1500 | XFE | - | - |
| 2012 GMC Sierra 1500 | Denali | - | - |
| 2012 GMC Sierra 1500 | SL | - | - |
| 2012 GMC Sierra 1500 | SLE | - | - |
| 2012 GMC Sierra 1500 | SLT | - | - |
| 2012 GMC Sierra 1500 | WT | - | - |
| 2012 GMC Sierra 1500 | Hybrid | - | - |
| 2012 GMC Sierra 1500 | XFE | - | - |
| 2011 GMC Sierra 1500 | Denali | - | - |
| 2011 GMC Sierra 1500 | SL | - | - |
| 2011 GMC Sierra 1500 | SLE | - | - |
| 2011 GMC Sierra 1500 | SLT | - | - |
| 2011 GMC Sierra 1500 | WT | - | - |
| 2011 GMC Sierra 1500 | Hybrid | - | - |
| 2011 GMC Sierra 1500 | XFE | - | - |
| 2010 GMC Sierra 1500 | Denali | - | - |
| 2010 GMC Sierra 1500 | SL | - | - |
| 2010 GMC Sierra 1500 | SLE | - | - |
| 2010 GMC Sierra 1500 | SLT | - | - |
| 2010 GMC Sierra 1500 | WT | - | - |
| 2010 GMC Sierra 1500 | Hybrid | - | - |
| 2010 GMC Sierra 1500 | XFE | - | - |
| 2009 GMC Sierra 1500 | Denali | - | - |
| 2009 GMC Sierra 1500 | SL | - | - |
| 2009 GMC Sierra 1500 | SLE | - | - |
| 2009 GMC Sierra 1500 | SLT | - | - |
| 2009 GMC Sierra 1500 | WT | - | - |
| 2009 GMC Sierra 1500 | Hybrid | - | - |
| 2008 GMC Sierra 1500 | Denali | - | - |
| 2008 GMC Sierra 1500 | SL | - | - |
| 2008 GMC Sierra 1500 | SLE | - | - |
| 2008 GMC Sierra 1500 | SLT | - | - |
| 2008 GMC Sierra 1500 | WT | - | - |
| 2007 GMC Sierra 1500 | Denali | - | - |
| 2007 GMC Sierra 1500 | SL | - | - |
| 2007 GMC Sierra 1500 | SLE | - | - |
| 2007 GMC Sierra 1500 | SLT | - | - |
| 2007 GMC Sierra 1500 | WT | - | - |