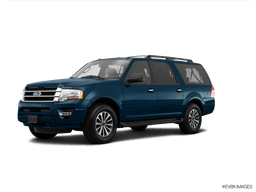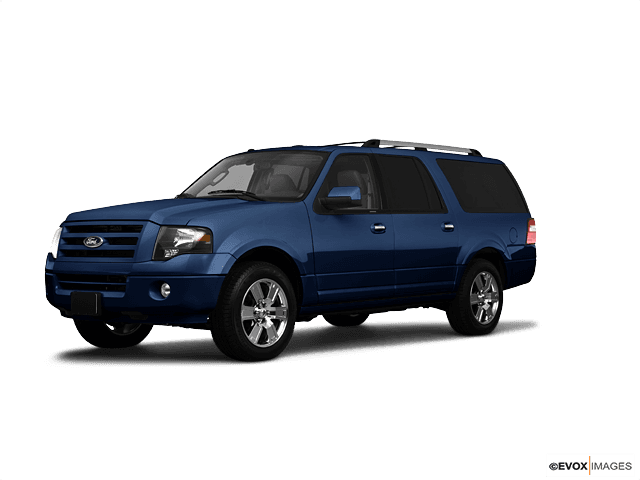









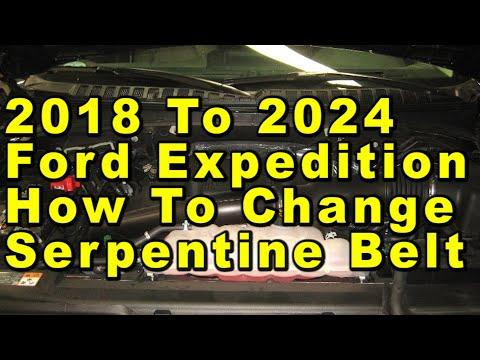






How to Replace the Serpentine Belt on a 2015-2021 Ford Expedition (Step-by-Step) (Engine: V6 3.5L)
Tools, belt routing tips, safety precautions, and post-install checks to stop squeal and prevent failure
How to Replace the Serpentine Belt on a 2015-2021 Ford Expedition (Step-by-Step) (Engine: V6 3.5L)
Tools, belt routing tips, safety precautions, and post-install checks to stop squeal and prevent failure for 2015, 2016, 2017, 2018, 2019, 2020, 2021


🔧 Expedition - Serpentine Belt Replacement
The serpentine belt (the long belt that drives the alternator, water pump, and other accessories) can wear, crack, or squeal. On your Expedition, replacement is done by rotating the spring-loaded belt tensioner to slip the belt off, then routing the new belt correctly.
Difficulty Level: Intermediate | Estimated Time: 0.5-1.0 hours
⚠️ Safety & Precautions
- ⚠️ Work on a cool engine; hot pulleys can burn you.
- ⚠️ Keep fingers, hair, and clothing away from the belt path.
- ⚠️ Do not start the engine with tools near the belt.
- ⚠️ Battery disconnect is not required, but keep the key/fob away from the vehicle to prevent accidental cranking.
🔧 Required Tools
You'll need the following tools for this repair:
- 3/8" drive breaker bar
- 3/8" drive ratchet
- 15mm socket
- 8mm socket
- Flat trim tool
- Flashlight
- Mechanic gloves
- Safety glasses
🔩 Required Parts
HowToo sells all the parts you need for this repair:
- Serpentine belt - Qty: 1
📋 Before You Begin
- Park on level ground, shift to Park, and set the parking brake.
- Open the hood and locate the belt routing diagram (usually on the upper radiator support or underside of the hood). If it’s missing, take a clear photo of the current belt routing before removal.
- Identify the belt tensioner: it’s the spring-loaded arm with a pulley that keeps the belt tight.
🔨 Step-by-Step Instructions
Follow these steps in order:
Step 1: Remove the engine cover (if equipped)
- Grip the cover and pull straight up to release the grommets. Use a flat trim tool gently if a corner is stuck.
- Set the cover aside.
Step 2: Move the air intake duct out of the way (if it blocks access)
- Loosen the intake tube clamps using an 8mm socket and 3/8" drive ratchet.
- Disconnect any small hose(s) carefully by hand.
- Lift the duct out enough to access the belt and tensioner, then set it aside.
Step 3: Relieve tension from the belt tensioner
- Use a 3/8" drive breaker bar in the square drive hole on the tensioner (if your tensioner has one).
- If there is no square drive hole, use a 15mm socket on the tensioner pulley bolt with the 3/8" drive breaker bar.
- Rotate the tensioner smoothly to unload the belt. Move slowly; it’s spring-loaded.
Step 4: Remove the old serpentine belt
- While holding the tensioner rotated with the 3/8" drive breaker bar, slip the belt off the easiest-to-reach smooth pulley.
- Slowly release the tensioner back to its resting position.
- Pull the belt out of the engine bay and compare length/width to the new belt.
Step 5: Route the new belt on the pulleys
- Use the routing diagram and a flashlight to route the belt around the crank pulley and accessory pulleys.
- Make sure the ribbed side of the belt sits in the ribbed pulley grooves, and the smooth side rides on smooth pulleys.
- Leave the belt off one easy-to-reach pulley (usually a smooth idler) for last.
Step 6: Apply tension and seat the belt fully
- Rotate the tensioner again using the 3/8" drive breaker bar.
- Slip the belt onto the last pulley, then slowly release the tensioner.
- Visually check every pulley with a flashlight to confirm the belt is centered and fully seated in the grooves.
Step 7: Reinstall the intake duct and engine cover
- Reinstall the intake duct and tighten the clamps using an 8mm socket and 3/8" drive ratchet.
- Reconnect any hose(s) by hand.
- Press the engine cover back onto the mounting grommets.
Step 8: Note about an additional stretch-fit belt (if equipped)
- Some setups use an additional “stretch-fit” belt (no tensioner) for a separate accessory. That belt requires a special installation method/tool.
- If you see a second, thinner belt with no tensioner, tell me and I’ll give the correct step-by-step for that belt too.
✅ After Repair
- Start the engine and watch the belt for 15-30 seconds. It should run smoothly with no hopping or wobble.
- Listen for squealing or chirping. If you hear noise, shut it off and re-check belt seating on every ribbed pulley.
- Do a short test drive, then recheck belt alignment again with a flashlight.
💰 DIY vs Shop Cost
Shop Cost: $180-$350 (parts + labor)
DIY Cost: $35-$80 (parts only)
You Save: $145-$270 by doing it yourself!
Shop labor rates vary but typically run $100-$150/hour. This repair takes a shop approximately 0.5-1.0 hours.
🎯 Ready to get started?
HowToo makes it easy: same-day/2-day shipping on every part, plus all the tools and specialty tools you need! Check out the parts and tools sections below to add everything to your cart.
Guide for Serpentine Belt replace for these Ford vehicles
| Year Make Model | Sub Model | Engine | Body Style |
|---|---|---|---|
| 2021 Ford Expedition | - | V6 3.5L | - |
| 2020 Ford Expedition | - | V6 3.5L | - |
| 2019 Ford Expedition | - | V6 3.5L | - |
| 2018 Ford Expedition | - | V6 3.5L | - |
| 2017 Ford Expedition | - | V6 3.5L | - |
| 2016 Ford Expedition | - | V6 3.5L | - |
| 2015 Ford Expedition | - | V6 3.5L | - |