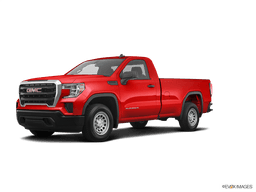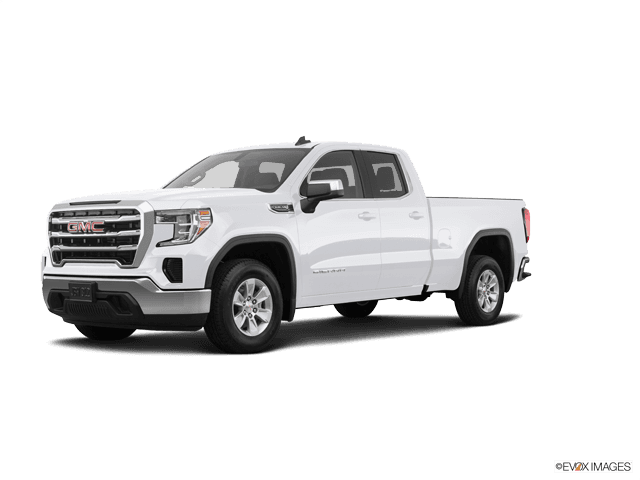









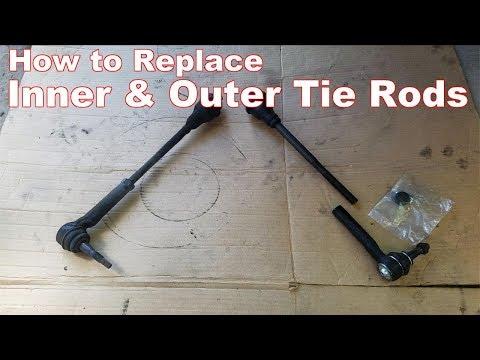







How to Replace the Outer Tie Rod End on a 2014-2019 GMC Sierra 1500
Step-by-step instructions with tools, parts, torque specs, and alignment tips
How to Replace the Outer Tie Rod End on a 2014-2019 GMC Sierra 1500
Step-by-step instructions with tools, parts, torque specs, and alignment tips for 2014, 2015, 2016, 2017, 2018, 2019


🔧 Tie Rod End - Replacement
The outer tie rod end connects the steering linkage to the front wheel knuckle. Replacing a worn one restores steering feel and helps stop clunks, wandering, and uneven tire wear. After this repair, the front end must be aligned.
Difficulty Level: Intermediate | Estimated Time: 1.5-2.5 hours
⚠️ Safety & Precautions
- Work on a flat, solid surface and keep the parking brake set.
- Chock the rear wheels before lifting the front.
- Support the truck with jack stands; do not rely on the jack alone.
- Keep hands clear of the steering knuckle and suspension while loosening the tie rod.
- After installation, do not drive long distances until the alignment is checked.
🔧 Required Tools
You'll need the following tools for this repair:
- Floor jack (rated 3-ton minimum)
- Jack stands
- Wheel chocks
- Safety glasses
- Mechanic gloves
- 21mm socket
- 18mm socket
- Ratchet
- Breaker bar
- Torque wrench
- Pliers
- Paint marker
- Hammer
- Tie rod end separator (specialty)
- Pickle fork (specialty)
🔩 Required Parts
HowToo sells all the parts you need for this repair:
- Outer tie rod end - Qty: 1
- Outer tie rod end jam nut - Qty: 1
- Cotter pin - Qty: 1
📋 Before You Begin
- Park on level ground, set the parking brake, and chock the rear wheels.
- Loosen the front wheel lug nuts slightly before lifting.
- If the truck has active steering angle warnings after the repair, they should clear after alignment and a short drive.
🔨 Step-by-Step Instructions
Follow these steps in order:
Step 1: Lift the front of the truck
- Use a floor jack to raise the front of the truck at the approved lift point.
- Place jack stands under the frame and lower the truck onto them.
- Remove the front wheel with a 21mm socket.
Step 2: Mark the current adjustment
- Use a paint marker to mark the position of the outer tie rod end on the threaded shaft.
- This helps keep the toe setting close enough to drive to the alignment shop.
Step 3: Remove the cotter pin and castle nut
- Use pliers to straighten and remove the cotter pin from the tie rod stud.
- Use an 18mm socket to remove the castle nut from the tie rod end stud.
- Leave the nut on a few threads if the stud is stuck.
Step 4: Separate the tie rod end from the knuckle
- Use a tie rod end separator (specialty) to break the stud free from the steering knuckle.
- If needed, use a hammer to tap the side of the knuckle lightly.
- Remove the castle nut fully once the stud pops free.
Step 5: Remove the outer tie rod end
- Use an 18mm socket or wrench to loosen the jam nut on the inner tie rod.
- Count the turns as you unthread the outer tie rod end from the inner rod.
- Remove the old tie rod end and keep the count for the new part.
Step 6: Install the new tie rod end
- Thread the new outer tie rod end on by the same number of turns you counted during removal.
- Tighten the jam nut with an 18mm socket.
- Slide the stud into the steering knuckle and install the new castle nut.
- Torque the castle nut to 61 Nm (45 ft-lbs).
Step 7: Install the cotter pin and finish up
- Use pliers to install the new cotter pin through the stud and castle nut.
- Bend the cotter pin legs over so it cannot back out.
- Reinstall the wheel and torque the lug nuts to 190 Nm (140 ft-lbs).
- Lower the truck with the floor jack.
✅ After Repair
- Start the truck and turn the steering wheel lock-to-lock while stationary.
- Check for clunks, loose feeling steering, or binding.
- Drive slowly and confirm the steering wheel is close to centered.
- Schedule a front-end alignment as soon as possible.
💰 DIY vs Shop Cost
Shop Cost: $180-$350 (parts + labor)
DIY Cost: $35-$90 (parts only)
You Save: $145-$260 by doing it yourself!
Shop labor rates vary but typically run $100-$150/hour. This repair takes a shop approximately 1-2 hours.
🎯 Ready to get started?
HowToo makes it easy: same-day/2-day shipping on every part, plus all the tools and specialty tools you need! Check out the parts and tools sections below to add everything to your cart.
Guide for Steering Tie Rod End replace for these GMC vehicles
| Year Make Model | Sub Model | Engine | Body Style |
|---|---|---|---|
| 2019 GMC Sierra 1500 | - | - | - |
| 2018 GMC Sierra 1500 | - | - | - |
| 2017 GMC Sierra 1500 | - | - | - |
| 2016 GMC Sierra 1500 | - | - | - |
| 2015 GMC Sierra 1500 | - | - | - |
| 2014 GMC Sierra 1500 | - | - | - |