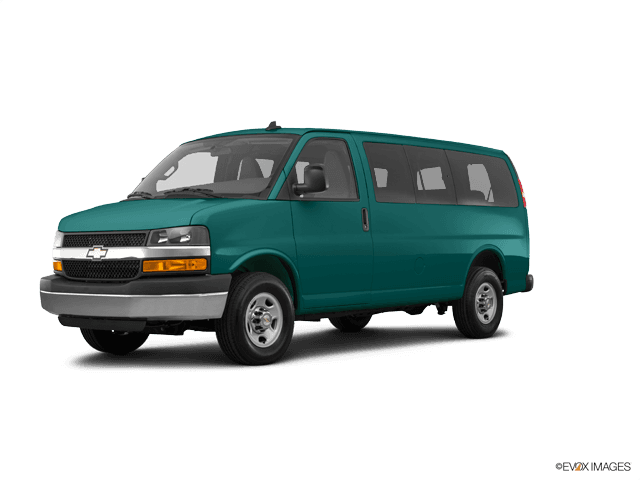









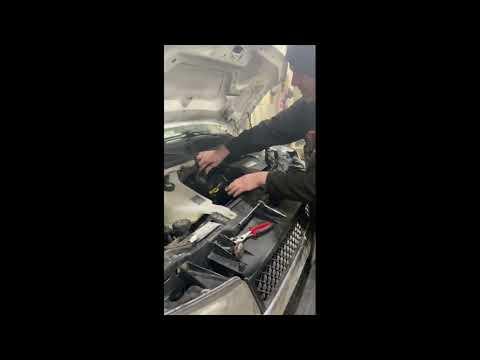






How to Replace the Mass Air Flow (MAF) Sensor on a 2016 Chevrolet Express 3500
Step-by-step MAF replacement with tools, parts list, safety tips, and key torque specs for 2016, 2017
How to Replace the Mass Air Flow (MAF) Sensor on a 2016 Chevrolet Express 3500
Step-by-step MAF replacement with tools, parts list, safety tips, and key torque specs for 2016, 2017


🔧 Express - Mass Air Flow (MAF) Sensor Replacement
The MAF sensor measures how much air is entering your engine so the computer can add the right amount of fuel. A failing or dirty MAF can cause rough idle, poor power, stalling, or a check engine light (often P0101/P0102).
Difficulty Level: Beginner | Estimated Time: 0.5-1.0 hours
Assumption: MAF is mounted in the intake duct near air box.
⚠️ Safety & Precautions
- ⚠️ Work on a cool engine to avoid burns.
- ⚠️ Keep the key out of the ignition while unplugging sensors.
- ⚠️ Do not touch the sensor element inside the MAF; it’s delicate.
- ⚠️ Battery disconnect is recommended to prevent accidental shorts.
🔧 Required Tools
You'll need the following tools for this repair:
- 10mm socket
- 1/4" drive ratchet
- 6" extension (1/4" drive)
- Flat-blade screwdriver
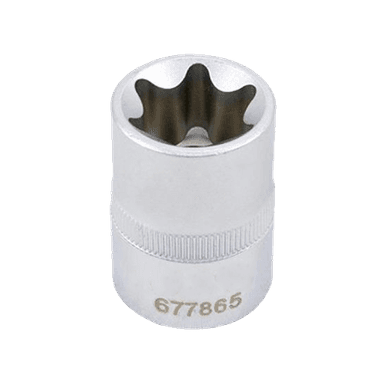
- Torx T20 security bit
- Trim clip tool
- Flashlight
- Torque wrench (inch-pound)
- Nitrile gloves
- Safety glasses
🔩 Required Parts
HowToo sells all the parts you need for this repair:
- Mass air flow (MAF) sensor - Qty: 1
- MAF sensor O-ring seal - Qty: 1
- Intake duct clamp - Qty: 1
- Engine air filter - Qty: 1
📋 Before You Begin
- 🅿️ Park on level ground, shift to Park, and set the parking brake.
- 🔑 Turn the ignition OFF and remove the key.
- 🔋 Disconnect the negative battery cable using a 10mm socket and move it aside so it can’t spring back.
- 🧼 If your air filter is dirty, plan to replace it now (a clogged filter can mimic MAF issues).
🔨 Step-by-Step Instructions
Follow these steps in order:
Step 1: Locate the MAF sensor
- Open the hood and use a flashlight to find the air filter box and the large intake tube going to the throttle body.
- The MAF is a small sensor mounted in the intake duct near the air box, with an electrical connector.
Step 2: Unplug the electrical connector
- Press the connector lock tab by hand (or gently help with a trim clip tool) and pull the connector straight off.
- Don’t pull on the wires.
Step 3: Create working room (if needed)
- If the intake tube is blocking access, loosen the hose clamp near the air box using a flat-blade screwdriver.
- Loosen only enough to rotate or slide the duct for access.
- Torque to 5 Nm (44 in-lbs) when re-tightening the clamp.
Step 4: Remove the MAF sensor fasteners
- Use a Torx T20 security bit with a 1/4" ratchet and extension to remove the MAF screws.
- Set the screws aside where they won’t drop into the engine bay.
Step 5: Remove the MAF sensor
- Gently wiggle and pull the sensor straight out of the housing by hand.
- If it feels stuck, work it out slowly—don’t pry hard with tools.
- Remove the old MAF sensor O-ring seal if it stayed in the housing.
Step 6: Install the new MAF sensor
- Lightly seat the new MAF sensor O-ring seal onto the sensor (or into the housing, whichever matches your part).
- Slide the new MAF straight into the housing. Make sure it sits flush and square.
- Install the screws by hand first to avoid cross-threading.
- Tighten using a Torx T20 security bit and finish with an inch-pound torque wrench: Torque to 3 Nm (27 in-lbs).
Step 7: Reconnect everything
- Reconnect the electrical connector until it clicks into place.
- If you loosened the intake duct, re-seat it fully and tighten the clamp using a flat-blade screwdriver: Torque to 5 Nm (44 in-lbs).
Step 8: Reconnect the battery
- Reconnect the negative battery cable using a 10mm socket.
- Snug the terminal: Torque to 17 Nm (13 ft-lbs).
✅ After Repair
- 🔎 Start the engine and let it idle for 2-3 minutes. It may idle slightly different at first while it re-learns.
- 🧪 Listen for air leaks (hissing) around the intake tube and clamps.
- 📟 If you have a scan tool, clear any stored MAF-related codes and verify they don’t return.
- 🚐 Test drive 10-15 minutes with mixed light throttle and steady cruising.
💰 DIY vs Shop Cost
Shop Cost: $200-$450 (parts + labor)
DIY Cost: $80-$250 (parts only)
You Save: $120-$200 by doing it yourself!
Shop labor rates vary but typically run $100-$150/hour. This repair takes a shop approximately 0.5-1.0 hours.
🎯 Ready to get started?
HowToo makes it easy: same-day/2-day shipping on every part, plus all the tools and specialty tools you need! Check out the parts and tools sections below to add everything to your cart.