










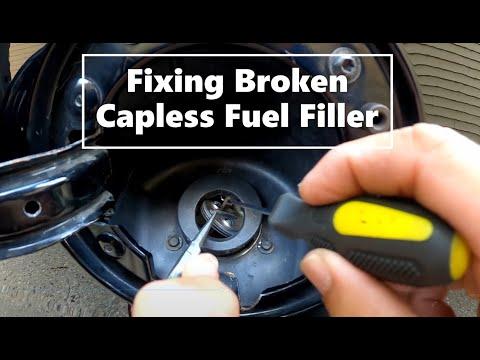





How to Replace the Fuel Cap on a 2019 Cadillac XT4 (Fix EVAP Leak & Check Engine Light)
Step-by-step fuel filler cap replacement with tools, parts checklist, safety tips, and post-repair checks
How to Replace the Fuel Cap on a 2019 Cadillac XT4 (Fix EVAP Leak & Check Engine Light)
Step-by-step fuel filler cap replacement with tools, parts checklist, safety tips, and post-repair checks


🔧 XT4 - Fuel Cap Replacement
Replacing the fuel cap is a quick job, but it matters because a worn or incorrect cap can cause an EVAP leak (fuel vapor leak) and trigger a check engine light. On your XT4, it’s simply a remove-and-replace part—no special programming needed.
Difficulty Level: Beginner | Estimated Time: 0.1-0.2 hours
⚠️ Safety & Precautions
- ⚠️ Work outside or in a well-ventilated area—fuel vapors are flammable.
- ⚠️ Keep sparks, cigarettes, and open flames away from the fuel door.
- ⚠️ If the engine was just running, let things cool a few minutes before opening the fuel door.
- ⚠️ No battery disconnect is required.
🔧 Required Tools
You'll need the following tools for this repair:
- Nitrile gloves
- Clean shop towel
- Flashlight
🔩 Required Parts
HowToo sells all the parts you need for this repair:
- Fuel filler cap (OEM-style, tethered) - Qty: 1
📋 Before You Begin
- Park on level ground and shift to P.
- Turn the ignition off and remove the key/fob from the vehicle area if possible.
- Wipe dirt away from the fuel door area using a clean shop towel so debris doesn’t fall into the filler neck.
🔨 Step-by-Step Instructions
Follow these steps in order:
Step 1: Open the fuel door
- Use your hand to open the fuel door on the driver side rear quarter panel.
- If it’s dark, use a flashlight to clearly see the cap and sealing area.
Step 2: Remove the old fuel cap
- Put on nitrile gloves.
- Turn the cap counterclockwise until it comes free, then pull it straight out.
- If you hear a small hiss, that’s normal.
Step 3: Inspect and clean the sealing surfaces
- Use a clean shop towel to wipe the cap sealing surface on the filler neck (the round area the cap gasket seals against).
- Check the old cap’s rubber gasket (seal). If it’s cracked, flattened, or missing, that can cause an EVAP leak.
Step 4: Install the new fuel cap
- Insert the new cap straight into the filler neck.
- Turn it clockwise until it is fully tight.
- If your replacement cap is the “click” type, keep turning until you feel/hear it click.
Step 5: Close the fuel door
- Close the fuel door firmly with your hand until it’s fully latched.
✅ After Repair
- Start your XT4 and make sure there’s no fuel smell around the fuel door.
- If you had a check engine light for an EVAP small leak, it may take a few drive cycles to clear on its own after the cap is replaced.
- If the light stays on, the EVAP system may have another leak (hose, purge valve, vent valve), and it may need a scan for codes.
💰 DIY vs Shop Cost
Shop Cost: $40-$120 (parts + labor)
DIY Cost: $15-$45 (parts only)
You Save: $25-$75 by doing it yourself!
Shop labor rates vary but typically run $100-$150/hour. This repair takes a shop approximately 0.1-0.2 hours.
🎯 Ready to get started?
HowToo makes it easy: same-day/2-day shipping on every part, plus all the tools and specialty tools you need! Check out the parts and tools sections below to add everything to your cart.
