









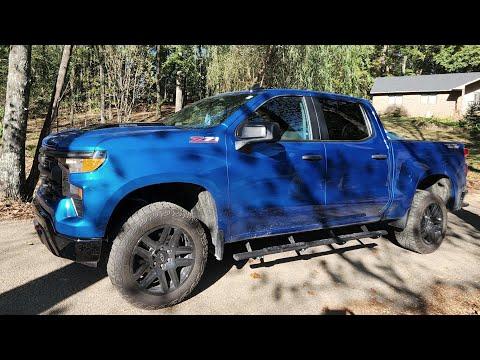







How to Replace the Front Turn Signal Bulbs on a 2018 Chevrolet Silverado 1500
Step-by-step instructions with tools, parts, safety tips, and test checks for 2013, 2014, 2015, 2016, 2017, 2018, 2019, 2020, 2021, 2022, 2023, 2024
How to Replace the Front Turn Signal Bulbs on a 2018 Chevrolet Silverado 1500
Step-by-step instructions with tools, parts, safety tips, and test checks for 2013, 2014, 2015, 2016, 2017, 2018, 2019, 2020, 2021, 2022, 2023, 2024


🔧 Front Turn Signal Bulb Replacement
Your Silverado uses front turn signal bulbs mounted in the front lamp assemblies. Replacing them is usually a quick job, but access can be tight, so work slowly to avoid breaking the bulb socket or scratching the lens.
Difficulty Level: Beginner | Estimated Time: 0.5-1 hour
⚠️ Safety & Precautions
- Turn the ignition off and remove the key/fob before starting.
- Let the front lamps cool if they were recently on.
- Use care around the headlamp housing tabs and bulb socket; plastic gets brittle with age.
- Do not touch the glass bulb with bare fingers if using a halogen bulb.
- No battery disconnect is required for this repair.
🔧 Required Tools
You'll need the following tools for this repair:
- Trim panel tool
- Flat blade screwdriver
- 7mm socket
- Ratchet
- Safety glasses
- Gloves
🔩 Required Parts
HowToo sells all the parts you need for this repair:
- Front turn signal bulb - Qty: 2
📋 Before You Begin
- Park on level ground and set the parking brake.
- Turn the headlight switch off.
- If replacing one bulb, it is smart to replace both sides so the brightness matches.
🔨 Step-by-Step Instructions
Follow these steps in order:
Step 1: Open the hood
- Pull the hood release inside the cab, then release the hood safety latch at the front.
- Raise and support the hood securely.
Step 2: Access the front lamp assembly
- Use a 7mm socket and ratchet to remove the fasteners holding the upper trim or air deflector area, if needed for access.
- Use a trim panel tool to gently release any plastic retainers without breaking them.
- Work slowly to protect the plastic tabs.
Step 3: Remove the bulb socket
- Reach behind the headlamp assembly and locate the turn signal bulb socket.
- Rotate the socket counterclockwise by hand, then pull it straight out.
- If it is tight, use a flat blade screwdriver carefully on the socket tab, but do not force it.
Step 4: Replace the bulb
- Pull the old bulb straight out of the socket.
- Install the new bulb into the socket until it seats fully.
- Make sure the bulb is locked in straight and secure.
Step 5: Reinstall the socket
- Insert the socket back into the lamp housing.
- Rotate it clockwise until it locks in place.
- Reinstall any trim pieces or retainers removed earlier.
Step 6: Test the turn signal
- Turn the ignition on.
- Activate the front turn signal and confirm it flashes normally.
- Repeat on the other side if replacing both bulbs.
✅ After Repair
- Check both front signals for proper brightness and flash rate.
- Make sure the headlamp assembly and trim are fully seated.
- If the signal flashes quickly, the bulb may not be fully seated or the wrong bulb type may be installed.
💰 DIY vs Shop Cost
Shop Cost: $80-$180 (parts + labor)
DIY Cost: $10-$40 (parts only)
You Save: $70-$140 by doing it yourself!
Shop labor rates vary but typically run $100-$150/hour. This repair takes a shop approximately 0.5-1 hour.
🎯 Ready to get started?
HowToo makes it easy: same-day/2-day shipping on every part, plus all the tools and specialty tools you need! Check out the parts and tools sections below to add everything to your cart.