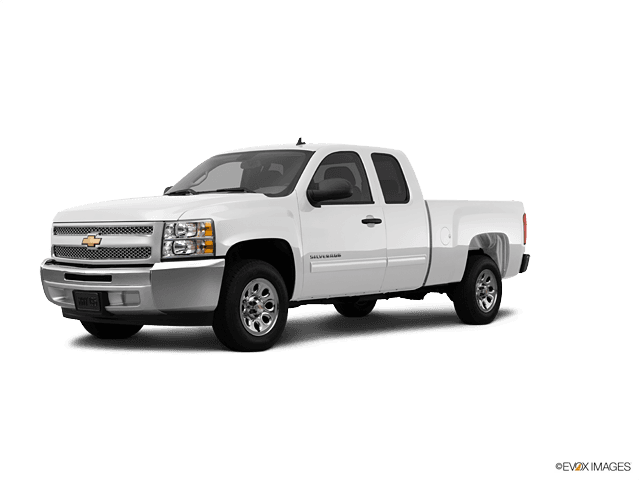















How to Replace the Front Door Lock Actuator on a 2012 Chevrolet Silverado 1500
Step-by-step instructions with tools, parts, torque specs, safety tips, and testing steps for 2010, 2011, 2012, 2013
How to Replace the Front Door Lock Actuator on a 2012 Chevrolet Silverado 1500
Step-by-step instructions with tools, parts, torque specs, safety tips, and testing steps for 2010, 2011, 2012, 2013


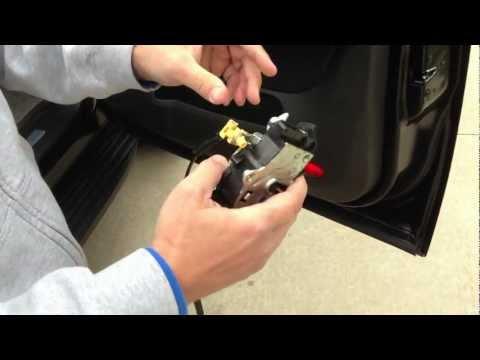
Assumption: This applies to the front door lock actuator on your Silverado’s front door. On this truck, the actuator is commonly serviced with the latch assembly.
🔧 Front Door Lock Actuator - Replacement
The front door lock actuator is the electric motor inside the latch assembly that locks and unlocks the door. Replacing it fixes issues like a door that won’t lock, won’t unlock, or only works intermittently from the switch or key fob.
Difficulty Level: Intermediate | Estimated Time: 1.5-3 hours
⚠️ Safety & Precautions
- Disconnect the negative battery cable before starting.
- Wait at least 2 minutes after battery disconnect before working inside the door.
- Handle the door panel carefully to avoid damaging clips, wiring, or the airbag-related harness in the door area.
- Keep the window fully up while the door is open.
🔧 Required Tools
You'll need the following tools for this repair:
- 7mm socket
- 10mm socket
- 1/4-inch ratchet
- 1/4-inch extension
- Flat trim tool
- Phillips screwdriver
- Torx T30 screwdriver
- Pick tool
- Needle-nose pliers
- Torque wrench
- Safety glasses
- Mechanic gloves
🔩 Required Parts
HowToo sells all the parts you need for this repair:
- Front door lock actuator / latch assembly - Qty: 1
- Door panel clip set - Qty: 1
- Vapor barrier adhesive - Qty: 1
📋 Before You Begin
- Park on level ground and set the parking brake.
- Lower the window fully if possible.
- Disconnect the negative battery cable with a 10mm socket.
- Wait 2 minutes before unplugging any door connectors.
🔨 Step-by-Step Instructions
Follow these steps in order:
Step 1: Disconnect the battery
- Use a 10mm socket to remove the negative battery cable.
- Set the cable aside so it cannot touch the terminal.
Step 2: Remove the door panel
- Use a flat trim tool to pop off the trim covers at the handle and armrest.
- Use a 7mm socket to remove the door panel screws.
- Use the flat trim tool to release the panel clips around the edge.
- Lift the panel upward to unhook it from the window ledge.
- Disconnect the electrical connectors from the switch panel.
Step 3: Peel back the vapor barrier
- Carefully pull back the plastic water shield by hand.
- Keep the seal clean for reassembly.
Step 4: Disconnect the latch cables and connector
- Use a pick tool to release the cable retainers at the latch.
- Use needle-nose pliers if needed to help unhook the cables.
- Unplug the electrical connector from the latch/actuator assembly.
Step 5: Remove the latch assembly
- Use a 10mm socket to remove the door-edge latch bolts.
- Slide the actuator/latch assembly out through the access opening.
- Move it slowly so you do not bend the rods or scratch the door shell.
Step 6: Install the new actuator/latch assembly
- Position the new assembly into the door.
- Reconnect the electrical connector.
- Reattach the latch cables and make sure they snap in fully.
- Install the latch bolts with a 10mm socket.
- Torque to 8 Nm (71 in-lbs).
Step 7: Reinstall the vapor barrier and door panel
- Press the vapor barrier back into place and seal any loose sections with adhesive.
- Reconnect the switch connectors to the door panel.
- Hang the panel on the upper lip and press the clips into place.
- Install the screws with a 7mm socket.
- Snap the trim covers back on.
Step 8: Restore power and test
- Reconnect the negative battery cable with a 10mm socket.
- Test the lock switch, unlock switch, key fob, and manual lock knob.
- Open and close the door several times to confirm smooth latch operation.
✅ After Repair
- Make sure the door locks and unlocks every time.
- Check that the inside and outside handles still open the door normally.
- Listen for any rattles that could mean a loose clip or cable.
- If the panel sits loose, recheck the clips and screws.
💰 DIY vs Shop Cost
Shop Cost: $350-$650 (parts + labor)
DIY Cost: $90-$220 (parts only)
You Save: $260-$430 by doing it yourself!
Shop labor rates vary but typically run $100-$150/hour. This repair takes a shop approximately 1.5-3 hours.
🎯 Ready to get started?
HowToo makes it easy: same-day/2-day shipping on every part, plus all the tools and specialty tools you need! Check out the parts and tools sections below to add everything to your cart.