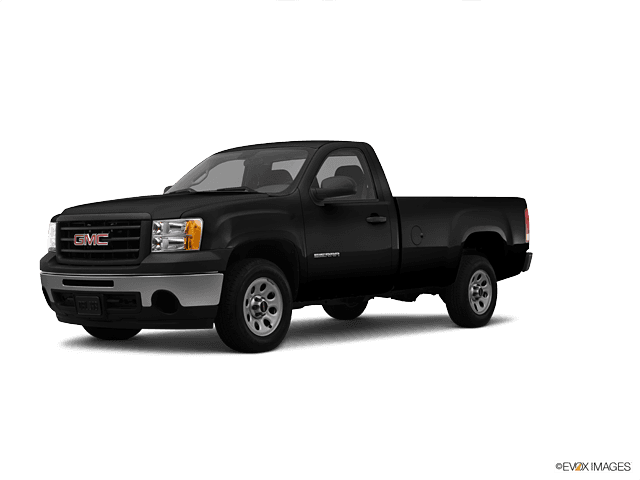
















How to Replace the Front Door Lock Actuator on a 2009-2013 GMC Sierra 1500
Step-by-step removal and installation guide with tools, parts, torque specs, and safety tips
How to Replace the Front Door Lock Actuator on a 2009-2013 GMC Sierra 1500
Step-by-step removal and installation guide with tools, parts, torque specs, and safety tips for 2009, 2010, 2011, 2012, 2013


🔧 Front Door Lock Actuator - Replacement
The front door lock actuator is built into the door latch assembly on your Sierra. To replace it, you’ll remove the inner door trim panel, peel back the water shield, disconnect the latch/linkages and wiring, then swap the latch/actuator assembly.
Difficulty Level: Intermediate | Estimated Time: 2-3 hours
⚠️ Safety & Precautions
- Disconnect the negative battery cable before working inside the door. This helps prevent accidental airbag or power lock issues.
- Take care around the side-impact airbag area in the door. Do not probe yellow connectors.
- Use a trim tool, not a screwdriver, on the door panel clips to avoid cracking the panel.
- Support the door panel when removing the final screws so it does not drop and tear wiring.
🔧 Required Tools
You'll need the following tools for this repair:
- 7mm socket
- 10mm socket
- Ratchet
- Short extension
- Trim panel removal tool
- Torx T20 screwdriver
- Torx T30 screwdriver
- Flat plastic pick tool
- Needle-nose pliers
- Torque wrench
- Safety glasses
- Gloves
- Fender cover
🔩 Required Parts
HowToo sells all the parts you need for this repair:
- Front door latch and lock actuator assembly - Qty: 1
- Door panel clip set - Qty: 1
- Door handle rod retaining clip - Qty: 1
- Butyl seal tape / vapor barrier adhesive - Qty: 1
📋 Before You Begin
- Park on level ground and open the affected front door fully.
- Lower the window glass all the way down before disconnecting the battery if possible. If the lock is stuck, you may need to work with the glass up.
- Disconnect the negative battery cable with a 10mm socket.
- Wait at least 2 minutes after battery disconnect before handling door electronics.
🔨 Step-by-Step Instructions
Follow these steps in order:
Step 1: Remove the door trim panel
- Use a 7mm socket to remove the screws in the armrest and lower door panel.
- Use a trim panel removal tool to pop the door panel clips free around the edges.
- Lift the door panel straight up and away from the door shell.
- Disconnect the electrical connectors for the window switch and any courtesy light.
Step 2: Remove the water shield
- Use a flat plastic pick tool to carefully lift the vapor barrier away from the door shell.
- Keep the butyl adhesive clean so the shield can be resealed later.
- Do not tear the water shield.
Step 3: Remove the interior handle and lock linkages
- Use a Torx T20 screwdriver or needle-nose pliers to release the rod clips at the handle and lock linkages.
- Unclip the rods from the latch assembly.
- Disconnect the latch electrical connector.
Step 4: Remove the latch/actuator assembly
- Use a Torx T30 screwdriver to remove the door latch fasteners on the door edge.
- Slide the latch and actuator assembly out through the access opening.
- Torque to 8 Nm (71 in-lbs) on reinstallation.
Step 5: Install the new actuator assembly
- Position the new latch/actuator assembly in the door opening.
- Reconnect the electrical connector and snap the rods back into the retaining clips.
- Install the Torx fasteners with a Torx T30 screwdriver.
- Torque to 8 Nm (71 in-lbs).
- Make sure the rods move freely.
Step 6: Test the lock before reassembly
- Reconnect the battery temporarily.
- Use the key fob and the door switch to test lock and unlock operation.
- Check interior and exterior handle operation too.
- If the lock works, disconnect the battery again before finishing assembly.
Step 7: Reinstall the water shield and door panel
- Press the vapor barrier back into the original butyl adhesive.
- Reconnect the door panel electrical connectors.
- Hang the panel on the upper lip, then press the clips back in place.
- Install the screws with a 7mm socket.
- Torque to 2 Nm (18 in-lbs) for the trim screws.
Step 8: Final test
- Reconnect the negative battery cable with a 10mm socket.
- Cycle the lock several times with the switch and key fob.
- Open and close the door to confirm the latch catches properly.
- Check that the window, speaker, and door handle all work normally.
✅ After Repair
- Verify the lock works from the key fob, door switch, and key cylinder if equipped.
- Listen for smooth latch action. A grinding or clicking sound usually means a rod is misrouted.
- Make sure the door closes securely and does not bounce back open.
- Inspect the water shield to confirm it is sealed all the way around.
💰 DIY vs Shop Cost
Shop Cost: $350-$650 (parts + labor)
DIY Cost: $80-$220 (parts only)
You Save: $270-$430 by doing it yourself!
Shop labor rates vary but typically run $100-$150/hour. This repair takes a shop approximately 1.5-2.5 hours.
🎯 Ready to get started?
HowToo makes it easy: same-day/2-day shipping on every part, plus all the tools and specialty tools you need! Check out the parts and tools sections below to add everything to your cart.
Guide for Door Lock Actuator replace for these GMC vehicles
| Year Make Model | Sub Model | Engine | Body Style |
|---|---|---|---|
| 2013 GMC Sierra 1500 | - | - | - |
| 2012 GMC Sierra 1500 | - | - | - |
| 2011 GMC Sierra 1500 | - | - | - |
| 2010 GMC Sierra 1500 | - | - | - |
| 2009 GMC Sierra 1500 | - | - | - |