









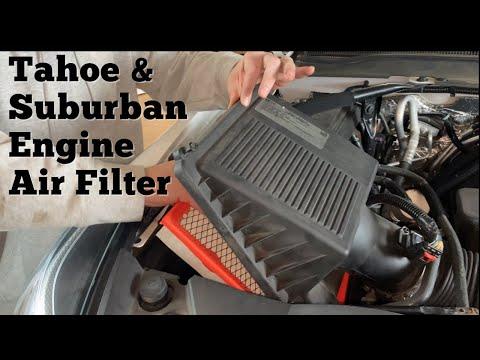






How to Replace the Engine Air Filter on a 2016 Chevrolet Suburban
Step-by-step DIY instructions with tools needed, air box tips, and post-installation checks for 2015, 2016, 2017, 2018, 2019, 2020
How to Replace the Engine Air Filter on a 2016 Chevrolet Suburban
Step-by-step DIY instructions with tools needed, air box tips, and post-installation checks for 2015, 2016, 2017, 2018, 2019, 2020


🔧 Suburban - Engine Air Filter Replacement
Your A4—
Replace the engine air filter to keep clean airflow going into your engine. A dirty filter can reduce power and fuel economy and can make the engine work harder.
Difficulty Level: Beginner | Estimated Time: 0.2-0.5 hours
⚠️ Safety & Precautions
- ⚠️ Work on a cool engine to avoid burns.
- ⚠️ Keep fingers clear of the cooling fan and belts.
- ⚠️ Don’t run the engine with the air filter removed.
- ⚠️ Battery disconnect is not required for this job.
🔧 Required Tools
You'll need the following tools for this repair:
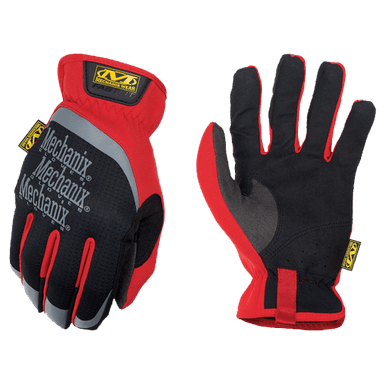
- Work gloves
- Safety glasses
- Flat-blade screwdriver
- 8mm socket
- 1/4" drive ratchet
- Flashlight
- Shop towel
🔩 Required Parts
HowToo sells all the parts you need for this repair:
- Engine air filter - Qty: 1
📋 Before You Begin
- Park on level ground and shift to Park.
- Open the hood and let the engine cool for 15–30 minutes if it was just running.
- Have a shop towel ready to wipe dust inside the air box.
🔨 Step-by-Step Instructions
Follow these steps in order:
Step 1: Locate the air filter box
- Open the hood and use a flashlight to find the large black plastic air box on the front/left side of the engine bay.
- The air box is the plastic housing connected to the big intake tube going toward the engine.
Step 2: Release the air box cover
- Unclip the metal retaining clips using your fingers or a flat-blade screwdriver.
- If your air box uses screws instead of clips, loosen them with an 8mm socket and 1/4" drive ratchet.
- Don’t force it—clips should pop free.
Step 3: Open the air box and remove the old filter
- Lift the top half of the air box upward (you usually don’t need to remove the intake tube).
- Pull the old filter straight out.
- Use a shop towel to wipe loose dirt from the lower air box.
- Do not let dirt fall into the intake tube.
Step 4: Install the new filter correctly
- Drop the new engine air filter into the lower air box.
- Make sure it sits flat and the rubber seal fully contacts the air box all the way around.
- If the filter has a “Front/Up” marking, match it to the same direction as the old one.
Step 5: Close and secure the air box
- Lower the air box lid and make sure it’s seated evenly (no gaps).
- Reinstall the clips by hand, or tighten the screws with an 8mm socket and 1/4" drive ratchet until snug.
- Snug is enough—plastic can crack if over-tightened.
✅ After Repair
- Start the engine and let it idle for 10–20 seconds.
- Listen for any hissing/whistling (can mean the air box lid isn’t sealed).
- Do a quick visual check that all clips/screws are secured and the intake tube didn’t shift.
💰 DIY vs Shop Cost
Shop Cost: $60-$140 (parts + labor)
DIY Cost: $15-$45 (parts only)
You Save: $45-$95 by doing it yourself!
Shop labor rates vary but typically run $100-$150/hour. This repair takes a shop approximately 0.2-0.5 hours.
🎯 Ready to get started?
HowToo makes it easy: same-day/2-day shipping on every part, plus all the tools and specialty tools you need! Check out the parts and tools sections below to add everything to your cart.