


How to Replace the Cabin Air Filter on a 2016 Volkswagen Jetta
Step-by-step instructions with tools, parts, safety tips, and reinstallation checks for 2005, 2006, 2007, 2008, 2009, 2010, 2011, 2012, 2013, 2014, 2015, 2016, 2017, 2018
How to Replace the Cabin Air Filter on a 2016 Volkswagen Jetta
Step-by-step instructions with tools, parts, safety tips, and reinstallation checks for 2005, 2006, 2007, 2008, 2009, 2010, 2011, 2012, 2013, 2014, 2015, 2016, 2017, 2018
🔧 Cabin Air Filter - Replacement
The cabin air filter on your Jetta is a quick service item that keeps dust, pollen, and debris out of the HVAC system. Replacing it regularly helps maintain airflow and keeps the cabin air fresher.
Difficulty Level: Beginner | Estimated Time: 0.5-1 hour
⚠️ Safety & Precautions
- Turn the ignition off before starting.
- Keep the blower fan off while the filter is removed.
- Work gently around the glove box and trim clips to avoid breaking them.
- No battery disconnect is required.
🔧 Required Tools
You'll need the following tools for this repair:
- Trim panel tool
- Torx T20 screwdriver
- Flashlight
- Gloves
- Safety glasses
🔩 Required Parts
HowToo sells all the parts you need for this repair:
- Cabin air filter - Qty: 1
📋 Before You Begin
- Park on level ground and set the parking brake.
- Turn the ignition off and remove the key or fob from the car.
- Open the passenger door fully for better access.
🔨 Step-by-Step Instructions
Follow these steps in order:
Step 1: Open the glove box
- Use your hands to lower the glove box and clear out any items inside.
- Move items out first.
Step 2: Release the glove box stops
- Use a trim panel tool to gently pop the glove box side stops free if needed.
- On this Jetta, the cabin filter access is behind the glove box area.
Step 3: Remove the filter access cover
- Use a Torx T20 screwdriver to remove the screws holding the cabin filter cover.
- Pull the cover straight off once the screws are out.
- Keep screws in a small cup.
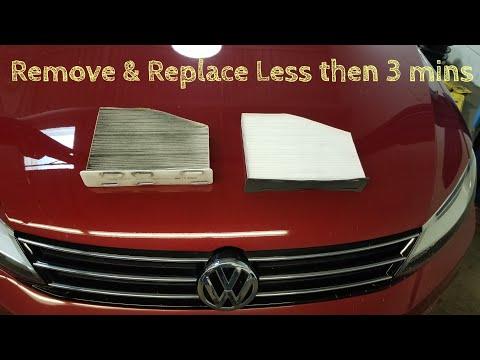
Step 4: Remove the old cabin air filter
- Slide the old filter out carefully with your hand.
- Note the airflow direction arrow on the old filter before removing it.
Step 5: Install the new cabin air filter
- Use your hands to slide the new filter into place with the airflow arrow pointing the same direction as the old one.
- Make sure the filter sits flat and fully seated.
Step 6: Reinstall the cover and glove box area
- Reinstall the filter cover using the Torx T20 screwdriver.
- Snap any glove box stops or trim back into place by hand.
- Torque to snug only for the small cover screws.
✅ After Repair
- Turn the ignition on and run the blower fan on low, then high.
- Check that airflow is strong and there are no rattles from the glove box area.
- If airflow seems weak, recheck filter orientation and seating.
💰 DIY vs Shop Cost
Shop Cost: $80-$150 (parts + labor)
DIY Cost: $15-$35 (parts only)
You Save: $65-$115 by doing it yourself!
Shop labor rates vary but typically run $100-$150/hour. This repair takes a shop approximately 0.5-1 hours.
🎯 Ready to get started?
HowToo makes it easy: same-day/2-day shipping on every part, plus all the tools and specialty tools you need! Check out the parts and tools sections below to add everything to your cart.
